How to Set Custom Item Templates for Providers and Services Fields for Appointment Form
From this tutorial, you’ll learn to create custom templates in Elementor and customize the Forms on the front end by applying these templates to the Providers and Services fields.
Custom templates are another cool feature of the JetAppointment plugin. Use the combo of JetAppointment and JetEngine to build a custom item template and then set it for any Form you fancy. In this way, the Form will be customized on the front end.
Creating a Custom Item Template in Elementor
Since the custom item templates are not pre-made, you’ll have to build them manually.
Create a new listing
Go to JetEngine > Listings.
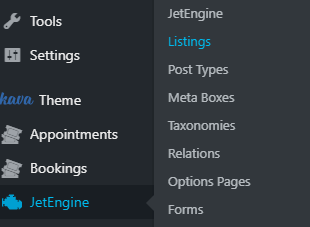
Click the “Add New” button.
 You’ll see a Setup Listing Item window.
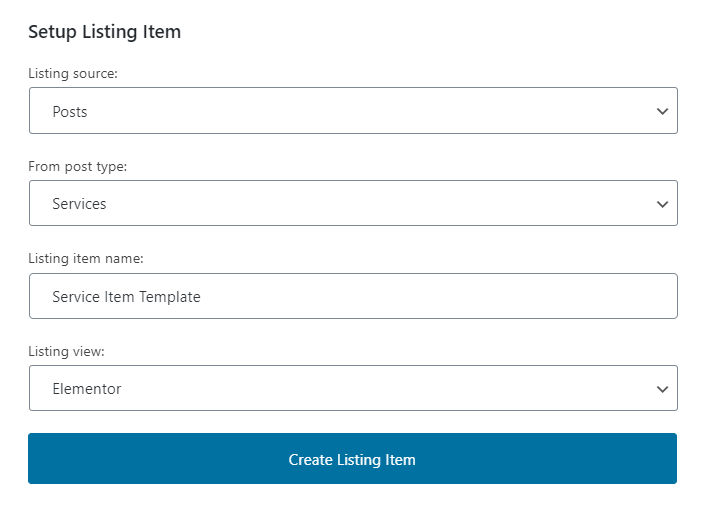
Make sure to pick Posts as a source, then select the post type to pull the metadata from – in our case, it’s Services. After that, enter the listing item name of your choice and choose the listing view. You can work either in Elementor or Gutenberg. Lastly, click the Create Listing Item button.
Right afterward, you’ll be redirected to the chosen webpage builder.
Build the listing in Elementor
First of all, select the desired layout for your new section. Press the pink cross icon, then pick the third structure:

Now, search for the Check Mark widget.
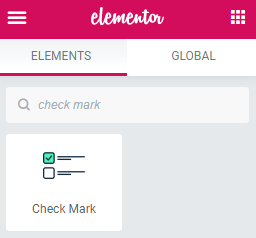
Drag and drop it to the first column of the newly-created structure and choose the icon either from the library or upload an SVG file.
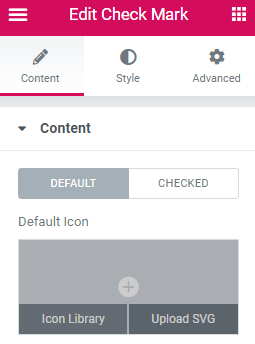
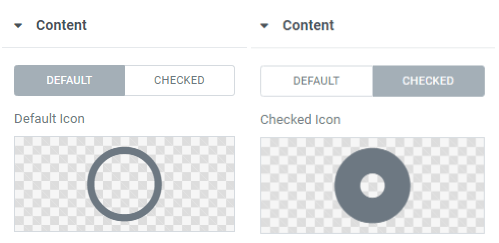
Then proceed to the left-side toolbar, press Style, and customize the icons’ appearance.
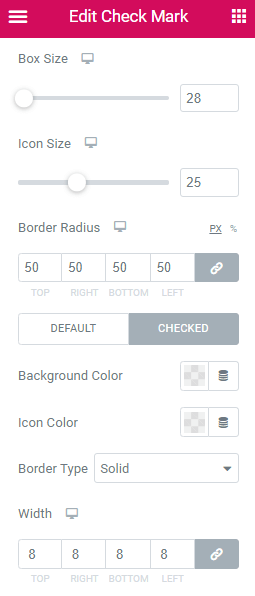
You can adjust the Box Size, Icon Size, Border Radius, set Background Color for the Default icon, and play around with the Border Type, Width, Color, and Box Shadow of the Checked icon.
After styling, go to Advanced to adjust the Positioning options.
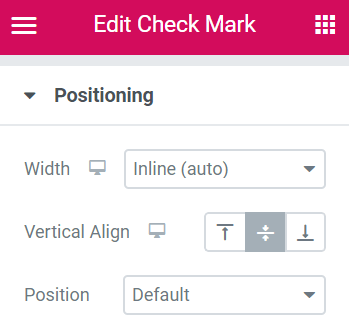
Set Width to Inline (auto) and choose Center in the Vertical Align option.
Configure the dynamic fields
All right, we’re done with the first column, let’s configure the second and third.
We’ll be using the Dynamic Field widget for these two since we need to pull the metadata about the Services.
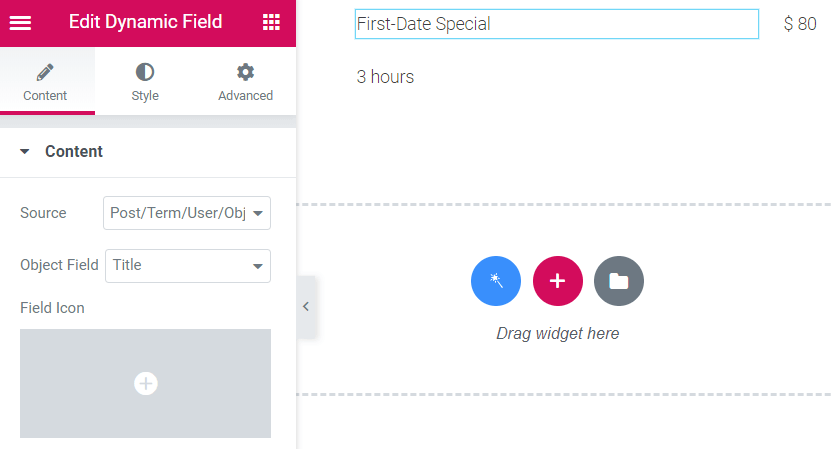
Search for the Dynamic Field widget and drag-and-drop it to the second column. Make sure to Duplicate the field to add as many details as necessary.
We’re going to be adding the title, service duration, and price. Now, let’s set up each of the dynamic fields.
For the Title, you can leave the Source and Object Field “as is.”
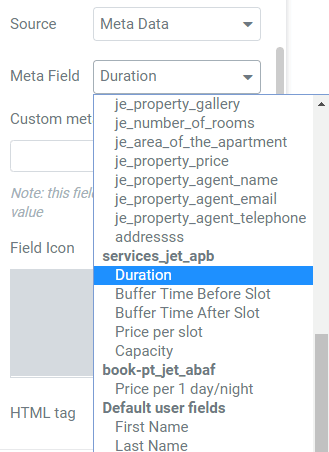
To display the service duration, choose Meta Data as the Source and Duration as the Meta Field.

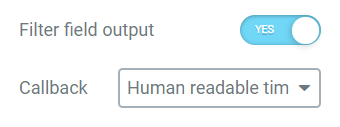
Next, make sure to toggle on Filter field output and use the proper callback – Human readable time difference. Otherwise, the displayed duration won’t be readable.
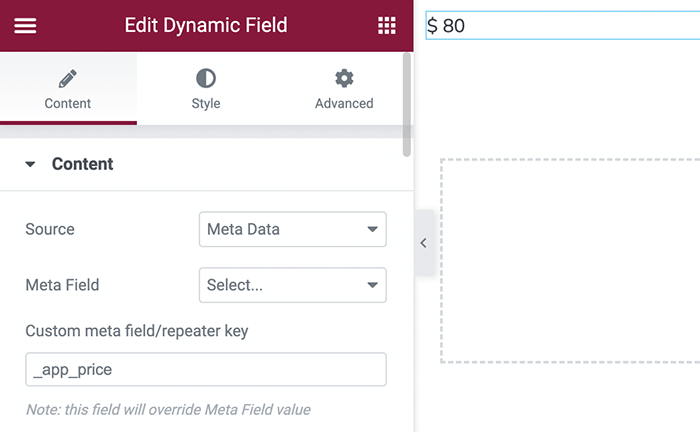
To display the price, choose Meta Data as the Source and then enter the key _app_price to the Custom meta field/repeater key field bar.
Moreover, there is an option to display the price per hour or minute. In this case use the custom meta field keys app_price_hour and app_price_minute.
Next, enable the Customize field output and specify the desired Field format.
Once you are satisfied with your custom item template, click Publish.
Setting the Template for the Services Field (Legacy)
Now, it’s time to set the template you’ve created for the Services field.
Choose and edit the Form
Go to JetEngine > Forms.
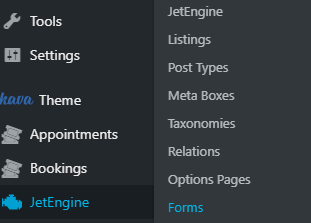
Find the Form you would like to customize and click Edit.

Configure the field settings
In the newly-opened window, there will be Fields settings. Click to edit the Services field.
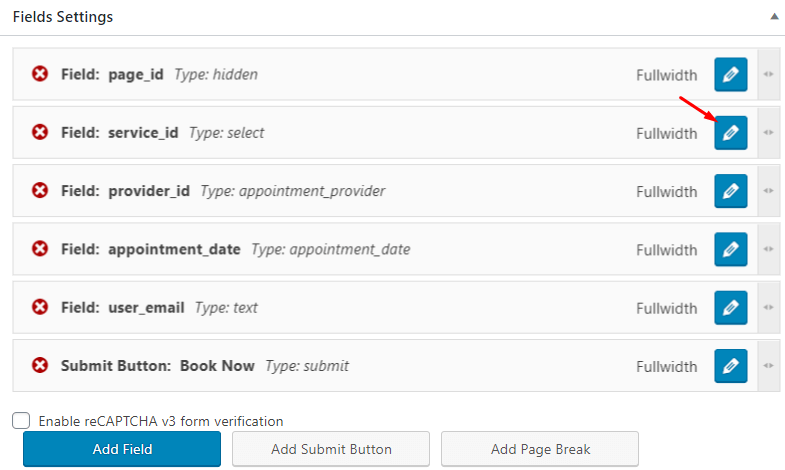
Scroll down the settings a little bit until you see a Custom item template field. Tick it and the new drop-down field will appear. Make sure to pick here the template you’ve created beforehand.
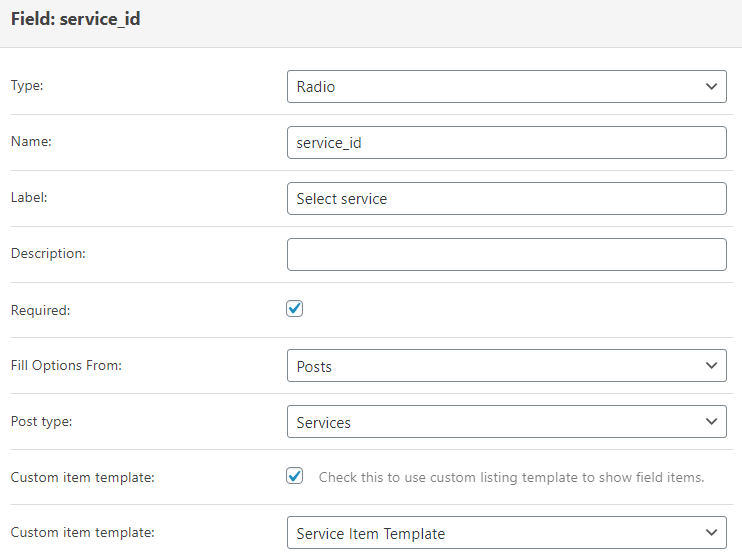
Press the Apply changes button and then Update the form.
Proceed to the front end
After you have configured Fields Settings and updated the Form, go check out the way it looks on the front end.

As you can see, it’s fairly easy to create and set custom templates for the Providers and/or Services fields. Just make sure to double-check the field types and pull the metadata from services_jet_apb.