Options Pages Overview
This tutorial provides a detailed description of creating and customizing the Options Pages with the JetEngine plugin.
Settings & Options
General settings
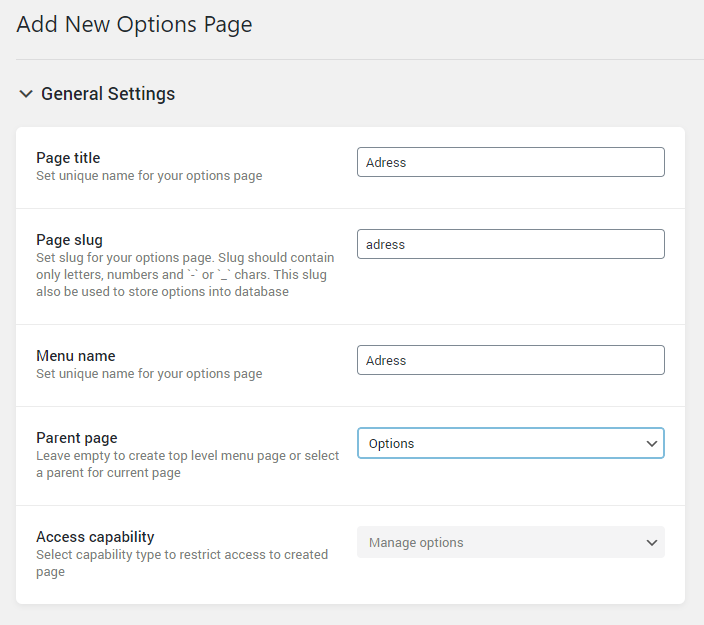
First of all, fill in the fields in the General Settings tab.
- Page title. This is the name of the Options Page. The following two fields will be automatically filled according to the name you place here;
- Page slug is created automatically from the Page title, but you can change it if you want to. Just be aware that it has co consist of Latin letters only and doesn’t have spaces;
- Menu name. Here you can define how this page will be named in the dashboard’s menu;
- Parent page. If you leave this field empty, you will create a new parent page that will be shown in the dashboard. Besides that, you will be offered to choose the Menu position. In this field, you can select the menu item, after which the options page will be displayed;
- Access capability option allows restricting access to the page. For more information, check this page.
Meta fields
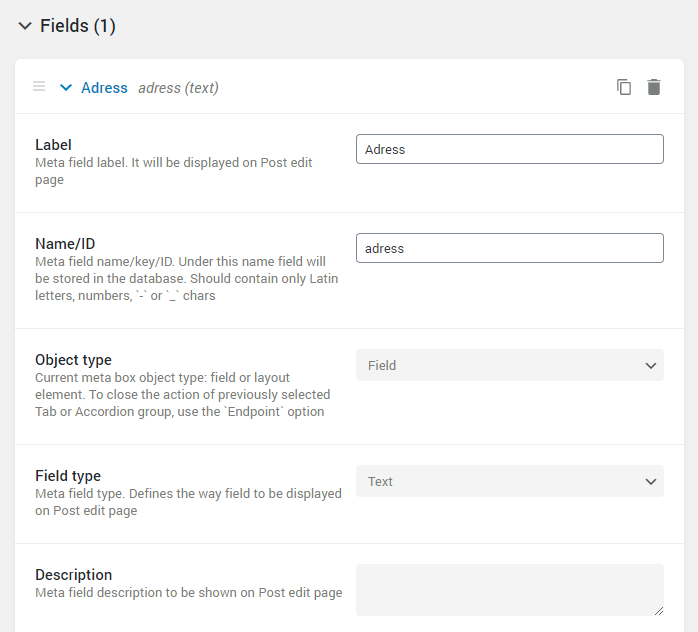
Scroll down and proceed to add custom meta fields in the Fields section. Click the “New Field” button and set a new meta field. We have a detailed Meta Fields Overview, so check it before choosing the meta fields for the Options Page.
Fill the options page with content
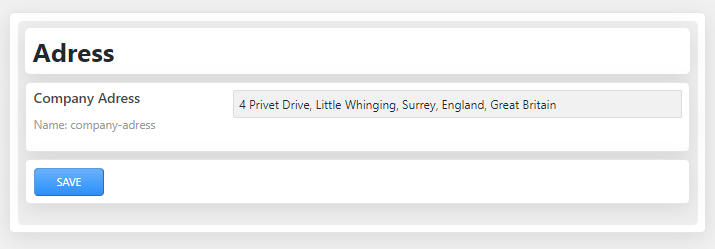
When the Options Page is set, click the “Add Page” button and go back to the WordPress Dashboard. Here you have to find the page you’ve created and open it. Fill it with the content you need, and then hit the “Save” button.
Display options page’s meta field values
Start with opening a certain page, the footer, or the header, where you want to add information from the custom fields of the Options page in the Elementor page builder. If you want to edit the Header or Footer, you will find it in the Crocoblock > Theme Builder.
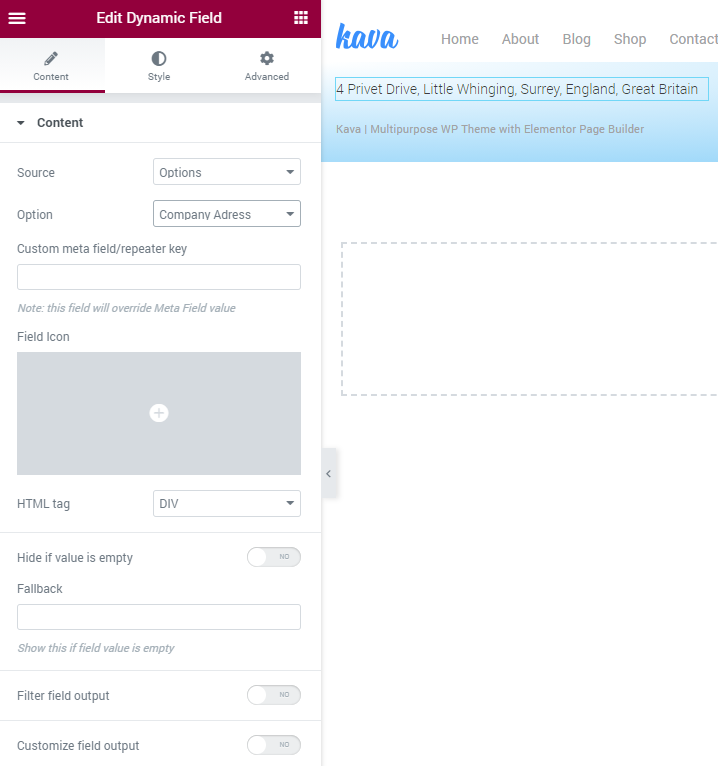
You can any of the JetEngine widgets which support dynamic content. For example, you can choose the Dynamic Field widget.
Go to the Content tab, and in the Source drop-down menu, choose “Options”. In the Option field, select the name of the Options Page you need.
Hit the “Update” green button, and let’s view how it looks at the front end.

Now you know how to use the JetEngine Options pages function.