How to Add Likes and Display Likes Counter in Posts
Find out how to add like or dislike counters to custom post listings using the Data Store module of the JetEngine plugin.
The Data Store module of the JetEngine plugin allows adding likes and dislikes to CPTs or posts and displays a real-time likes/dislikes counter. When users like/dislike posts, the counters automatically update without reloading the page with the listing.
Data Store Button Widget Settings
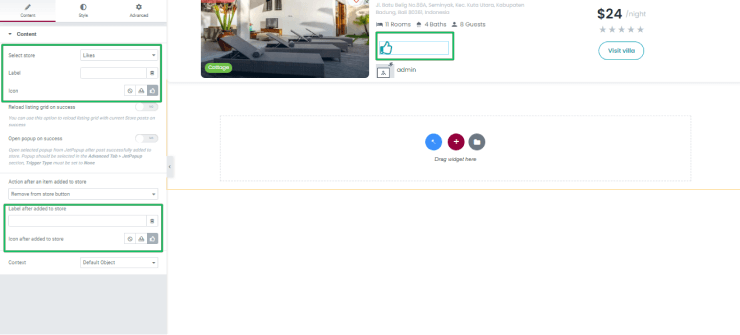
Open the Listing template and add the Data Store Button widget.

Navigate to the Content tab of the Data Store Button widget and unroll it.
Select the data store (here, Likes) from the Select store drop-down menu.
Delete text in the Label field.
Add the Icon to display likes (here, the thumbnail icon from the library). If necessary, add the dislike icon in the same way.
Leave the empty Label after added to store field, but select the same Icon (for likes or dislikes) from the library (here, the thumbnail icon).

Heading Settings
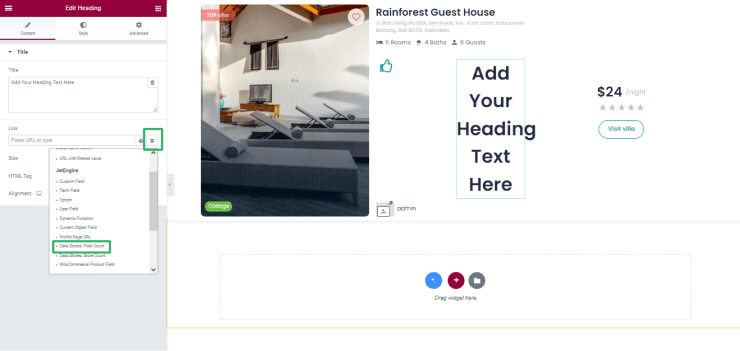
Add the Heading widget to the Listing template. Press the “Dynamic Tag” icon near the Link field. Select the “Data Stores: Store Count” option from the drop-down menu.

Customize the heading by selecting its Size from the drop-down menu (Default, Small, Medium, Large, XL, XXL), HTML Tag from the drop-down menu (ranges from H1 to H6), and its Alignment (responsive).
Press the Settings icon (wrench) and select the data store (here, Likes) from the Select drop-down menu.

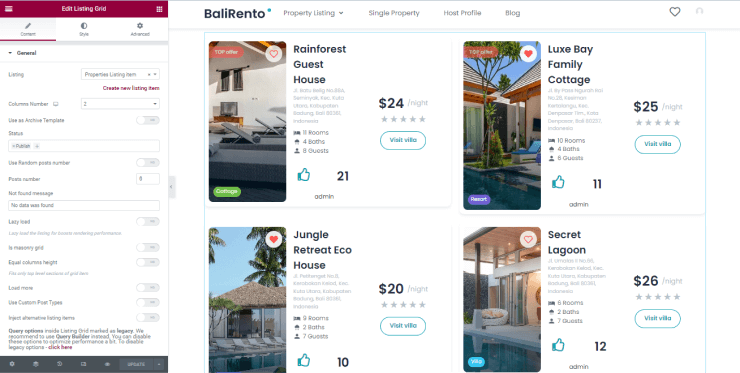
Update the template.
Front-End View
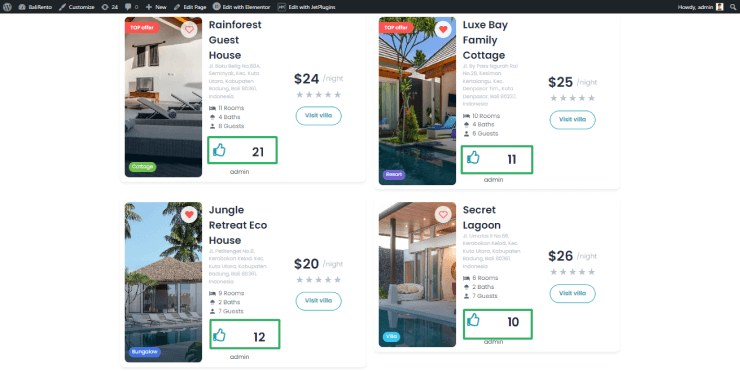
Open the page with the listing.

The page on the front end looks as follows.

That’s all about adding a like or dislike counter to custom post listings using a data store.