Dynamic Tables Builder Overview
This overview will describe the general settings of Tables Builder and how to use it.
From this tutorial, you’ll learn how to create and customize Tables Builder from the JetEngine plugin. With Tables Builder, you can get the data from the previously created Query dynamically, fetch a sample of the data to find all possible columns, and preview the table. Also, you can display the table with the help of the Dynamic Table widget in Elementor and Gutenberg.
Create a Query
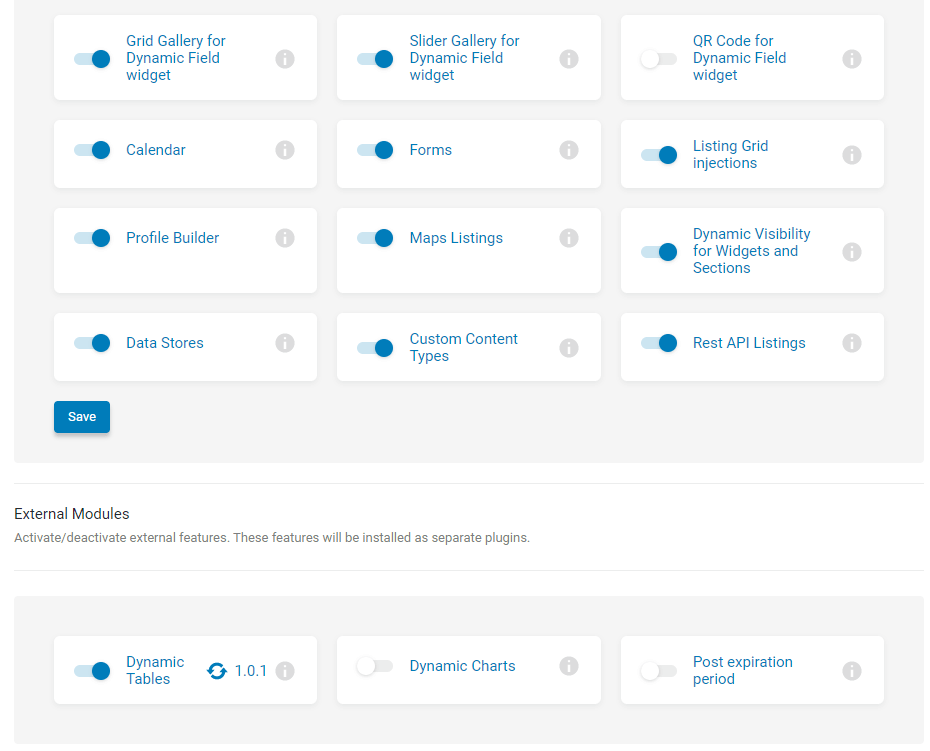
The first thing you need to do is to go to JetEngine > JetEngine > Modules > External Modules and enable the Dynamic Tables module.
The next thing you need to do is to create a Query with Query Builder.
In our case, we’ll create a Posts Query for the post.
Tables Builder Overview
After you’ve enabled the Dynamic Tables module, you’ll see the Tables Builder block in the JetEngine dashboard. Let’s have a closer look at it.
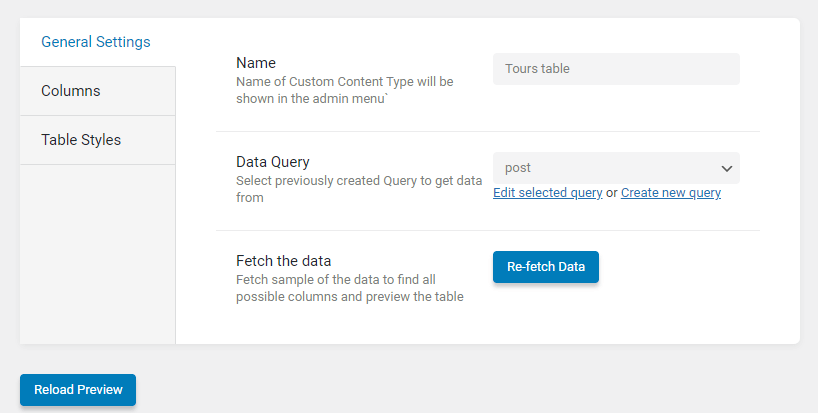
General Settings
- Name. Here you can add the name of the Custom Content Type that will be shown in the admin menu;
- Data Query. In this field, you need to choose the query you’ve created before with the Query Builder. No worries if you didn’t create it. There’s always an opportunity to create a new query or edit the existing one;
- Fetch the data. Fetch a sample of the data to find all possible columns and preview the table.
Columns
In this block, you can add the needed columns for your table. It works similarly to the meta fields.
- Column Name. The column name is displayed in the table heading;
- Column Content. Here you can choose the type of content that will be displayed in the column. There are two options: “Raw Value” and “Template”.
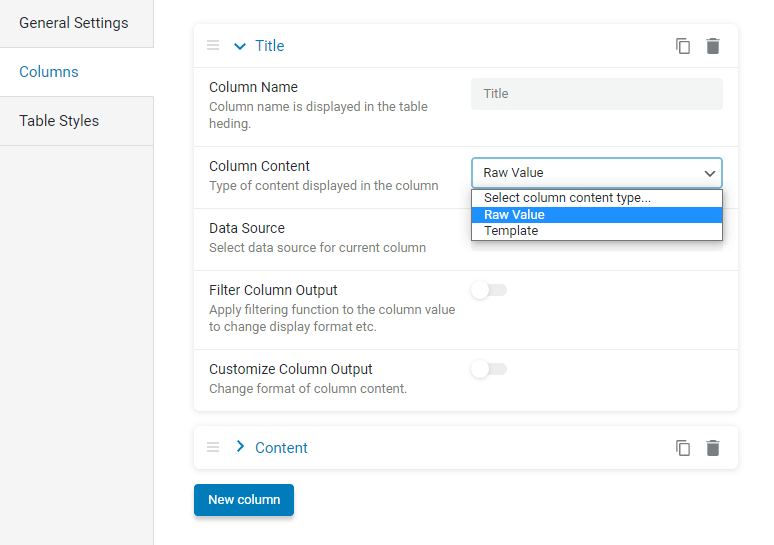
If we choose the Raw Value, then there will be an opportunity to choose the Data Source for the current column, such as Fetched Column, Post/Term/User/Object Field, and Meta field. Let’s have a closer look at each of them.
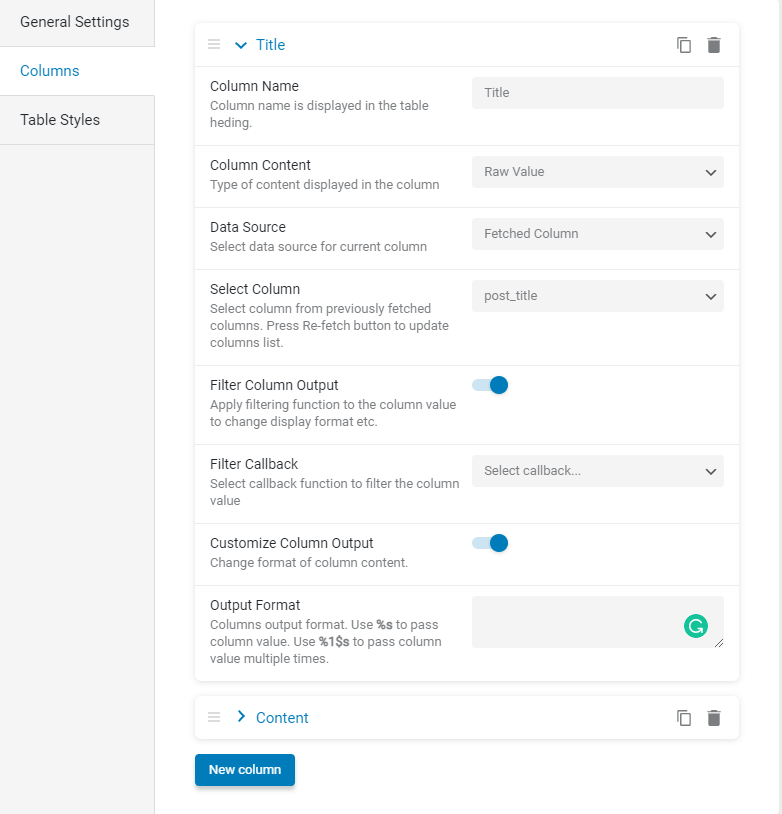
Fetched Column. Here you can select a column from previously fetched columns.
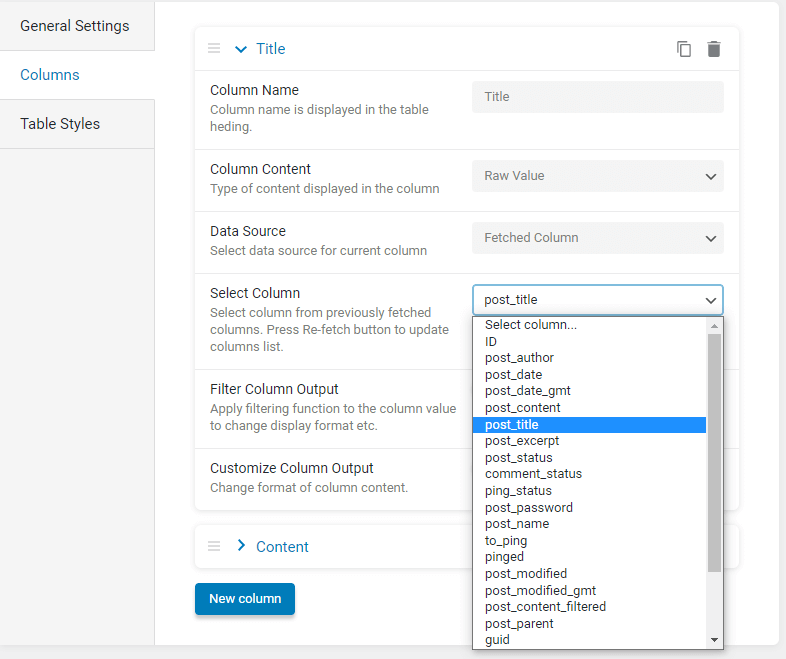
You can also enable the Filter Column Output toggle if you need to choose the Callback function to filter the column value.
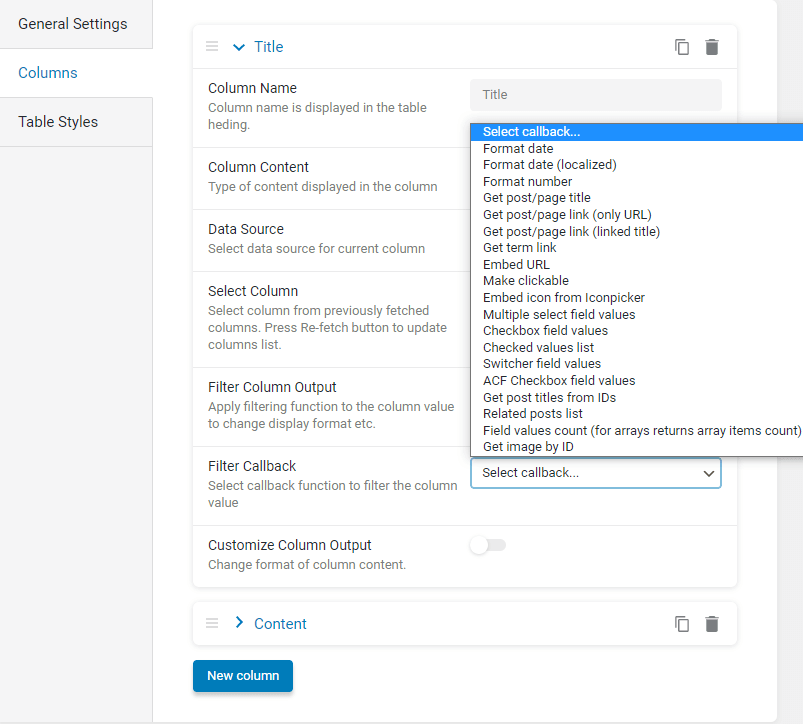
If you enable the Customize Column Output option, then you can output the format.
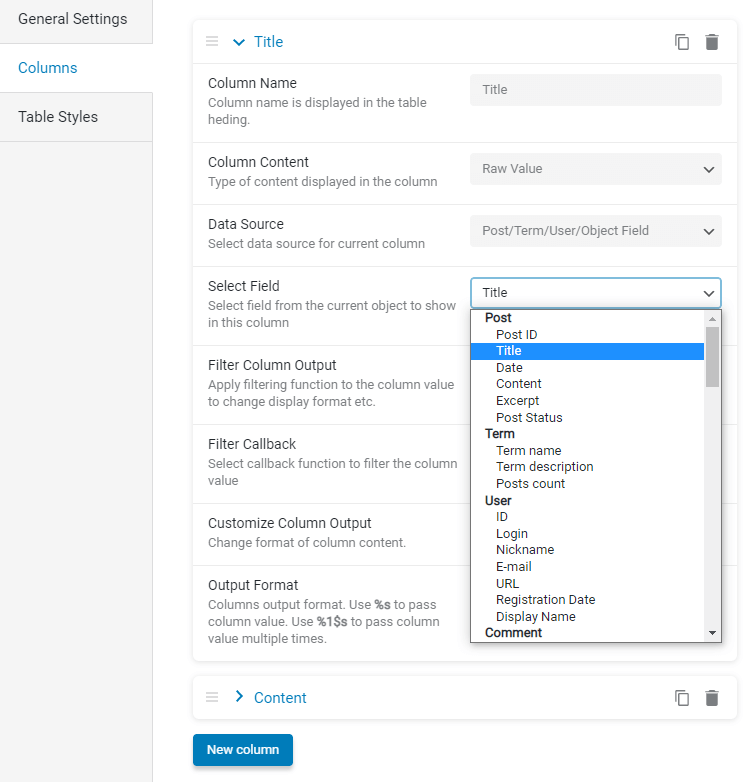
Post/Term/User/Object Field. Select a field from the current object to show in this column.
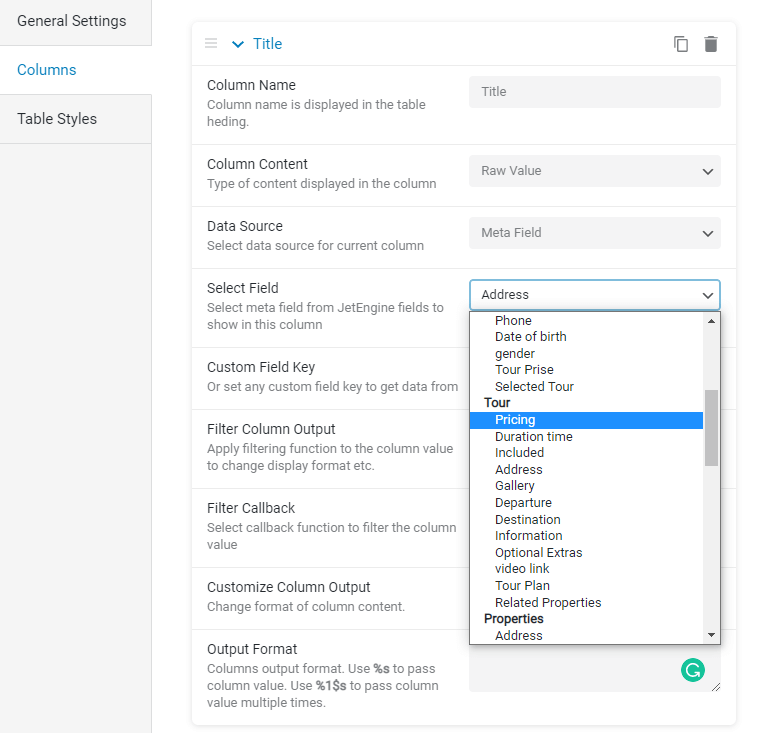
Meta Field. Select the meta field from JetEngine fields to show in this column.
If you choose Template Column Content, then you’ll be able to choose the template to use as the base template for current column items.
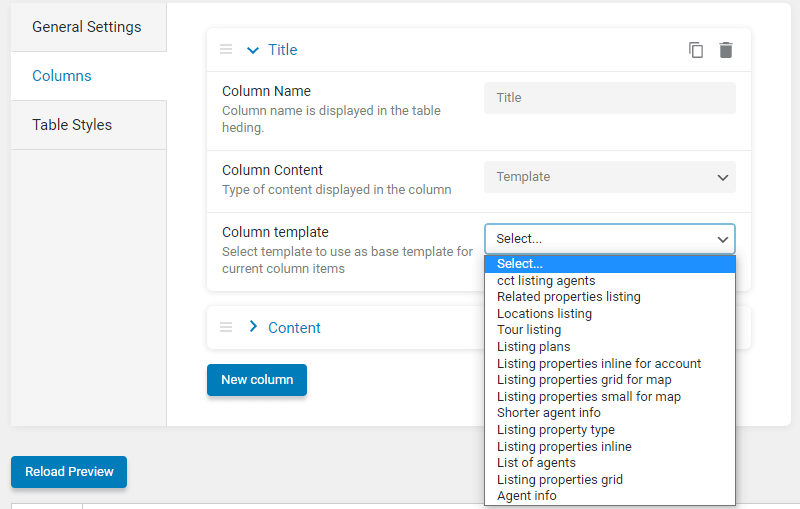
Table Styles
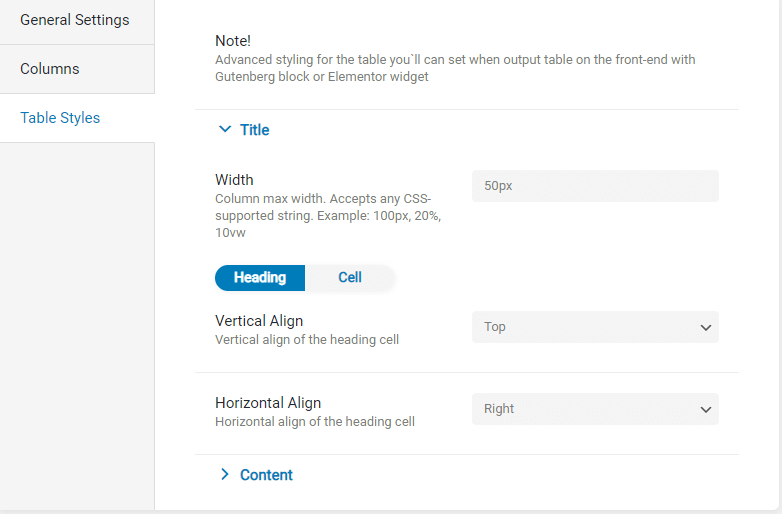
In this module, you can adjust the width and set the alignment for the table.
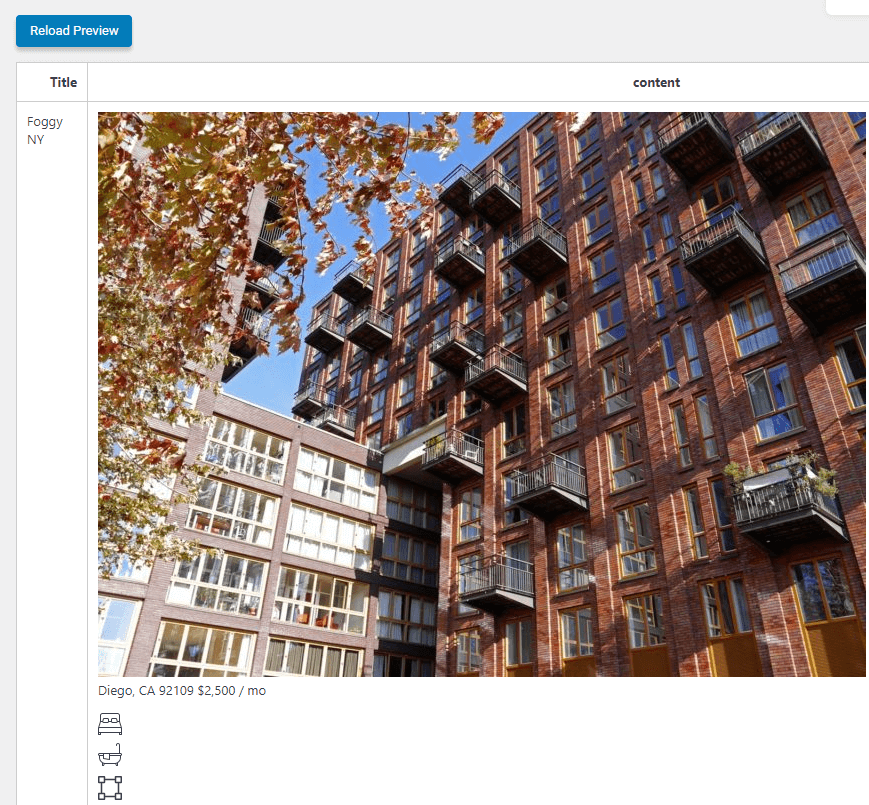
You can always preview the result if you click on the “Reload Preview” button.
Dynamic Table Widget in Elementor
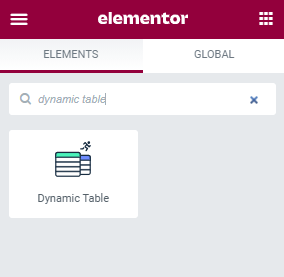
There’s an opportunity to display tables on any page with the Dynamic Table widget. Go to the needed page and click on the Edit with Elementor button. Search for the Dynamic Chart widget and add it to the page. Let’s have a closer look at it.
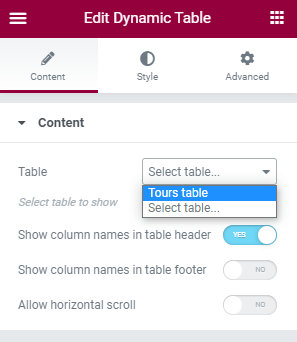
In the Table field, you need to select the table we’ve created before. Also, you can show column names in the table header and footer and allow horizontal scroll, which is quite user-friendly.
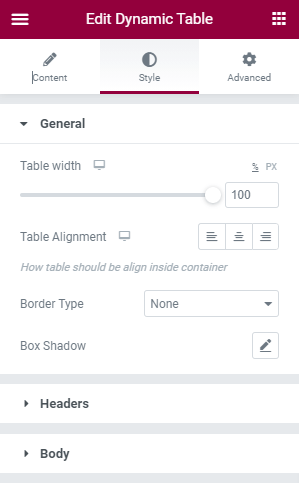
Moreover, there’s an opportunity to style the table. Don’t forget that if you want to style the table only in the widget, then you need to remove styles on the backend. Styles on the backend override widget’s styles. What is more, styles in the widget will apply to the whole table, not the separate column.
Dynamic Table Block in Gutenberg
You can also add the Dynamic Table block in Gutenberg. Open the needed page, click on the plus icon, and search for the Dynamic Table widget.
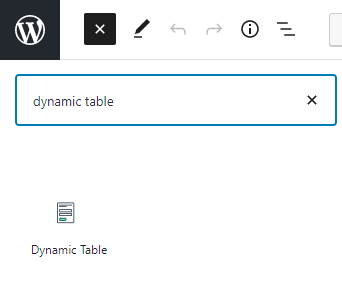
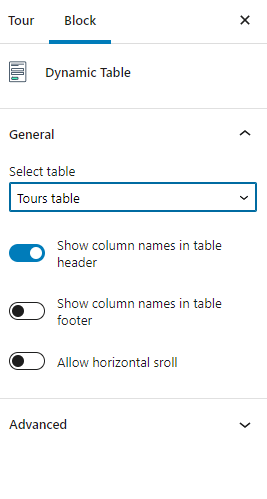
After that, you can simply add the widget to the needed section. In the widget’s settings, you’ll need to choose the Table you’ve created before.
Now you know how to use Tables Builder functionality from the JetEngine plugin.