
Select Filter Overview
Find out how to use the Select filter to filter publications or products with the help of the JetSmartFilters plugin.
The Select filter of the JetSmartFilters plugin is used for displaying select options with the custom values of the properties of the product from which the user of your site can choose to filter the posts or products on the page.
Creating Select Filter
Add new filter
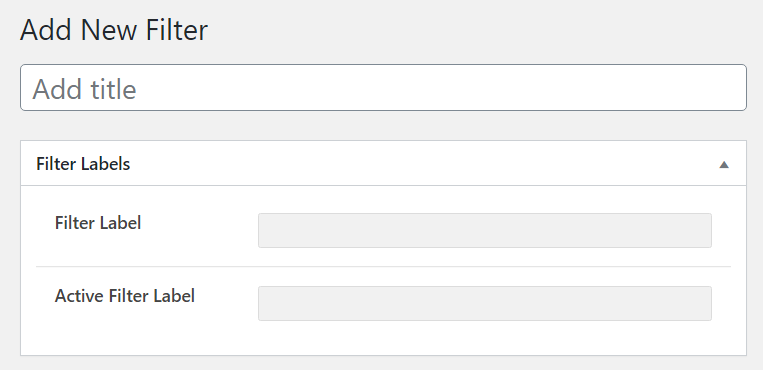
First of all, you should proceed to the WP Dashboard > Smart Filters and click the “Add new” button. In the following screen, you should enter the title of the new filter, the Filter Label, and the Active Filter Label.
Define the settings
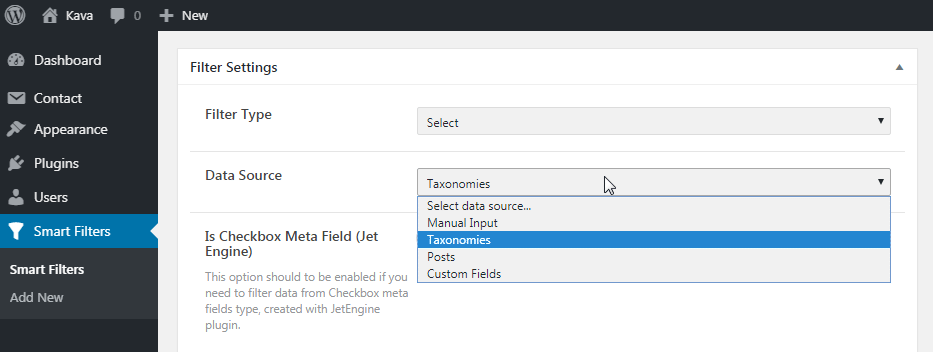
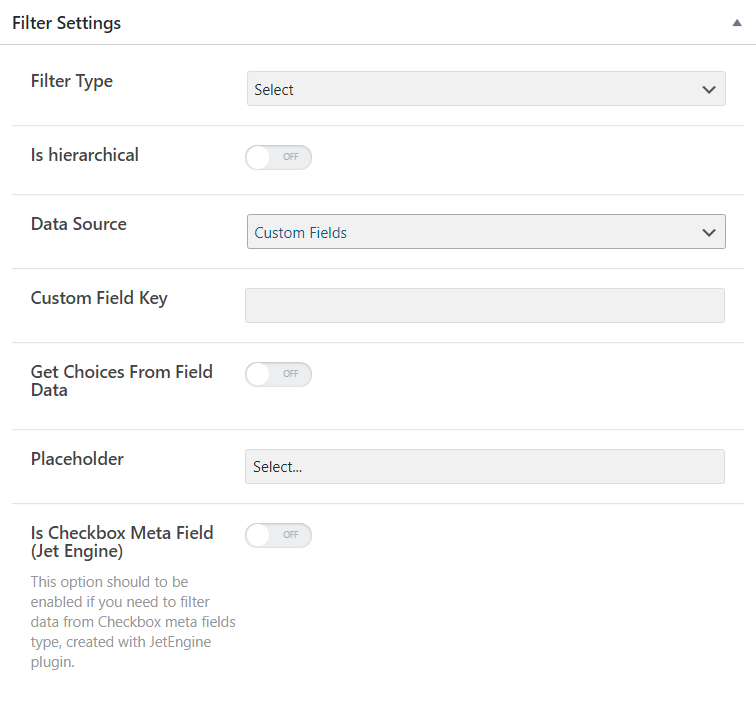
In the Filter Settings > Filter Type dropdown menu you should choose the Select option.
Next, in the Data Source dropdown, you should choose the option from the default ones. There are four variants, so let’s dive deeper into details.
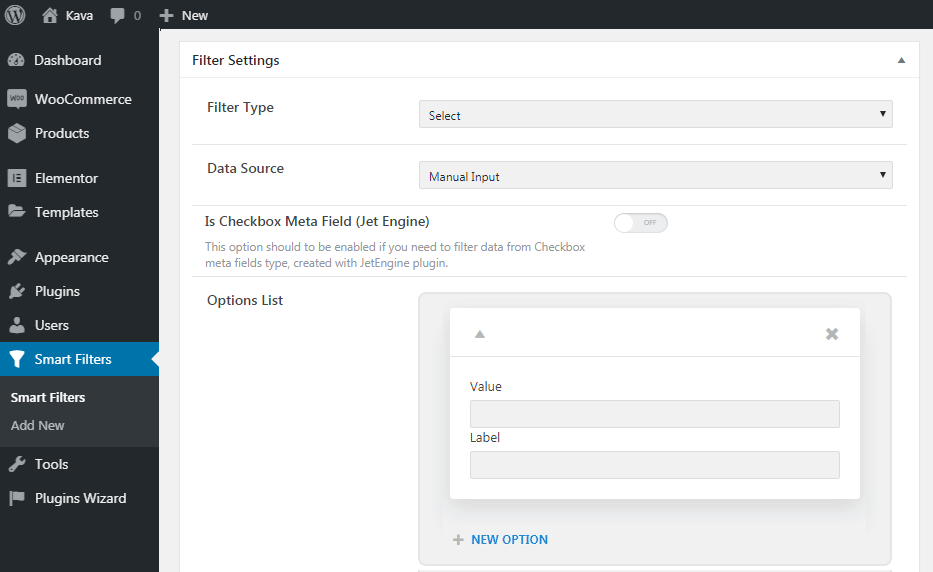
Manual Input
You need to choose the Manual input type if you are going to add the filtering options manually. In that case, click the “New Option” button and add as many options to select as you need.
Taxonomies
Use the Taxonomies data source type in case you need to use the term titles as the labels for the chosen filter. For instance, you might have the “Clothes” post type and “Colors” taxonomy, and you will assign each list item to different terms, as clothes may be in different colors. So, this filter will allow you to display the terms and filter the posts by them.
Here we can enable the Show only childs of the current term option to showcase the child terms in the hierarchy for the parent term.

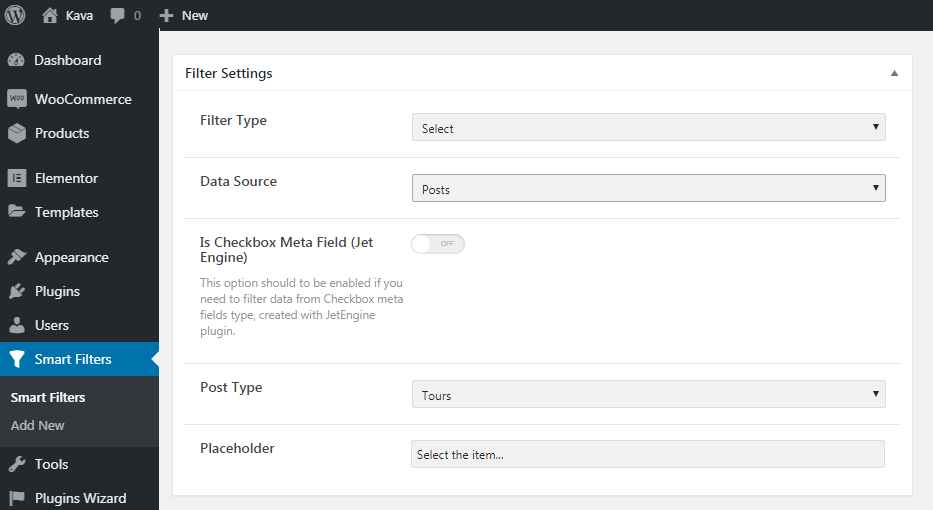
Posts
The Posts source type will be useful if you want to display the post titles as filtering options. For example, you may have created the “Tours” custom post type. In this case, the titles of those tours will be displayed as a list of options in the filter.
Custom Fields
If you want to display the values of a met field as options in your filter, you can choose the Custom Fields data source. Type in the name of the necessary field in the Custom Field Key bar and turn on the Get Choices From Field Data toggle.
Let’s assume that you have chosen the Taxonomies data source type and then specified the needed taxonomy.

If you need to filter data from the Checkbox meta field type, you should toggle on the Is Checkbox Meta Field option that has been created with the help of JetEngine plugin.
In the Placeholder field, you need to enter the text to be shown when nothing has been chosen. The default value is “Select…” but you can customize it up to your needs.
In the Query Settings block, you should set the needed queried field key if you have chosen any source type, except the Taxonomy one, or if you don’t choose any of the options.

After you are done, click on the “Publish” button to save the settings.
Adjusting Select Filter to Publication
To assign the filter on the page, you should previously create the listing grid for the chosen posts or products. For more details follow this listing creation tutorial.
Add select filter widget
Create a new page where you want to place the Select filter and open it in Elementor editor. Add the section to the canvas with two columns. Add your listing to the canvas. We recommend you to place it in the second column. Drag and drop the Select filter widget to the first column.

Define content settings
Go to the Content menu tab and choose the created filter in the Select filter drop-down menu.
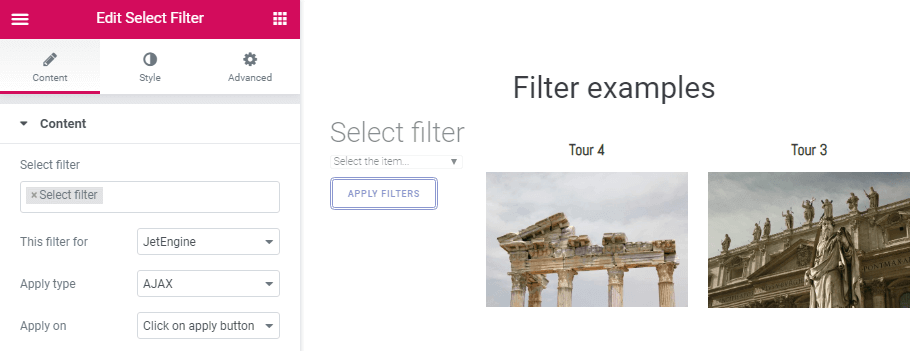
In This filter for drop-down menu choose the “JetEngine” option. There is a range of variants, but you should get oriented to the provider for which this filter works.
Then, in the Apply type dropdown menu, you can choose which filter type is preferable for this filter.
- An AJAX filter type allows filtering using the AJAX method without reloading the page, which makes the filtering through the products much faster for the visitors;
- The Page Reload filter reloads the page each time the visitor applies the filter.
Next, if you want to add a button to enable the filter function, you should firstly turn on the Show apply button toggle and then in the Apply on dropdown menu select the “Click on apply button” option.

If you don’t want to add any button, you should choose the “Value change” option in the Apply on drop-down menu.
You can adjust the display of the filter label if you turn on the Show filter label option.
If you have more than one listing grid on the current page, you should specify which one you would like your filter to work with. To perform it you should simply put the CSS ID of a necessary widget (it could be set in the Advanced menu tab) to the Query ID field.
Assigning Select Filter to Products
All the steps are pretty much the same as for publication. However, there are some differences.
While creating a filter, be attentive to choose the needed option for products. For example, if you want to choose the Taxonomy Data Source, select the Product Tags, Product Categories, etc. In case you are going to choose the Posts in the Data Source drop-down menu, be careful to specify in the Post Type menu the Products, Jet Woo Templates, and other options.
Furthermore, be careful when in the Elementor editor, you choose the option to apply the filter for. Make sure that the chosen option and the content on the site are displayed with the same widget; for instance, in our case, it was the Product Grid.
Assign the Select filter in a similar way as it was described for publications, and enjoy the result.
That’s it. Now you know how to help the users of your website to filter posts or products on the page with the help of the Select filter.