How to Build the Checkboxes Filter with Posts Data Source
This tutorial will help you learn how to create a Checkboxes list filter using JetSmartFilters plugin functionality.
Before you start, check the tutorial requirements:
- Elementor (Free version) or Block editor (Gutenberg)
- JetSmartFilters plugin installed and activated
- JetEngine plugin installed and activated with posts relation built between two WordPress post types (it may be custom ones) and listing built. It should be completed with the data from one of the related post types so that it will be used as a provider for filter
JetSmartFilters plugin includes a set of handy sorting tools. If you master all the widgets it can offer, you will be able to create a convenient filtering block that will make the user experience more pleasant for your website’s visitors.
Now let’s focus on the Checkboxes Filter to filter the content by related posts.
Add a New Filter
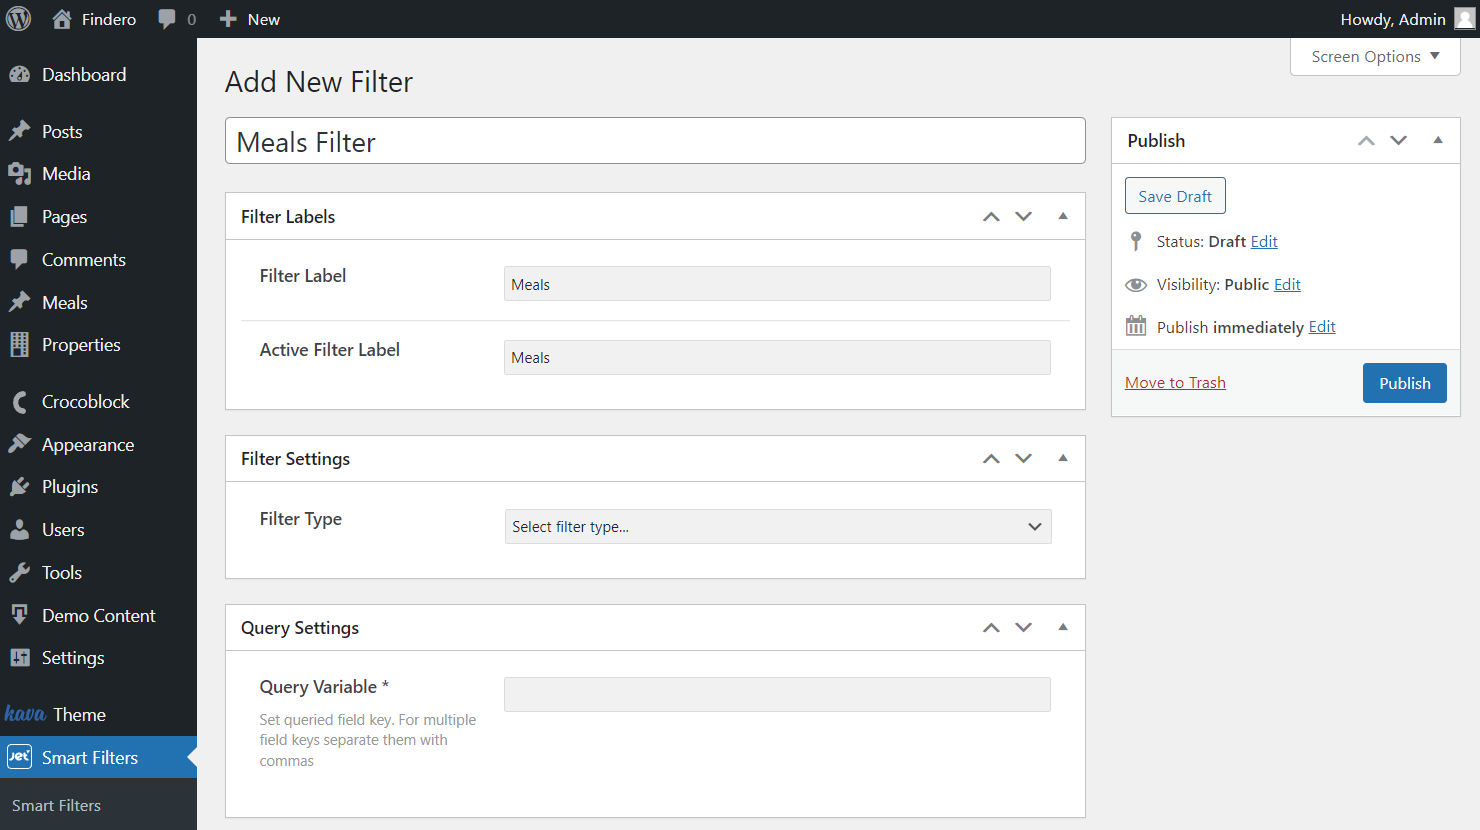
First of all, open your WordPress Dashboard, and navigate to the Smart Filters tab. Click the “Add New” button to open the creation window. Type in the Name of the filter, Filter Label, and Active Filter Label.
Define the Filter Settings
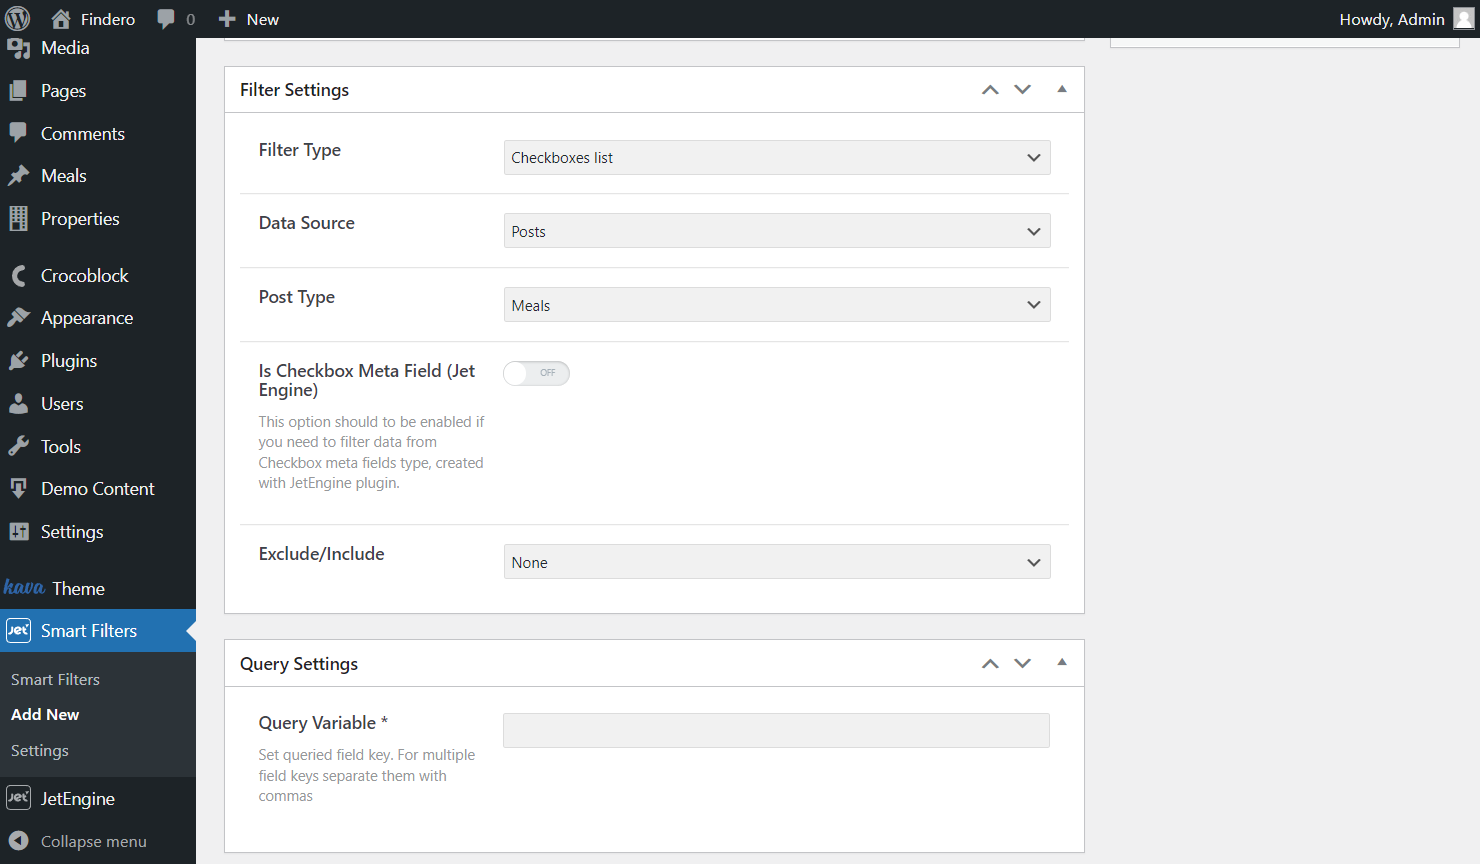
In the Filter Type drop-down, select the “Checkboxes list” option. The next thing you have to define is Data Source. This time we choose the “Posts” option.
This field type is the best if you have built a relation between custom post types and want to show the related posts as a list of options. After choosing this type, you will have to pick what Post Type items you wish to display as options.
The following Is Checkbox Meta Field (JetEngine) toggle should be essentially enabled if you need to filter data from the Checkbox meta field type built with the JetEngine plugin.
Also, you can exclude or include the desired options with the help of a similarly named field.
Head to the Query Settings tab once done with the Filter Settings one. As you can observe, the only available Query Variable field is empty now.
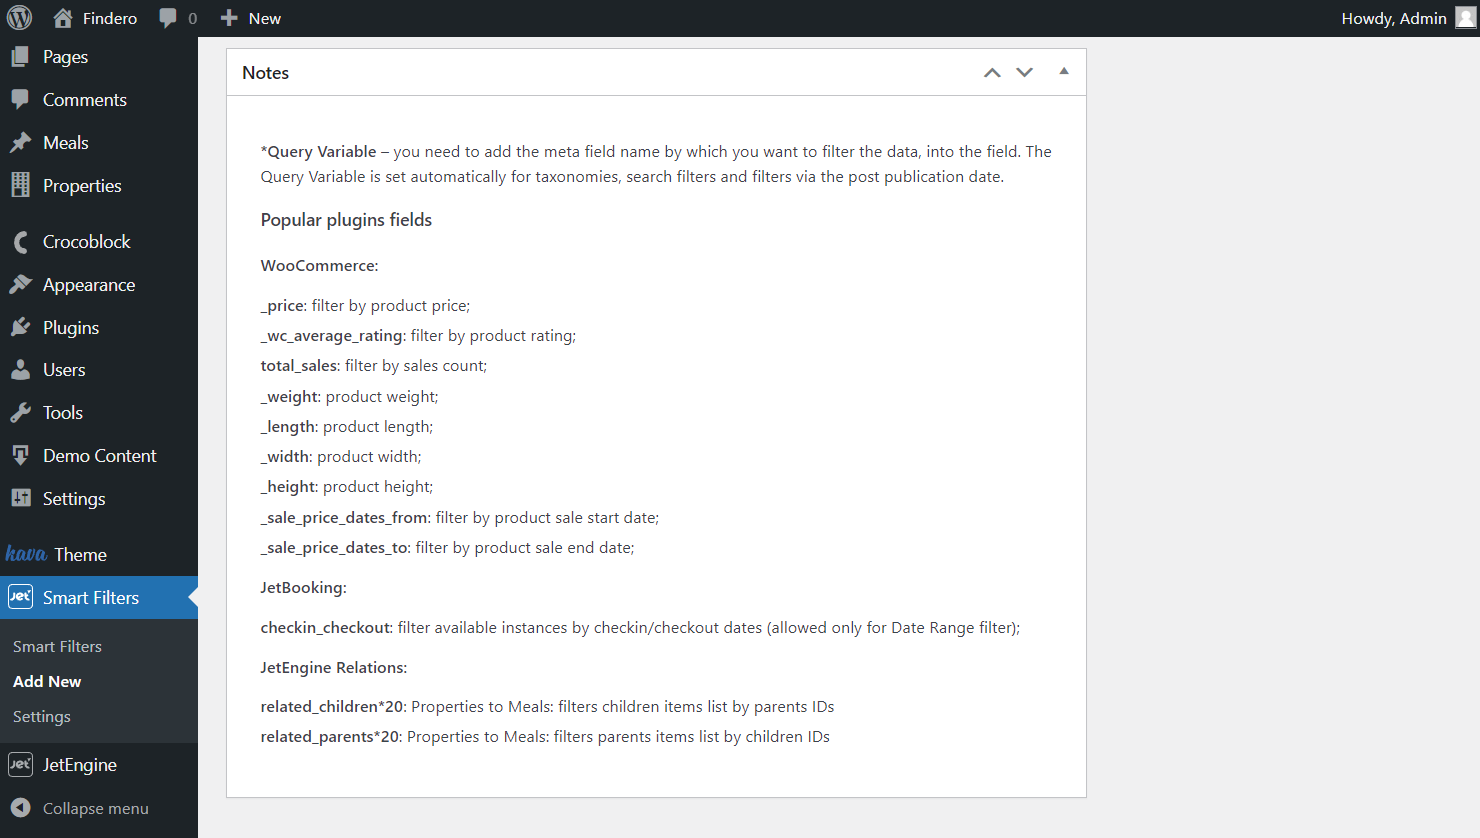
So we scroll down to the Notes section, which will help us fill in the correct Query Variable value.
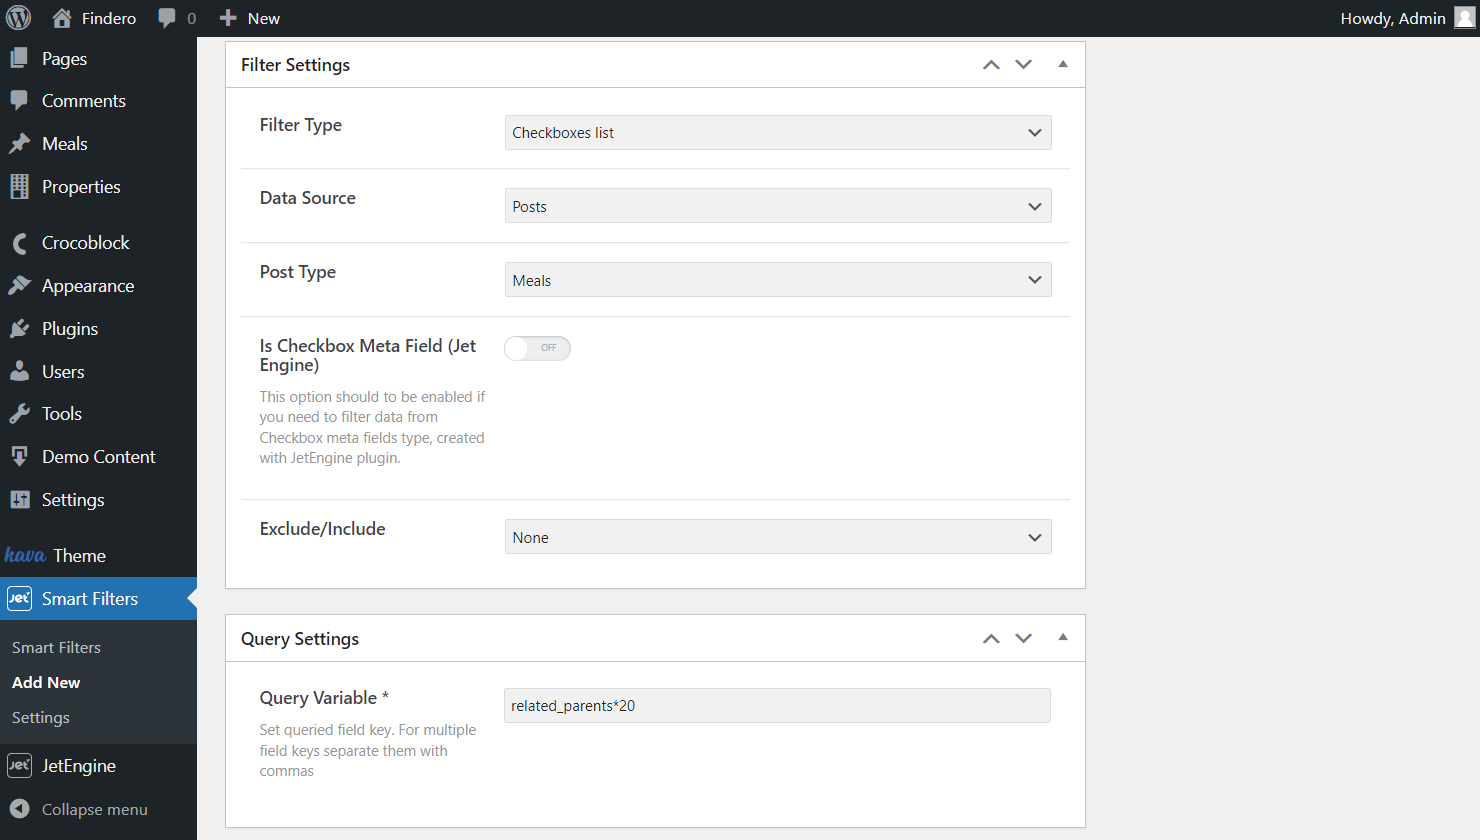
As we want to show the related posts and the Post Type we have set before as the child one in the created relation, we need to choose the value concerning related parents.
As the field is completed, click on the “Publish” button to save the result.
Add the Checkboxes Filter to the Page
Navigate to WordPress Dashboard > Pages > Add New to build a new page or edit the existing one. Select whether you want to edit the page with Elementor Page Builder or Block Editor. We will look at both these options.
Adding the filter in Elementor
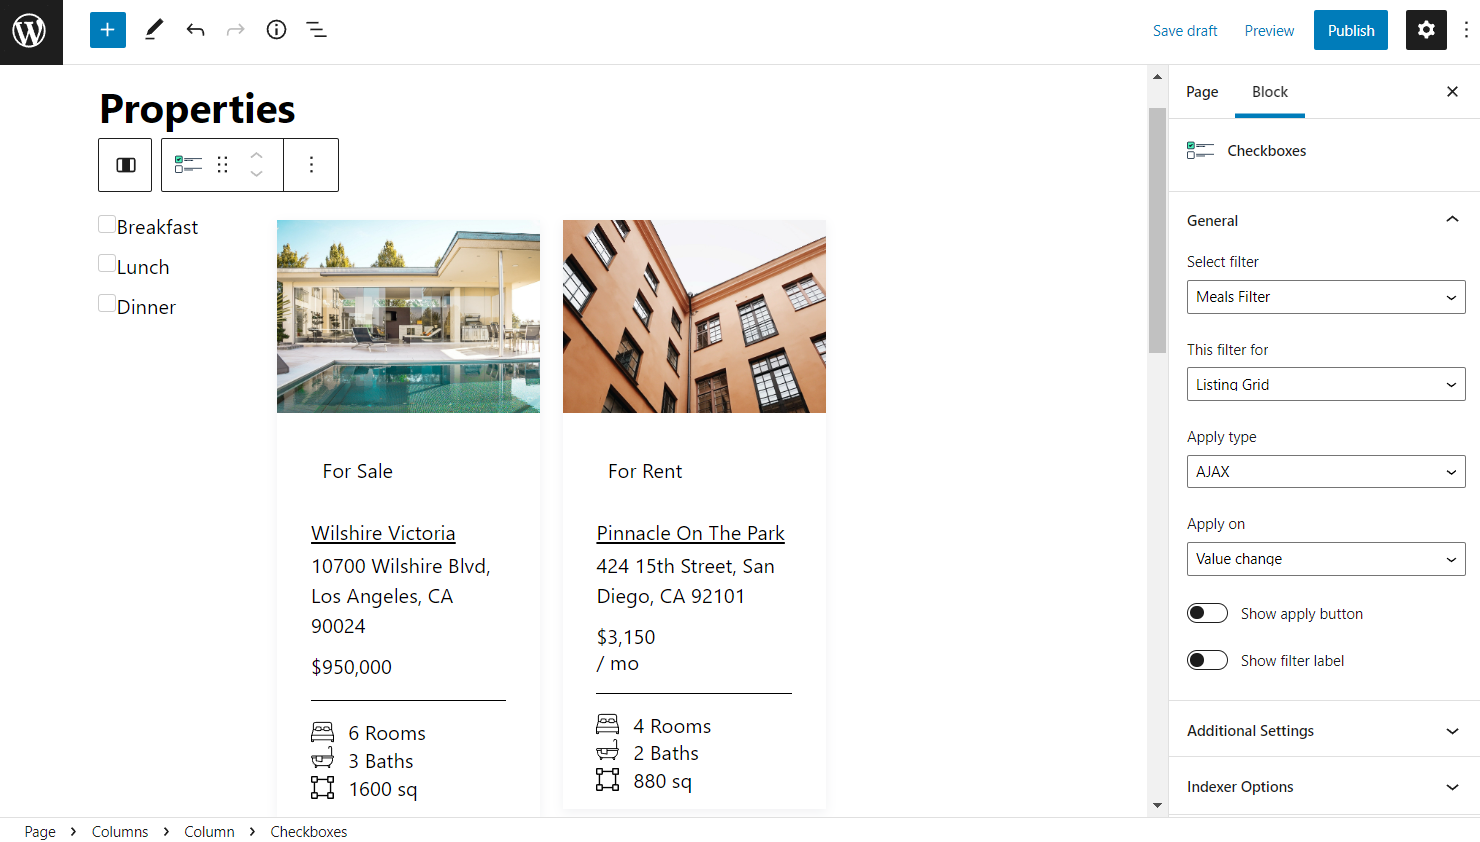
Open the needed page in Elementor Page Builder and drag-n-drop the Listing Grid widget to the section. Afterward, drop the Checkboxes Filter to the section.
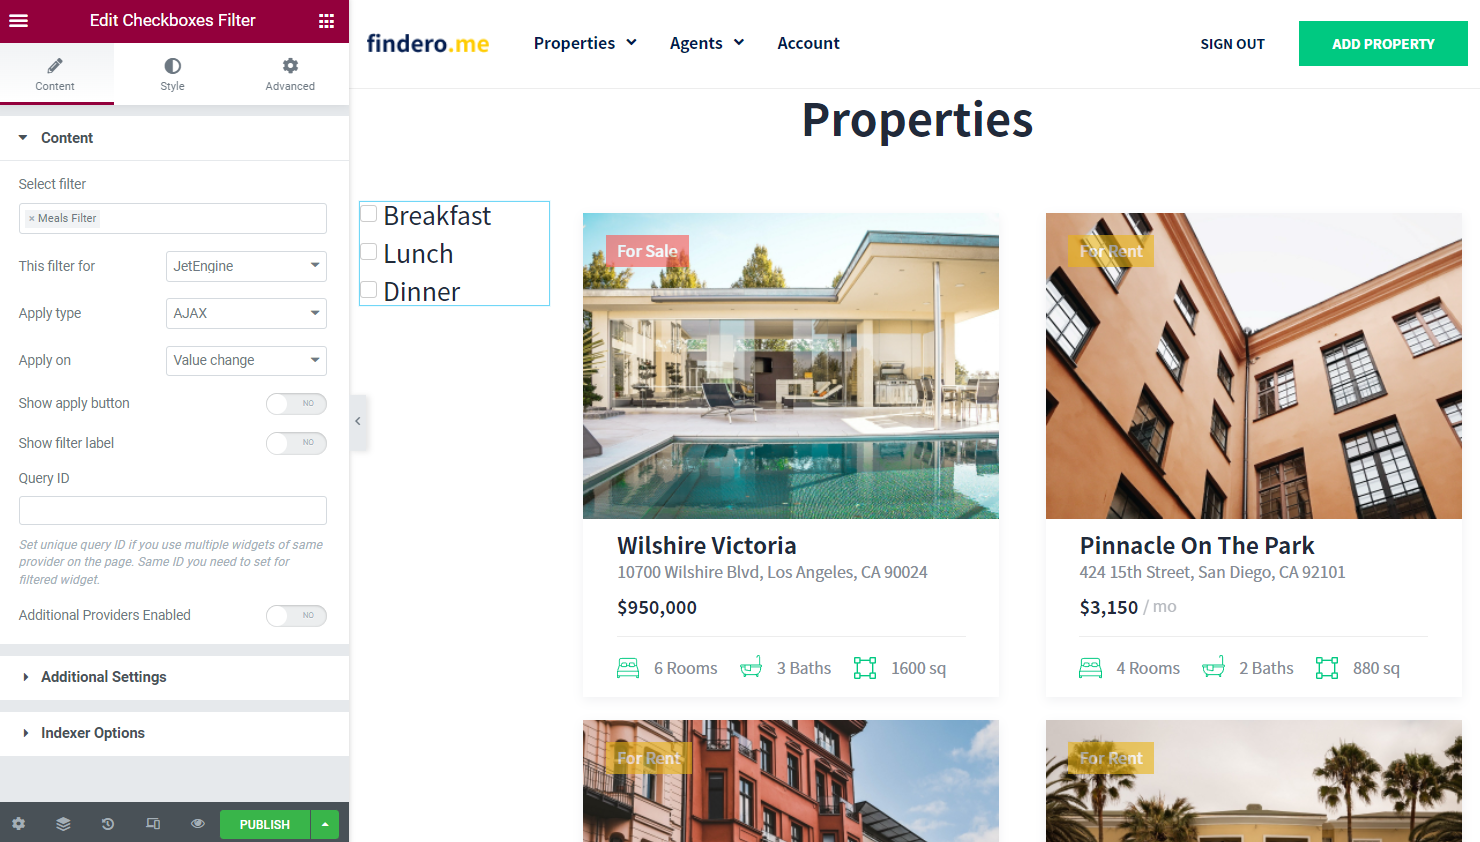
- Select filter — choose the filter you’ve created before;
- This filter for — select the “JetEngine” option as a provider;
- Apply type — define whether the page will be reloaded or the AJAX request type will be applied once the filter options are picked;
- Apply on — set the trigger for the filter to be applied;
- Show apply button — activate if you have selected the “Click on apply button” option in the previous field;
- Show filter label — switch on to depict the label next to the filter;
- Query ID — type in the CSS ID of the needed provider if there are several same widgets on the page;
- Additional Providers Enabled — toggle to filter content in several providers at once.
Open the Additional Settings tab to enable Search, More/Less, Dropdown, and Scroll options.
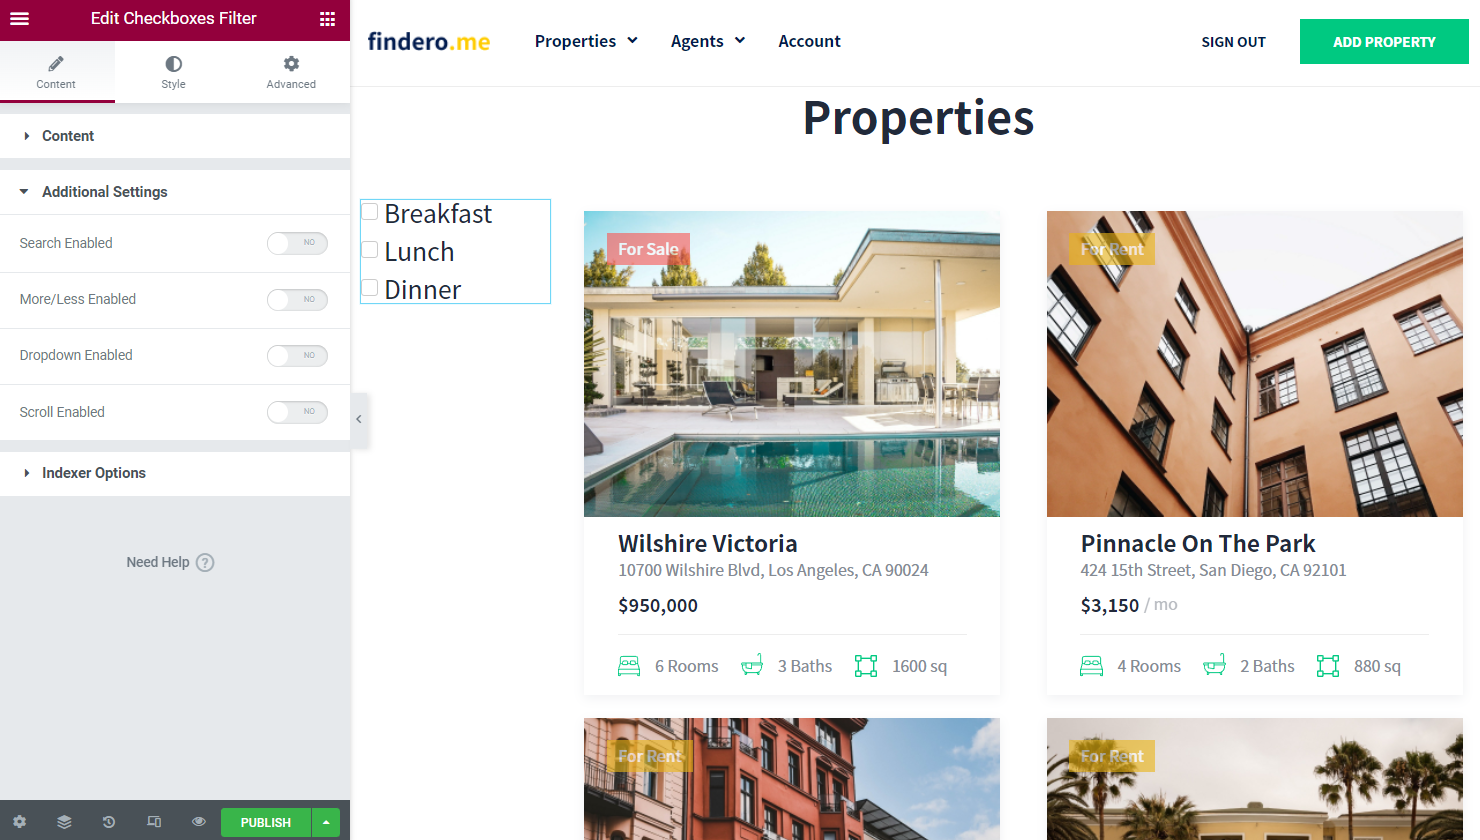
Search Enabled. This option allows you to search inside the filter easily. Optionally, you can change the placeholder by completing the Search Placeholder field.
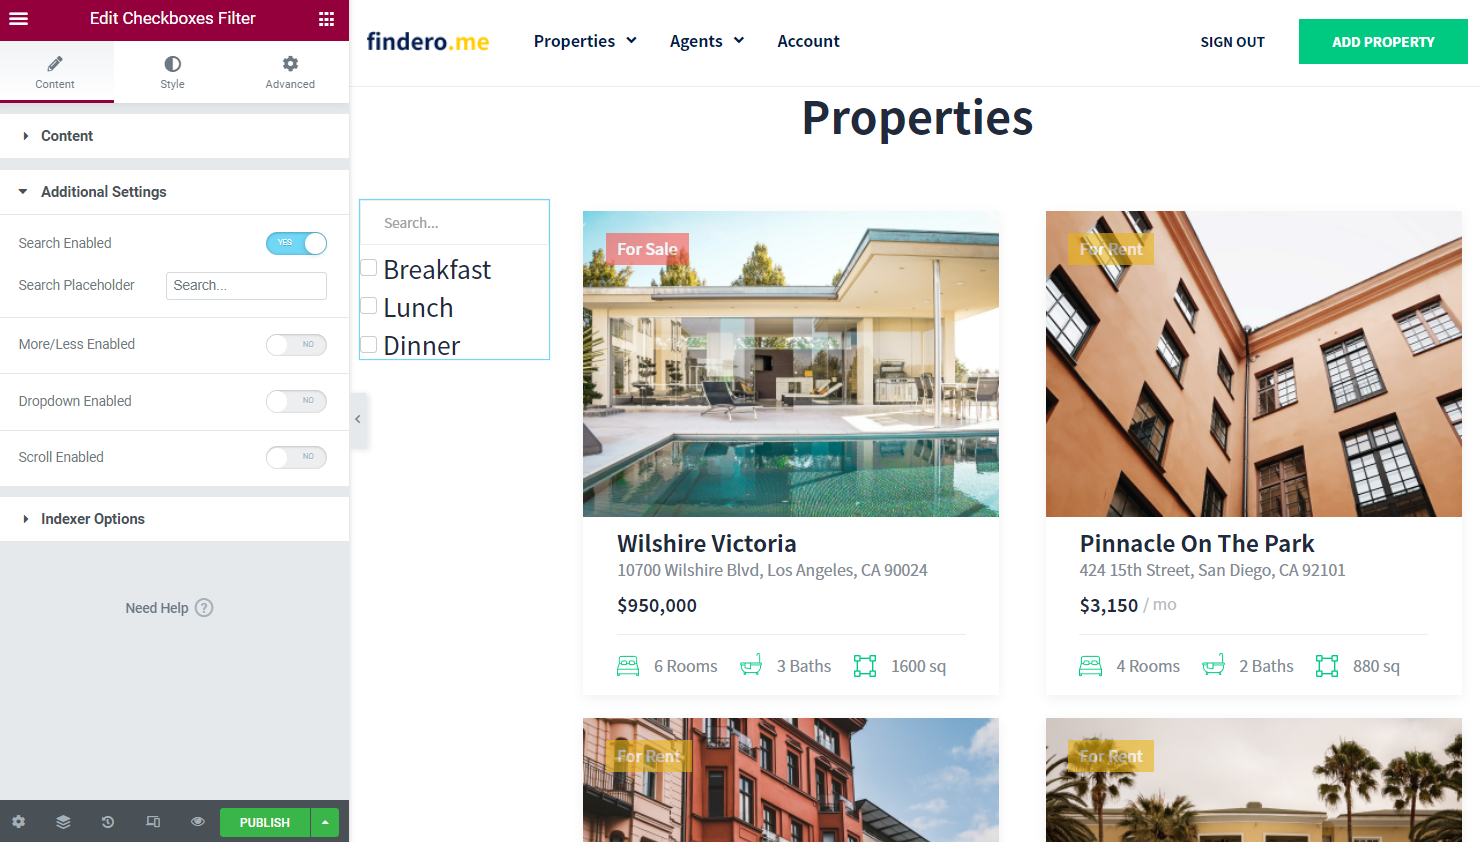
More/Less Enabled. Specify the number of filter items displayed on the page load in the Less Items Count. The rest of the filter items will be seen after clicking on the More button. These labels can be changed in the More Text and Less Text fields.
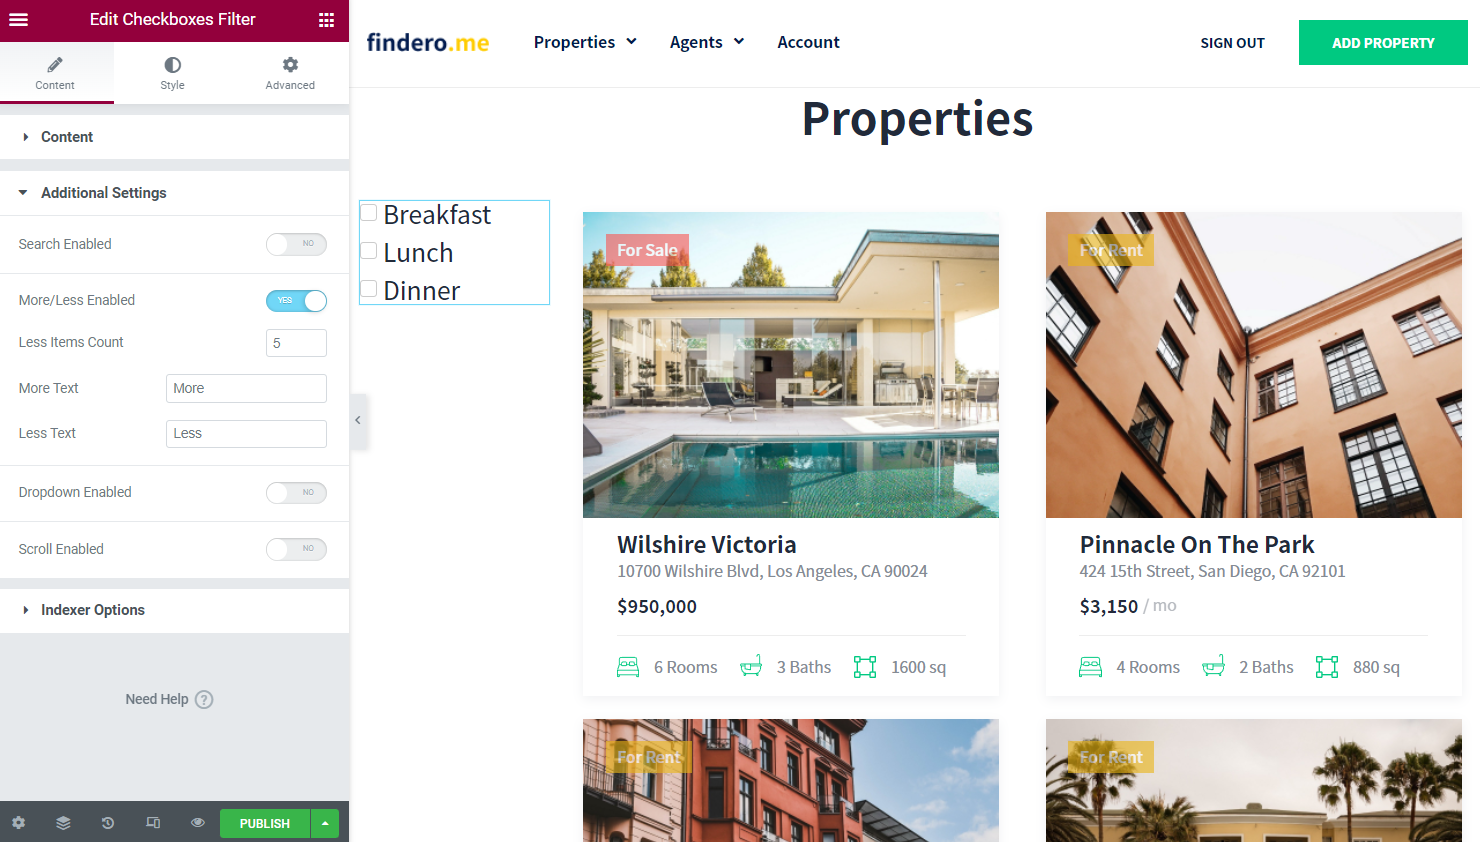
Dropdown Enabled. Make your filters look compact with the help of this option. That’s the easiest way to make the Checkboxes Filter items list expandable. Just change its Placeholder if desired.
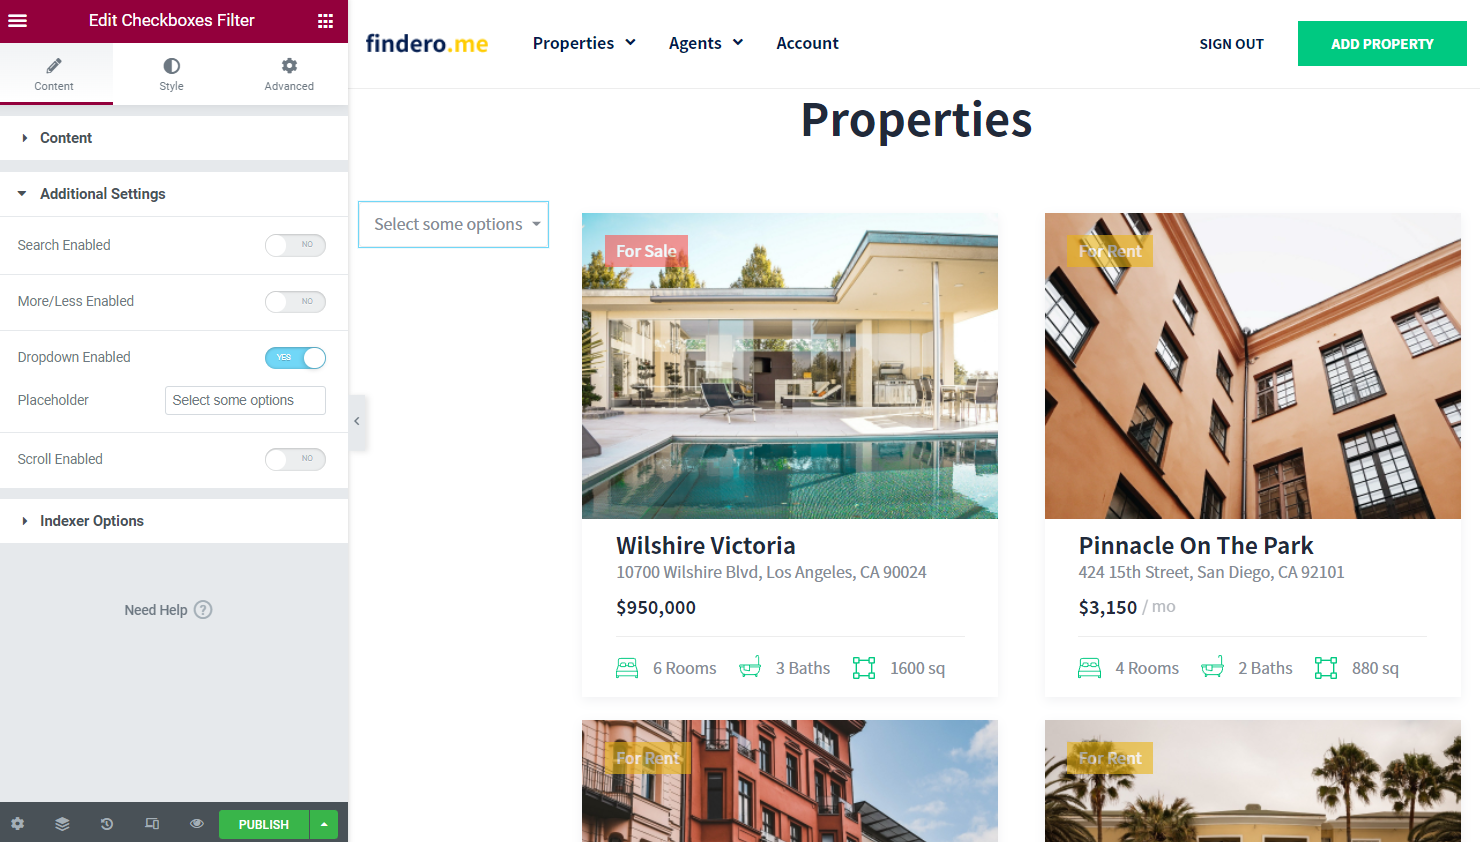
Scroll Enabled. Use this option to add a scrollbar to the filter items list with the ability to specify the scroll height in pixels in the corresponding field.

When you’re done with the customization, click on the “Publish” or “Update” button.
Adding the filter in Gutenberg
You may also consider working with the Block Editor available in WordPress. The adjustment settings here are the same as in the Elementor Page Builder, so check the previous section of the article if you need to clarify something.
Mind pressing the “Publish/Update” button and heading to the front end to see the filter in action.
Check the Results
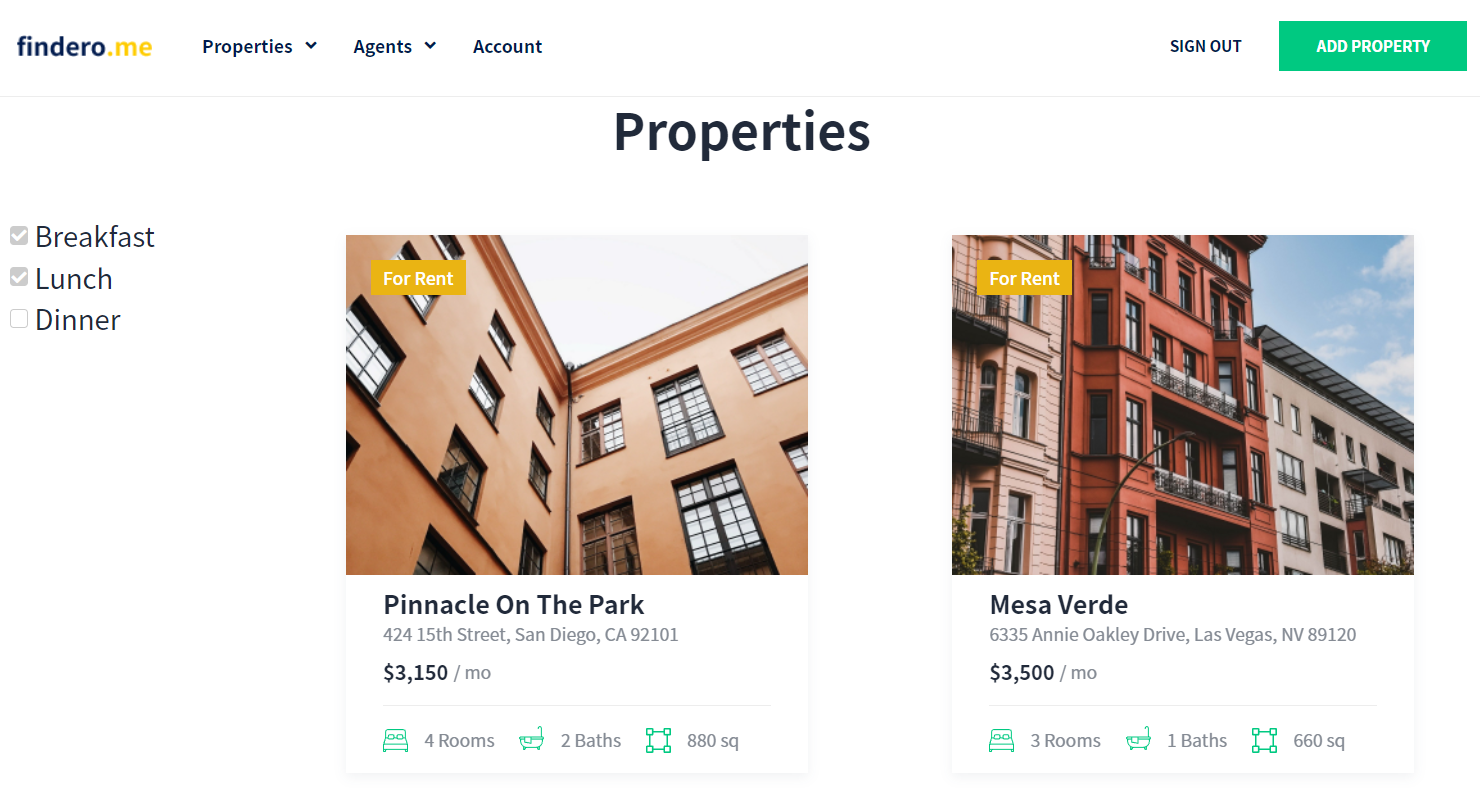
The parent posts are successfully filtered by their related children, so the result has been achieved.
That’s it; from now on, you know how to create the posts filter with the ability to check several options. Feel free to build other Checkboxes filters using the JetSmartFilters plugin.