Active Filters Overview
From this guide, you will learn how to give visitors an opportunity to see what filters are applied and disable the unnecessary ones using the Active Filters widget of the JetSmartFilters plugin.
If there are lots of filters that the visitor can apply to the listing, it will be really convenient to have the list of active filters somewhere on the top. Then the user won’t have to search through the filters list to disable some of them he doesn’t need anymore. You can let visitors disable applied filters with the help of Active Filters widget of the JetSmartFilters plugin.
1 Step — Add the Active Filters widget to the page
Add Active Filters Widget to Page
Go to the WordPress Dashboard, open the page or post where you have used the filter functionality, and start editing it in the Elementor editor.
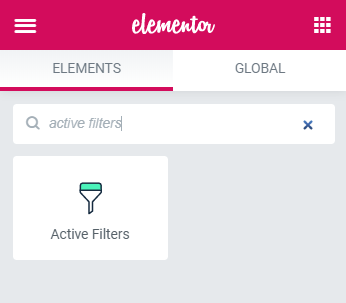
Find the Active Filters widget and add it to the section where the filters are.


Customize Active Filters Block
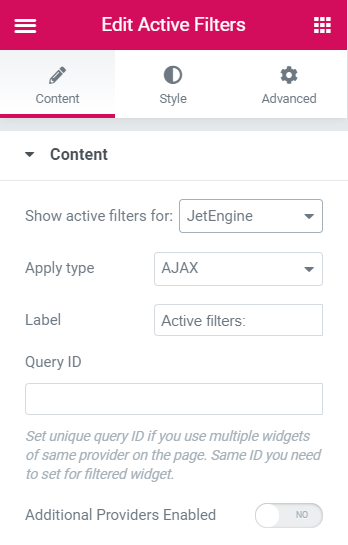
In the Content tab specify the provider to Show active filters for. After that, set the Apply type and define the Label. Use the Query ID option to define which filter is applied to which widget. It will be necessary in case you have a few similar widgets from the same provider on one page.

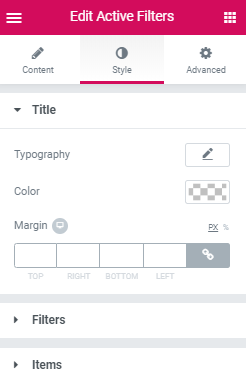
Style tab provides varied adjustments for customizing Active Filters widget according to your purposes. Here you can style the title, filters, and items of the widget. Don’t forget to save the changes by clicking the “Update” button.

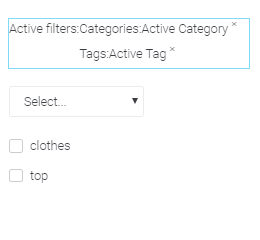
Now you can open the page and view how it works. Select an option in each filter, and you’ll see them appearing in the Active filters section. To disable them, you just need to click a cross icon near the name of the active filter.
Now you know how to display active filters and allow visitors to disable them using the JetSmartFilters plugin.