Remove Filters Overview
This tutorial will be helpful for you if you want to give the users opportunity to remove all the applied filters. You will learn how to do it using the Remove Filters widget of JetSmartFilters plugin.
Remove Filters widget of the JetSmartFilters plugin is a tool that adds a “Remove filters” button to the page. When the user clicks on it – all the applied filters will be turned off. This feature is very convenient, especially if there are several filters the user can use on the same items grid. With the Remove Filters widget functionality, the user won’t need to search through the filters list and manually turn off all the applied sorting options.
Let’s see how it works.
Add Widget to Page
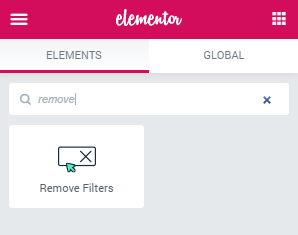
First of all, open the page where you placed the filters in the Elementor page builder. Find the Remove Filters widget in the widgets menu and drop it in an appropriate place on the page.

Customize Remove Filters Widget
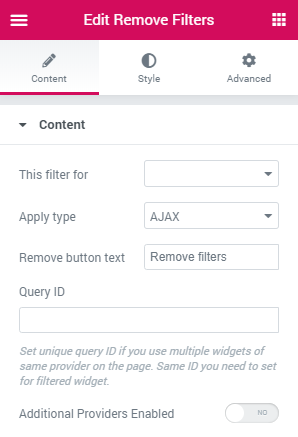
You can define the settings of the widget in the Content tab:
- In This filter for drop-down menu, you have to choose the provider of the widget you applied the filters to. If you are filtering the Listing Grid, then, probably, you should choose the “JetEngine” option. And if you are sorting the products, then WooCommerce related options will do. You can also apply one filter to several widgets with different providers. In this case, the Additional Providers Enabled toggle will come in handy;
- Apply type is the way the widget will be applied to the items. AJAX option will make the page return to the default state without reloading. And Page reload option, as it is obvious from the title, will reload the page after the user clicks the “Remove filters” button;
- If you want some other text to be shown on the button, you can change it in the Remove button text bar;
- When there are several widgets of the same provider on the page (for example, few Listing Grids) you will need to specify the widget you want the Remove Filters to work with in the Query ID field. If you wonder how to assign a filter to the concrete widget – read this tutorial;
- Additional Providers Enabled toggle, as said before, will be useful if you want apply the Remove Filters widget to several grids of different providers. Turn it on, press the “Add Item” button, choose the Additional provider in the drop-down list, and type in the Additional Query ID.

When you are done, go to the Style tab and customize the widget’s appearance according to your taste.
Save the settings by hitting the “Update” button and go ahead to view the Remove Filters widget on the front end.
Now you know how to enable the opportunity of selected filter options removal for your visitors with the JetSmartFilters Remove Filters widget.