How to Filter WooCommerce Products by Categories
With the JetSmartFilters plugin, you can filter your WooCommerce products by category. You can choose one of the seven filter types or apply several if you want.
Create Product Categories
Open your WordPress Dashboard and navigate to Products > Categories. Here you can see all the product categories that you have and how many products are assigned to them.
Please, note that you will need JetEngine or JetWooBuilder plugins to work with WooCommerce products.
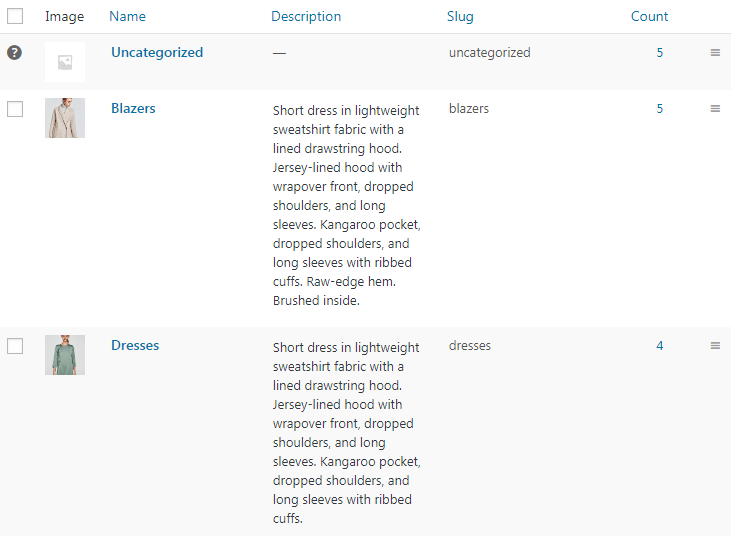
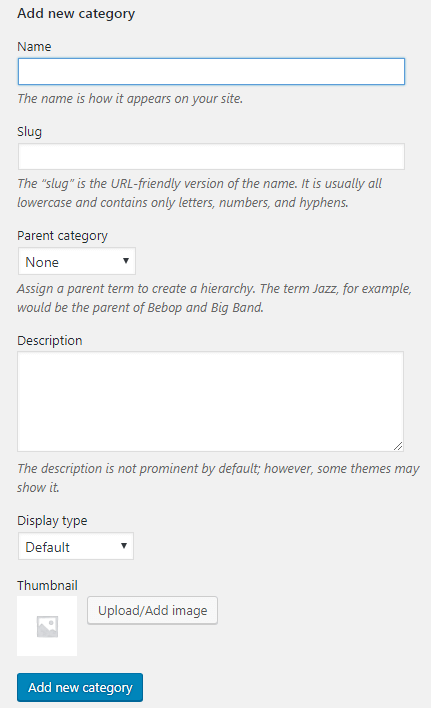
Also, you’re able to create New Categories. In order for the category to be displayed in the sorting list, you need to assign at least one product to it.
Create Filter
After that, go to Smart Filters and click on the “Add New” button to create a filter.
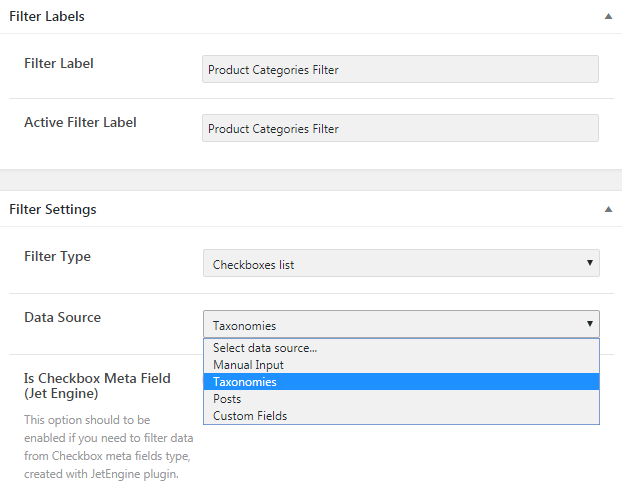
You will need to give your filter a Name, Filter Label, and Active Filter Label. In the Filter Type bar choose the “Checkboxes List”, and in Data Source select “Taxonomies”.
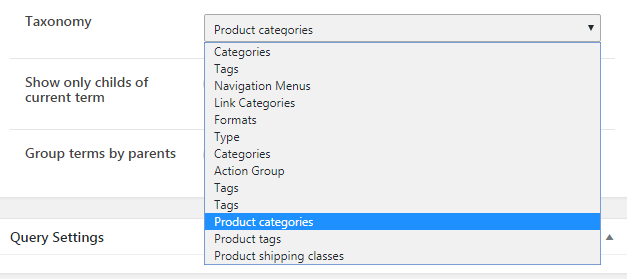
Also, choose “Product categories” in the Taxonomy field. Afterward, click on the “Publish” button.
Add Filter to Page and Assign it to Products Grid
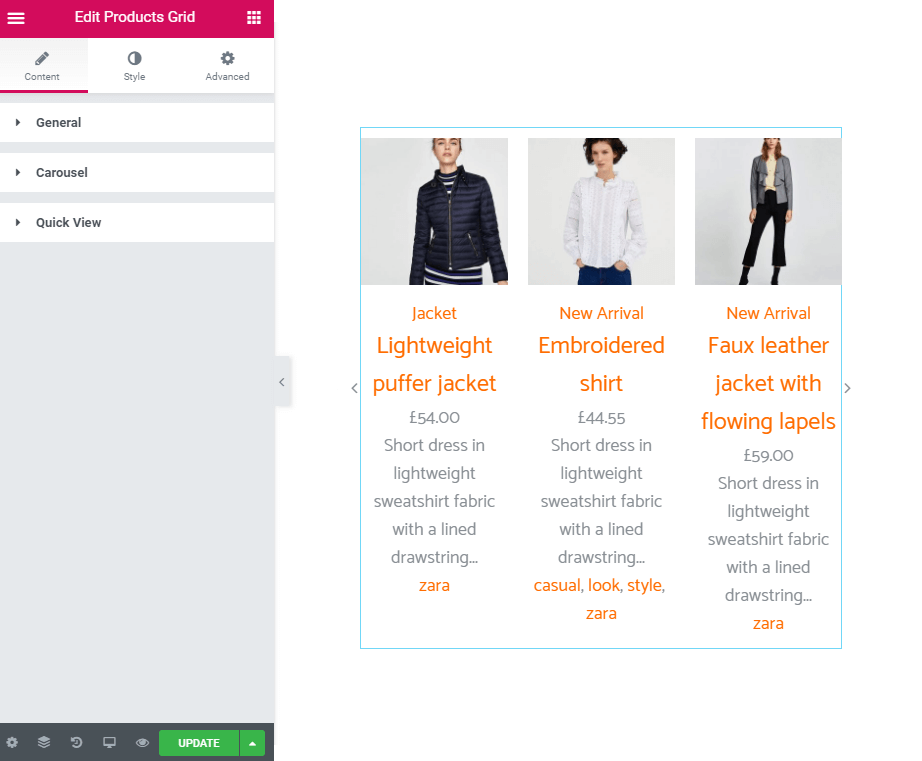
Open the needed page and click on the “Edit with Elementor” button to proceed. You can showcase your products with the help of the Product Grid widget.
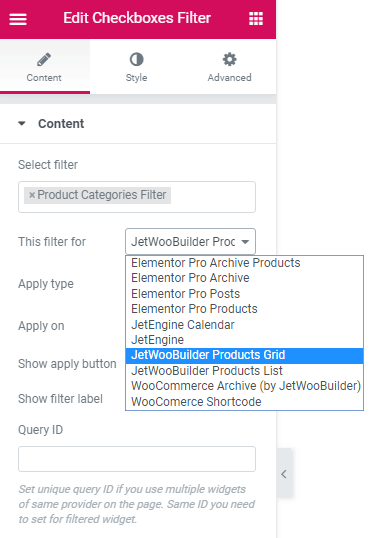
Then, drag-n-drop the Checkboxes Filter widget to the section where you want to place it. Navigate to the Content settings block and choose your filter in the Select filter section. Apply This filter for “JetWooBuilder Product Grid”.
When you are done, click on the “Update” button and check how the filter works.
Now you can filter your WooCommerce products by categories using the JetSmartFilters plugin.