How to Apply an Animation Effect to Product Thumbnails
From this tutorial, you’ll learn how to apply different animation effects to product thumbnails with the JetWooBuilder plugin.
JetWooBuilder is a plugin with the help of which you can easily build a custom product page via drag and drop way in Elementor to represent your products. So, if the page contains product thumbnail images, you can easily apply an animation effect to them.
Add Images to WooCommerce Product Gallery
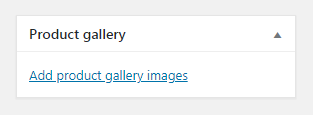
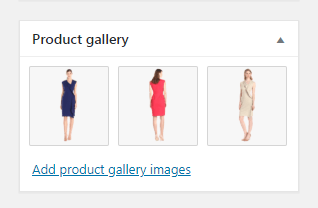
Navigate to Products block in the WordPress dashboard, select the product you want to add an animation effect to, and click “Edit“. Scroll down and find the Product Gallery block on the right side. Click “Add product gallery images” option.

Select images from your Media Library or upload them to select. Afterward, click the “Add to gallery” button.

Now you can proceed to the next step.
Add an Animation Effect for the Product Thumbnail
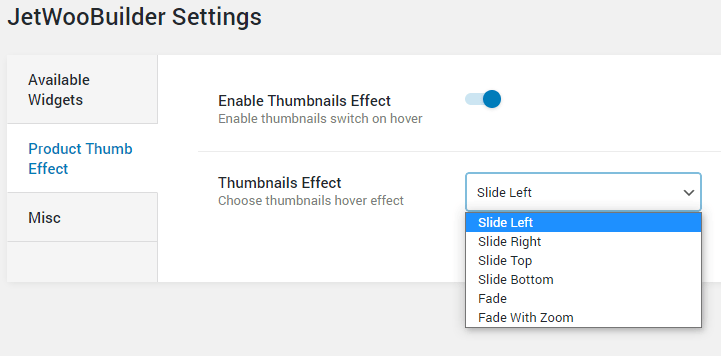
Return to the WordPress Dashboard and go to JetPlugins > JetWooBuilder Settings tab. Switch to the Product Thumb Effect section and to turn on the Enable Thumbnails Effect toggle in order to enable animation for the product thumbnails on hover.

Afterward, select one of the different animation effects from the Thumbnails Effect dropdown. There are Slide Right, Left, Top, Bottom, Fade and Fade With Zoom effects.
Click the “Save” button to conserve the progress.
Then, go to the shop page, where the products are displayed and hover the product thumbnails to view the chosen animation effect.
That’s pretty much it. Go back to your website and decide which animation you like the most!