How to Use the "Is Checkbox Meta Field" Option
This tutorial will uncover how to create a Checkboxes list filter with Manual Input data source based on the checkbox meta field type with the help of the JetSmartFilters plugin.
Before we start adding a Checkbox filter of the JetSmartFilters plugin to our post type, we should previously create a post type and add some posts in it. How to perform it, read in this tutorial.
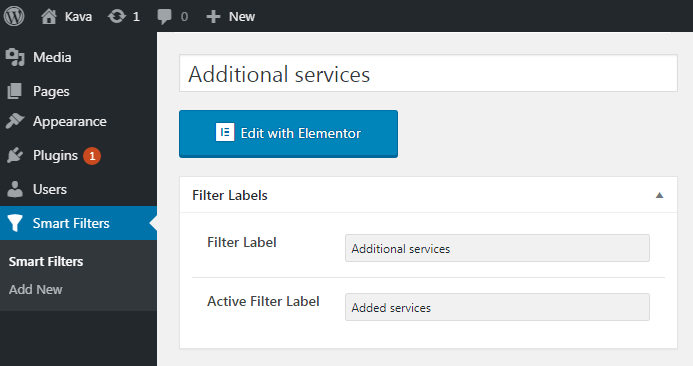
In the WordPress Dashboard, go to Smart Filters > Add new option.
Give your filter the Title, Label, and Active Label as well.

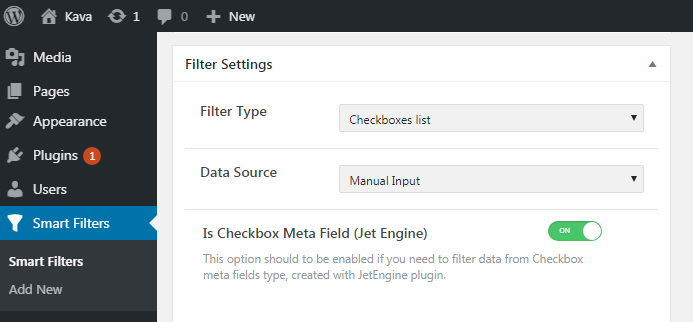
In the Filter Settings block, you should select the Checkboxes list filter type.
Here, in the Data Source dropdown menu, you should choose the Manual Input option.
Now be very attentive to toggle on the Is Checkbox Meta Field (Jet Engine) option, because you need to filter data from the previously created Checkbox meta fields type.

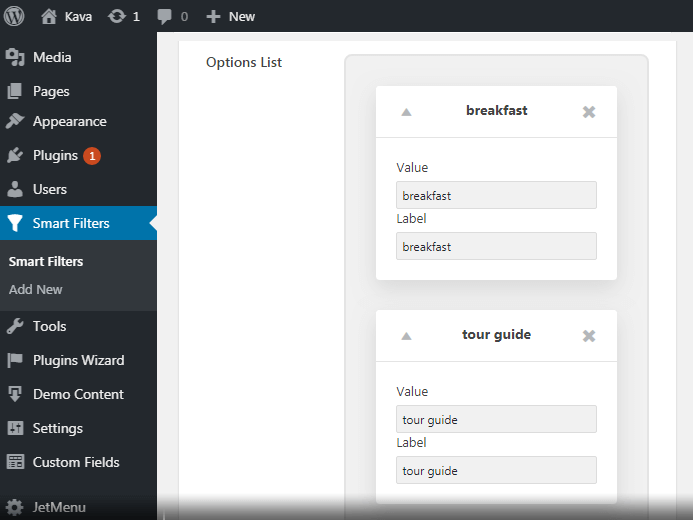
In the Options List you need to click New Option link and fill in the same meanings in the Value and Label fields as you have added to Checkbox meta field type.
Notice, that to make the filter work you have to add the same options as you have created in the meta field.

In the Query Variable field, enter the Name/ID of the Meta Field from which you have chosen the options.
Click the Publish button to save the changes.
To know more about the Checkbox filter type, read this tutorial.
After all settings on the page, it might look like it.
All in all, now you know how to use the Checkboxes list filter to filter the publication with the manually added options.