How to Set Proper Memory Limit in WordPress Environment System Info
This tutorial explains the way to check the memory limit set for your WordPress installation and explains how to increase it.
WordPress Environment System info is the information about your current WordPress installation. It gives you tips about the version of the WordPress engine used on the website. Here you can also learn the website’s URL, file max upload size, and memory limit value.
WordPress Environment System Info (Based on Elementor)
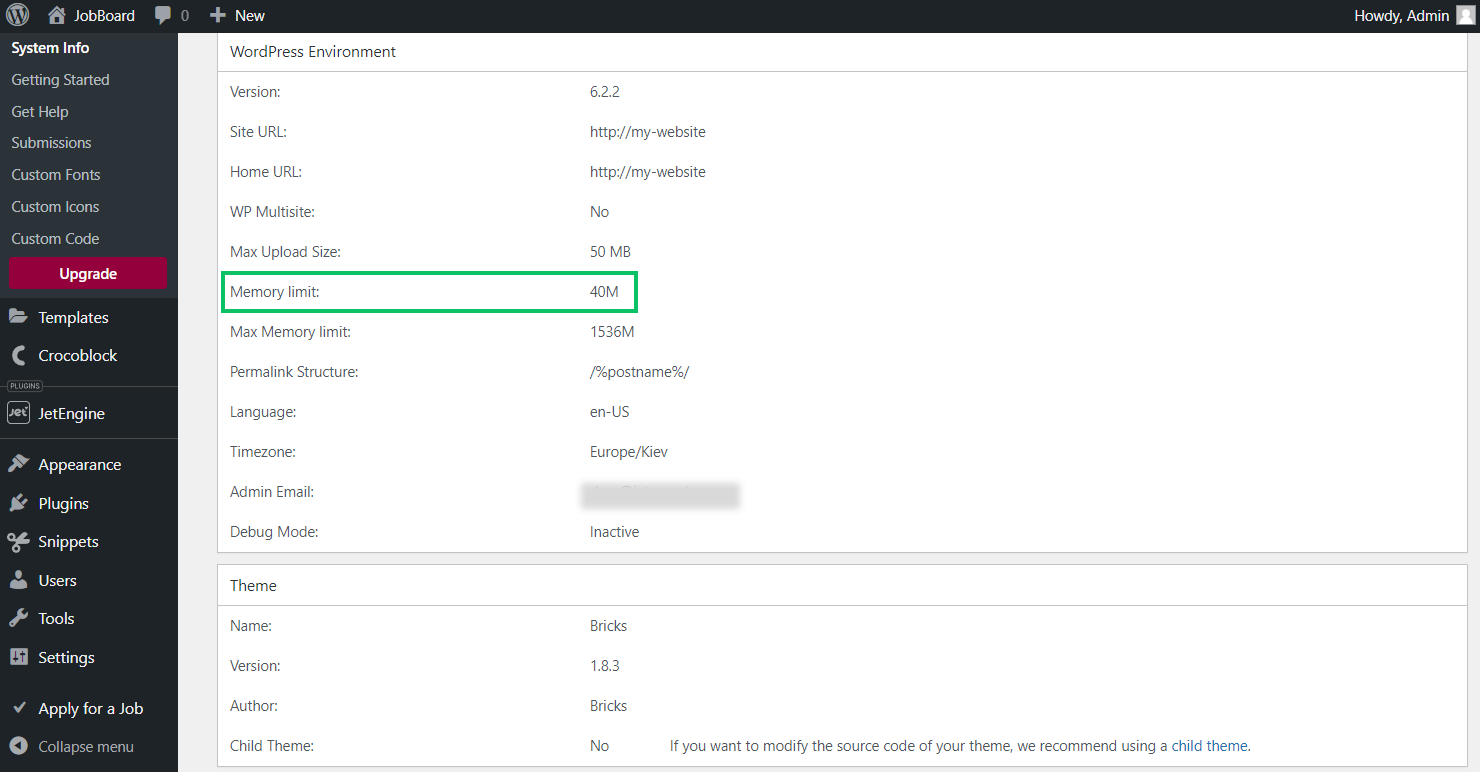
Navigate to WordPress Dashboard, and then click the Elementor > System Info section. The second block is WordPress Environment.

Importance of Checking
First, here you can find the info about the version of your WordPress. So if your version is not the latest, you should upgrade it. Besides that, check the URL of the site in order to know how the link to your site looks.
Second, here you’ll see a function of WP Multisite. It is a mode for working with many WP projects using one general database. If one day you decide to create more than one site, you should set up a Multisite feature. Also, there is information about the maximum size of uploadings.
Third, you’ll see the info about the structure of permalinks, language, timezone, admin email, and debug mode.
And finally, the most important thing you have to check is the Memory limit.
You have 40M by default. While actively working with WordPress, you can run into the Memory limit exceeded error. So you won’t be able to continue working. In order to avoid this, you should set up the proper memory limit.
Increasing the Memory Limit
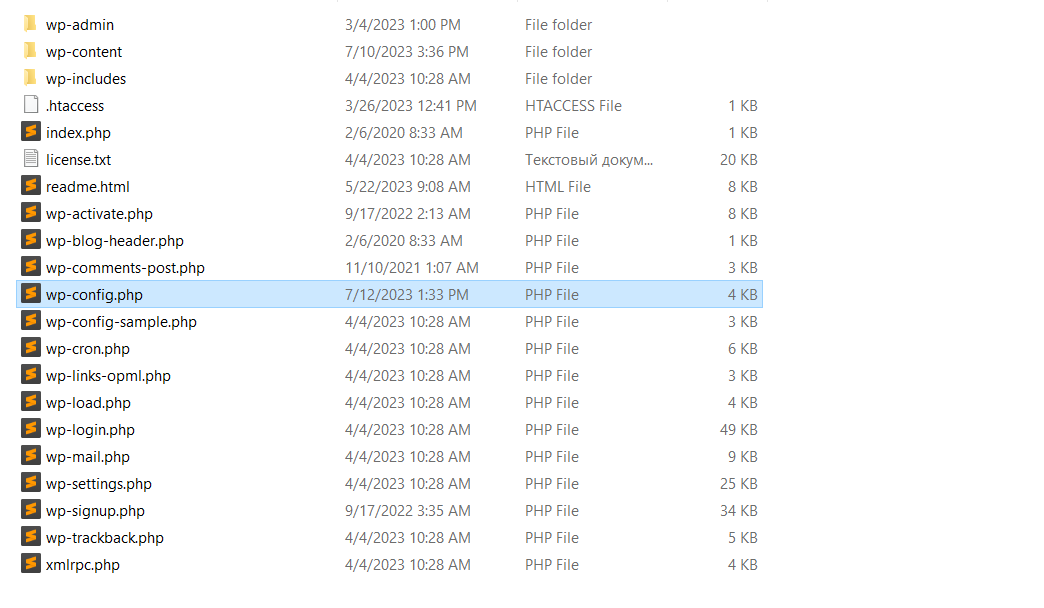
Find the wp-config.php file on your hard drive.

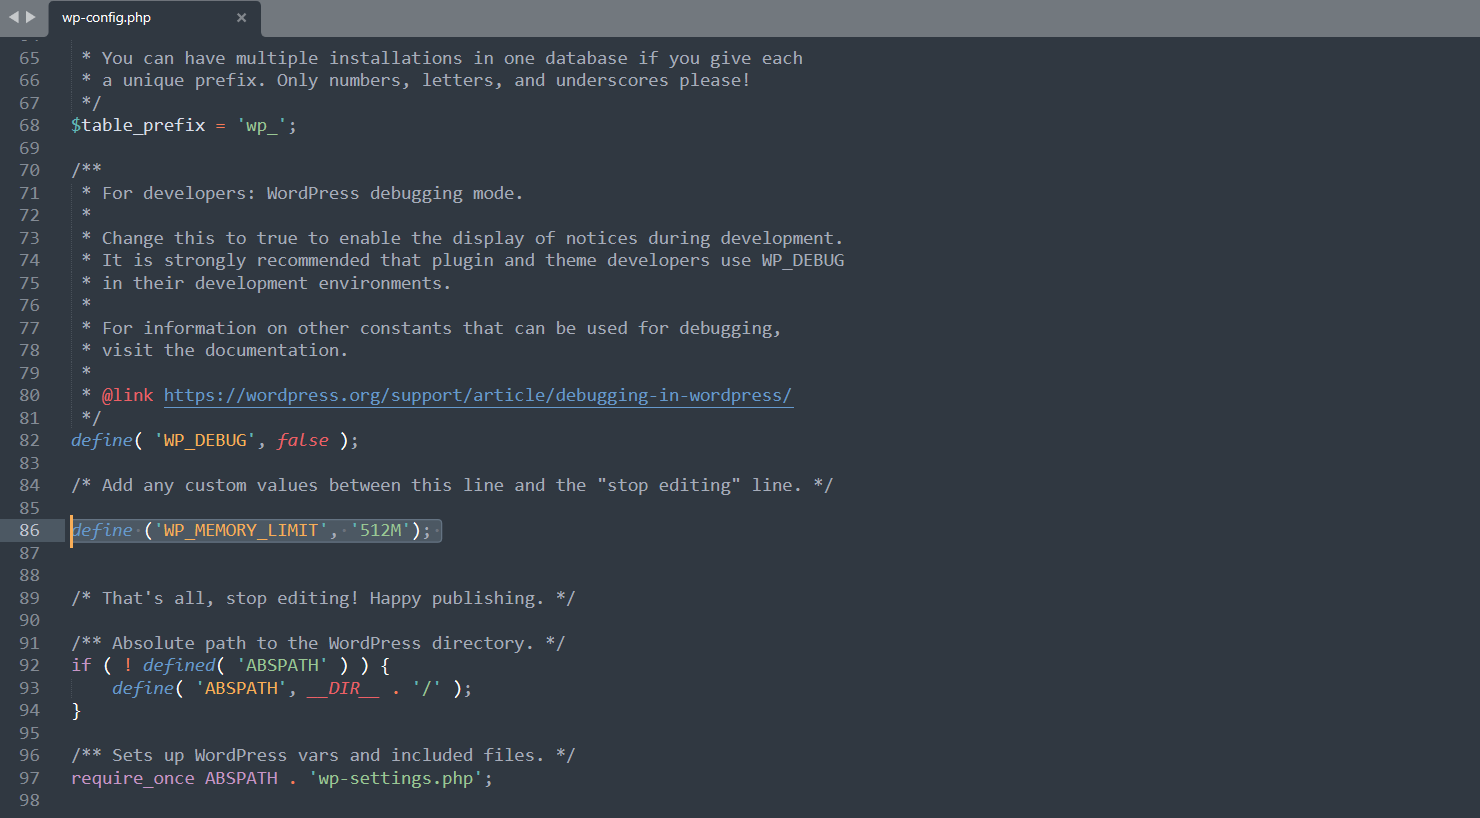
Scroll down until you see the line saying, “Happy Publishing”. Copy:
define ('WP_MEMORY_LIMIT', '512M'); And paste it before this line and save the changes.

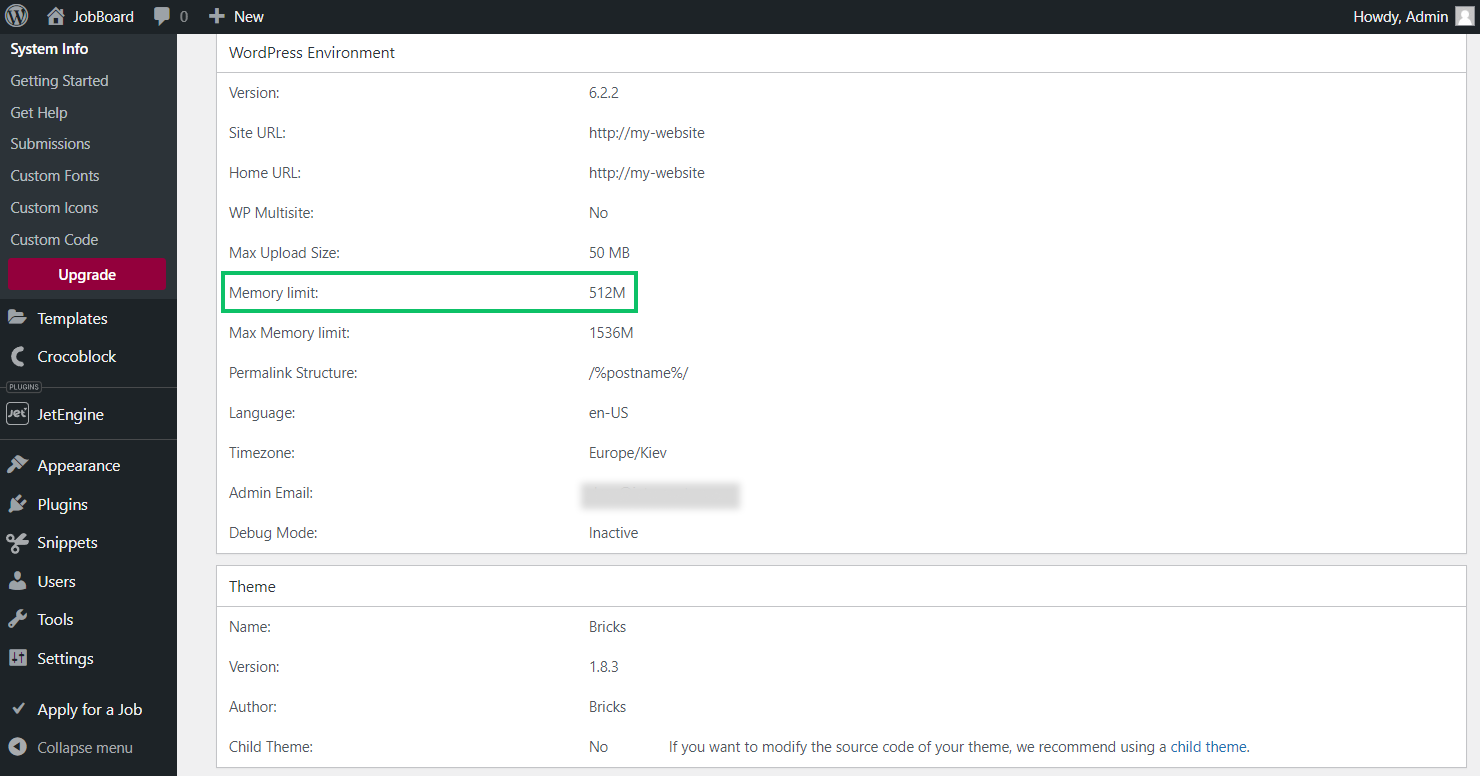
After this, go to the System Info block and check the changes.

Now you won’t face difficulties with the lack of memory limit.