Cannot Display Iframe with Dynamic Widgets
Find out how to fix issues when added embed audio or videos are not displayed on the front-end.
The problem with the display may appear due to security reasons. The content of the meta field allows the output of only allowed HTML tags. That’s why other needed HTML tags should be allowed to fix it.
Initially, add a meta field in the Custom Post Type editor or JetEngine Meta Box if you haven’t done it yet.
The following cases will be presented via the Custom Post Type editor.
Textarea Field
Type in all the needed fields and choose “Textarea” as a Field type.
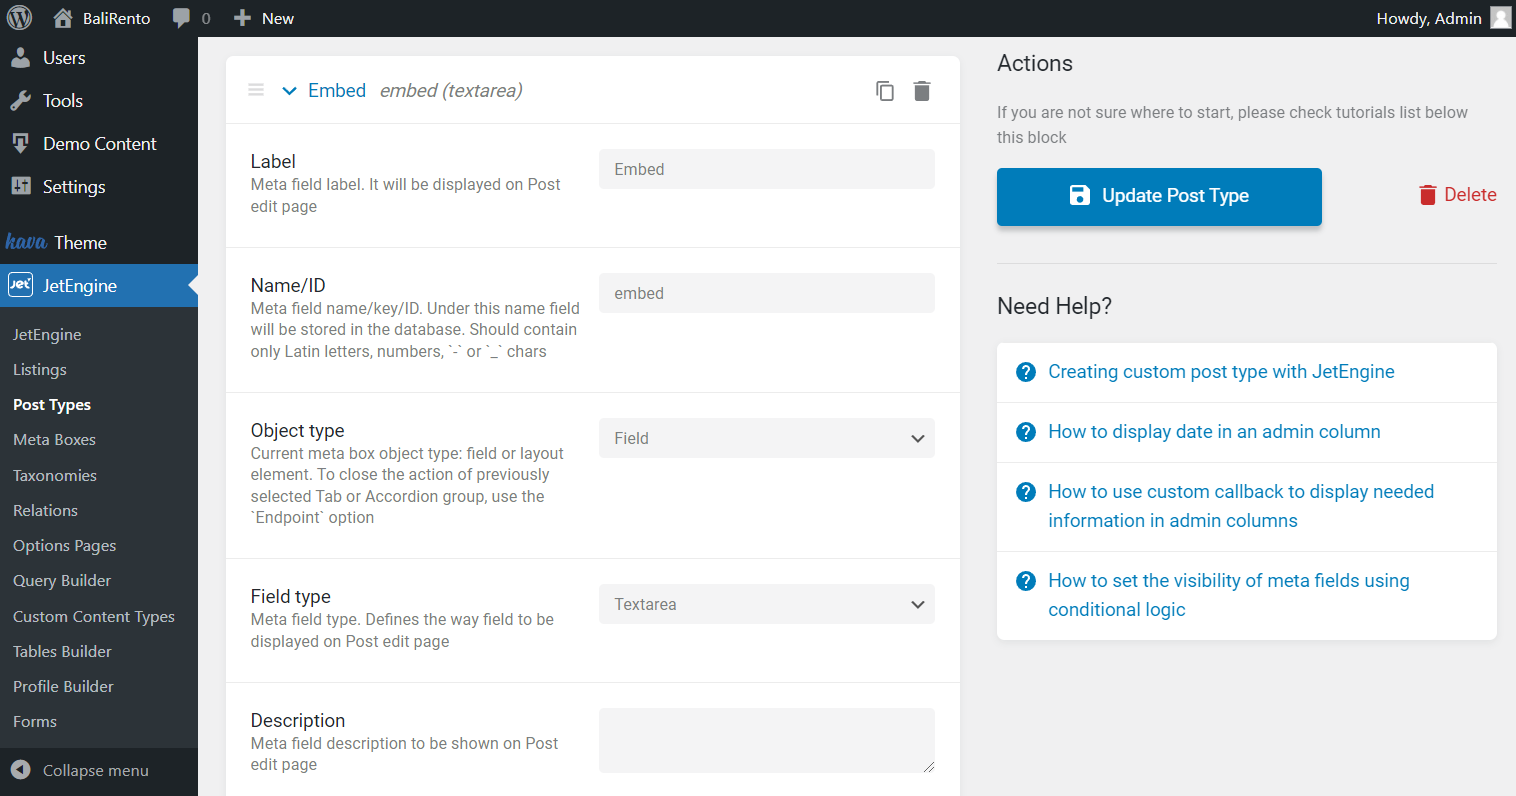
Once the customization is done, click on the “Update Post Type” button.
Proceed to the desired CPT post and complete the newly-created meta field with embeds where needed.
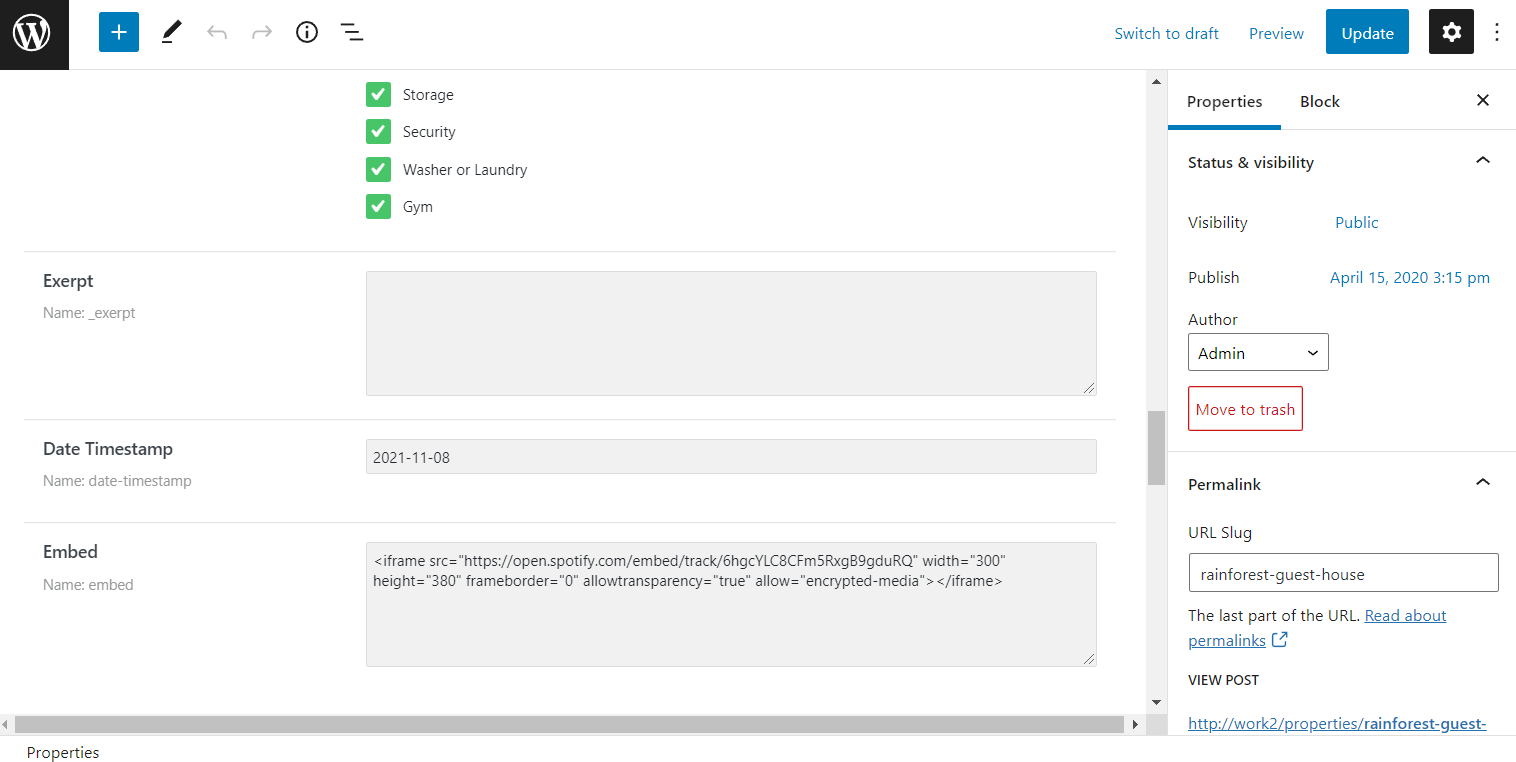
Update the post by pressing the button in the editor window’s top right corner.
There are two ways to allow the attributes for the input display.
WordPress Theme Editor
The first option is to paste the code directly to the WordPress Theme Editor.
Head to Appearance > Theme Editor. Choose the WordPress theme you are currently using and open its functions.php file.
Paste the following code:
add_filter( 'wp_kses_allowed_html', function ( $tags, $context ) {
if ( 'post' === $context ) {
$tags['input'] = array(
'type' => true,
'id' => true,
);
}
return $tags;
},10,2);
Type in the required attributes that have been used in the embed. For instance, the code we are using will look like this:
add_filter( 'wp_kses_allowed_html', function ( $tags, $context ) {
if ( 'post' === $context ) {
$tags['iframe'] = array(
'src' => true,
'width' => true,
'height' => true,
'width' => true,
'frameborder' => true,
'allowtransparency' => true,
'allow' => true,
);
}
return $tags;
},10,2);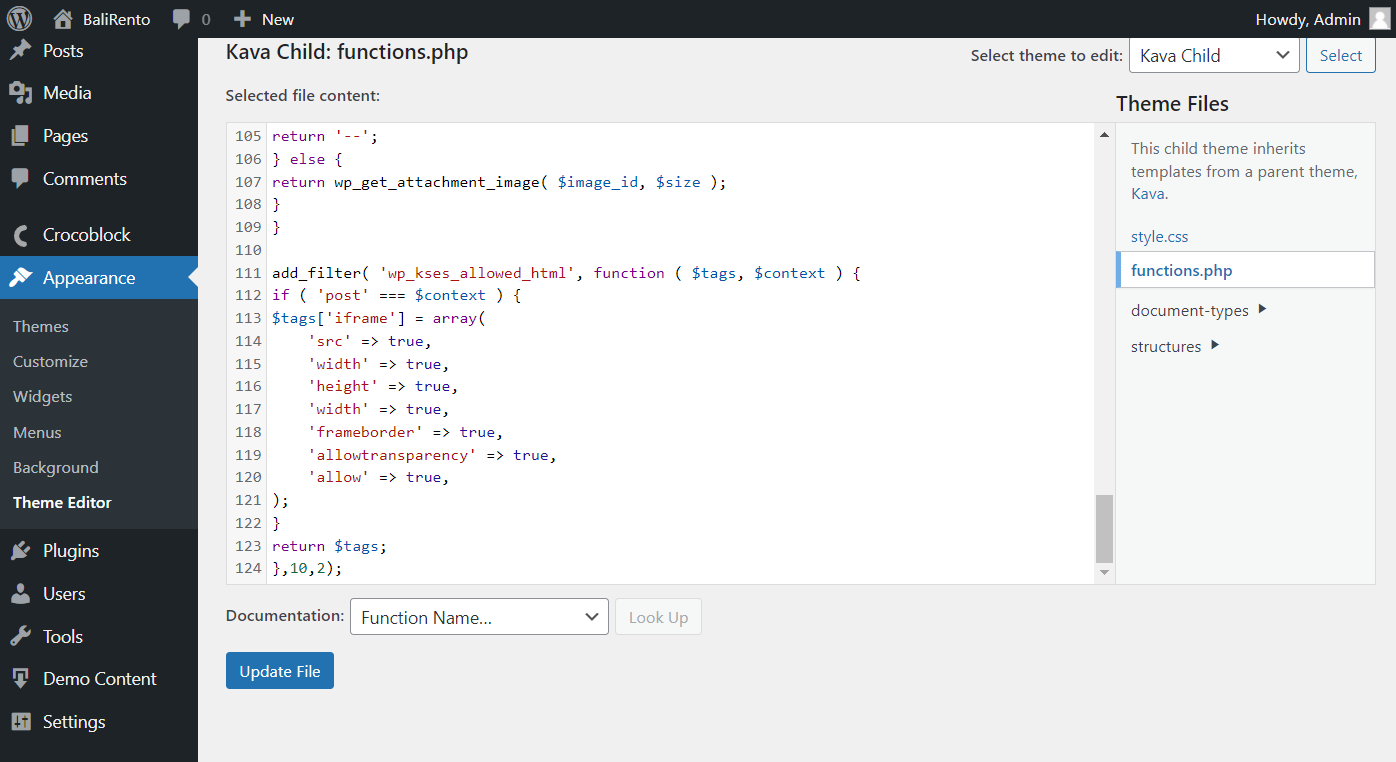
We have deleted ‘type’ and ‘id’ attributes and added other ones presented in the embed.
Push the “Update File” button.
Code Snippets Plugin
The second option is to use the Code Snippets plugin (you can use any other similar plugin).
Install and activate the plugin. Proceed to it by clicking on the Snippets tab on the WordPress Dashboard.
Push the “Add New” button to open the code editor.
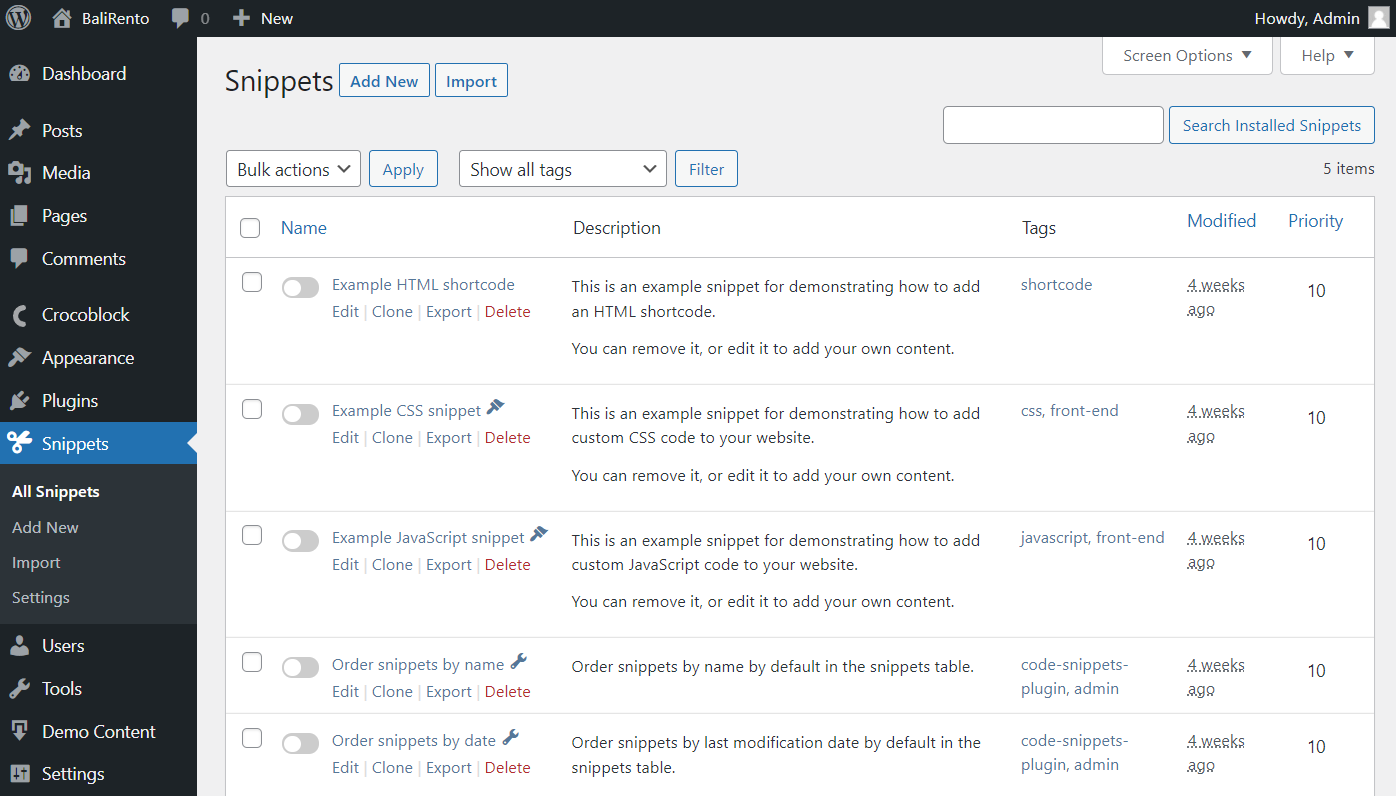
Paste the same code in the available fields and change the values to those you need.
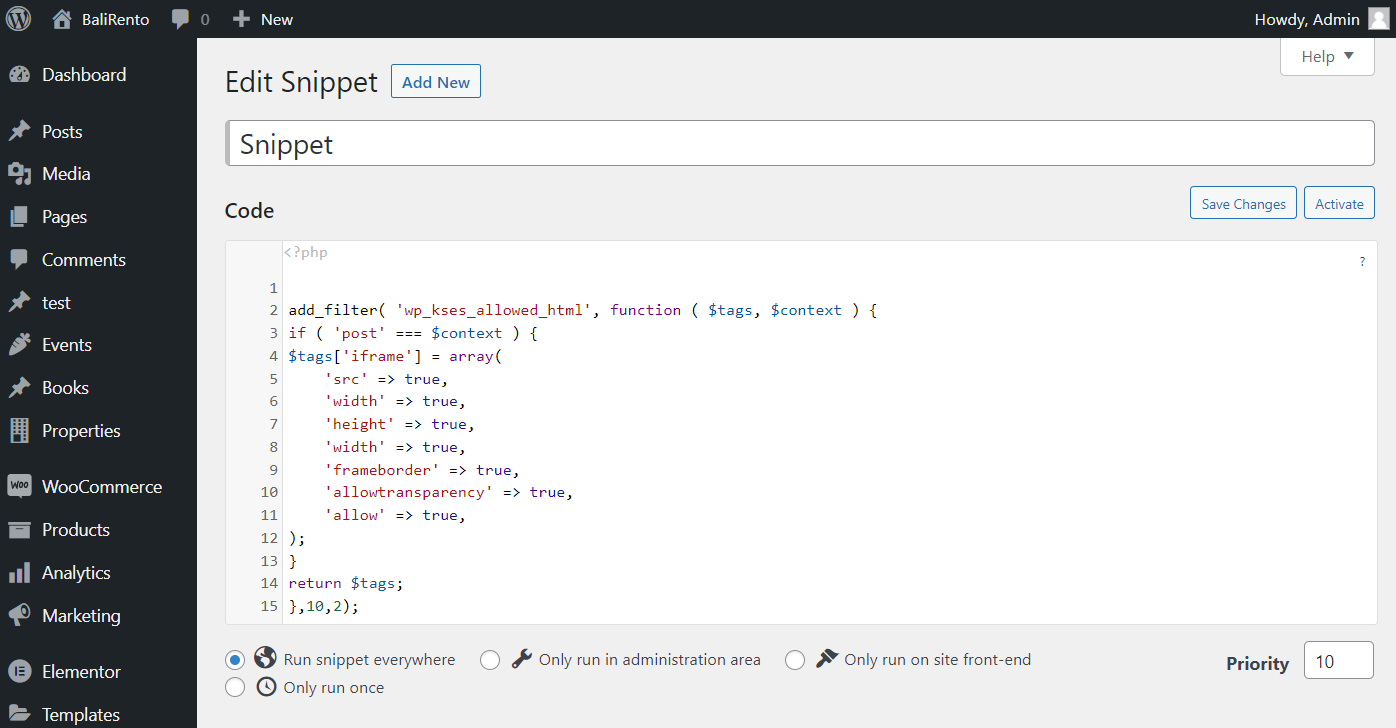
Now push the “Save Changes” and “Activate” buttons.
Results with the Dynamic Field
Navigate to the page you want to place the embed. This page should represent the one you have the iframe code added—for instance, a single page of the CPT, as in this example.
Add the Dynamic Field widget to the page. Set the “Meta Data” option as the Source and select the completed Meta Field in the corresponding drop-down menu.
Or, you can add a Custom meta field/repeater key that will override the Meta Field drop-down menu option.
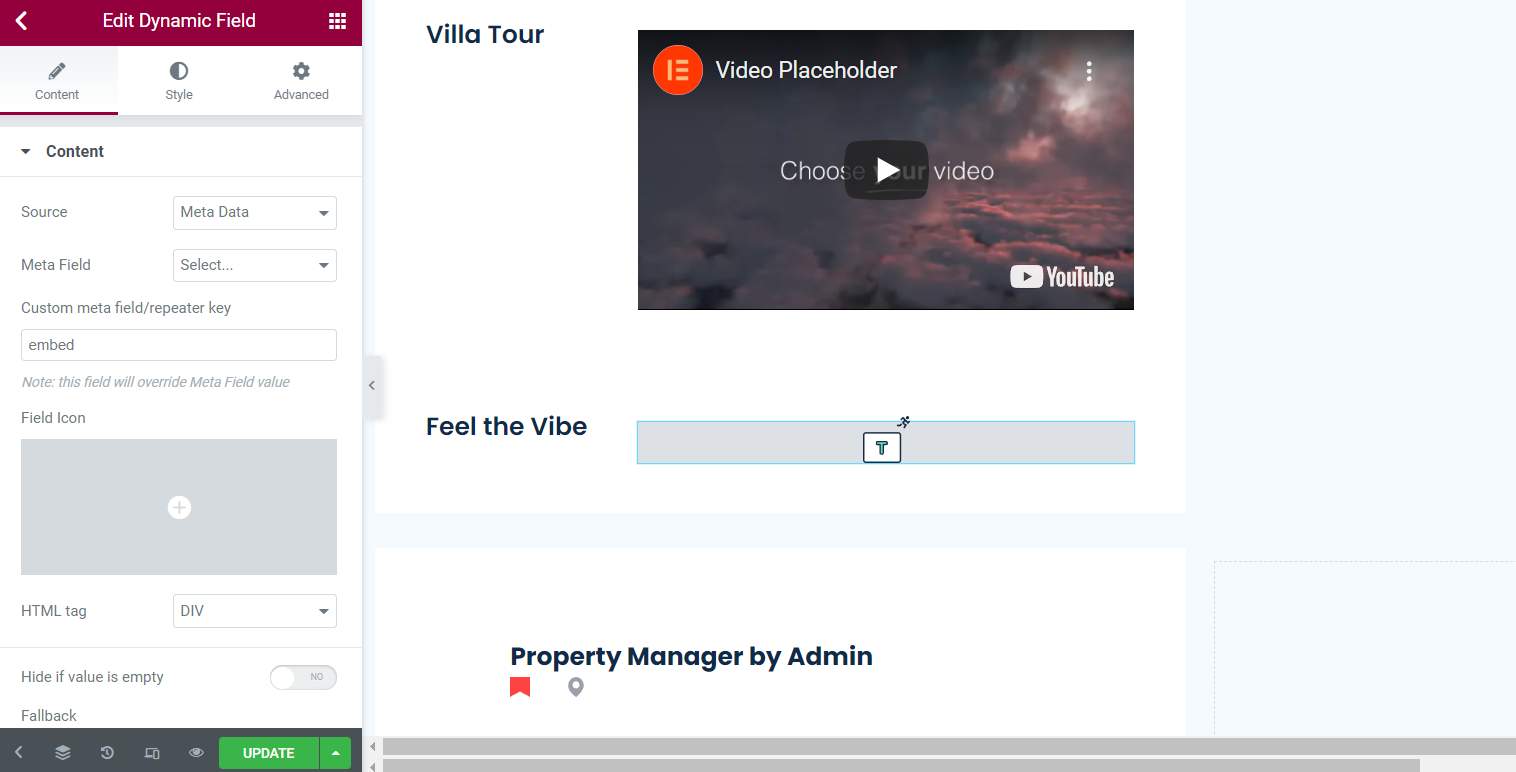
The required field will now be displayed successfully. Style everything up if desired and save the changes by clicking the “Update” button.
Let’s take a look at the result on the front end. The problem with the textarea embed is now solved.

Repeater Field
If the meta field you create will be presented with the Repeater field type, its settings will look similar to those displayed below.
So, go to the CPT or Meta Box and add a “Repeater” Field type. Once the primary values are set, click the “New Repeater Field” button.
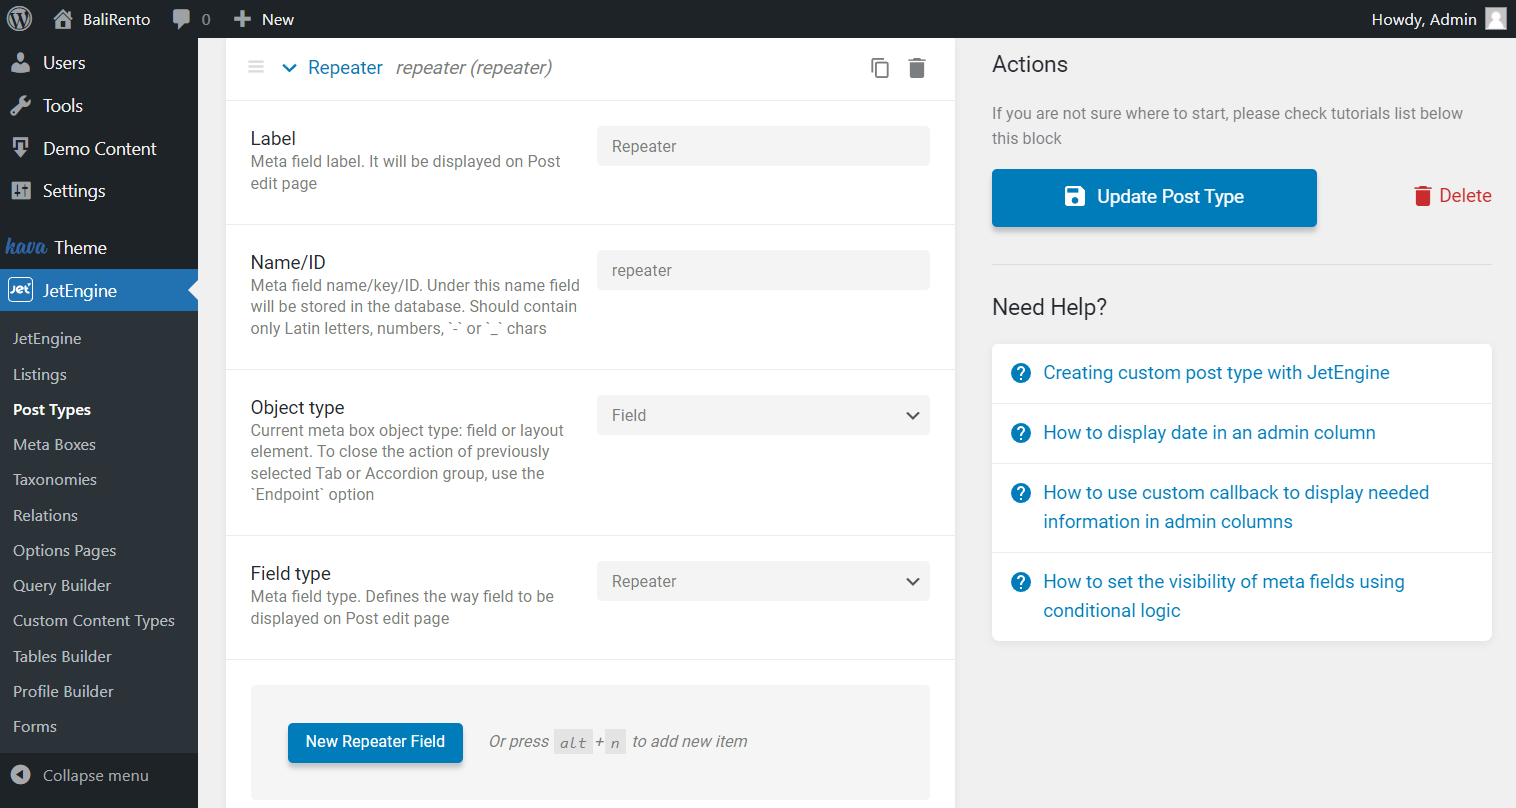
Add the needed amount of Textarea fields and complete the required Label, Name, and Type fields.
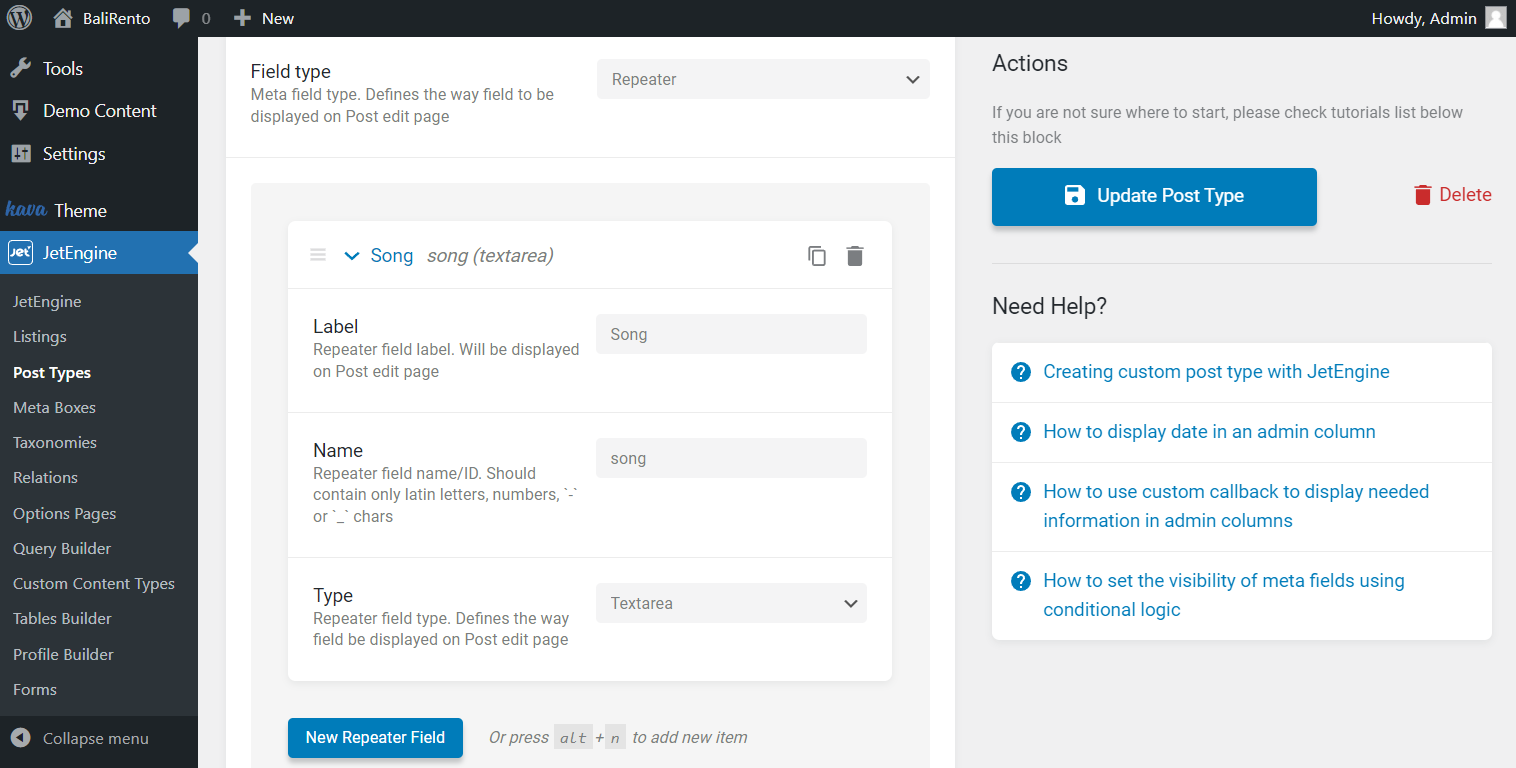
Save the changes by pushing the “Update Post Type” button.
Head to the CPT, open the desired page and find the Repeater meta field you have just added. Fill in the required number of embeds in the fields.
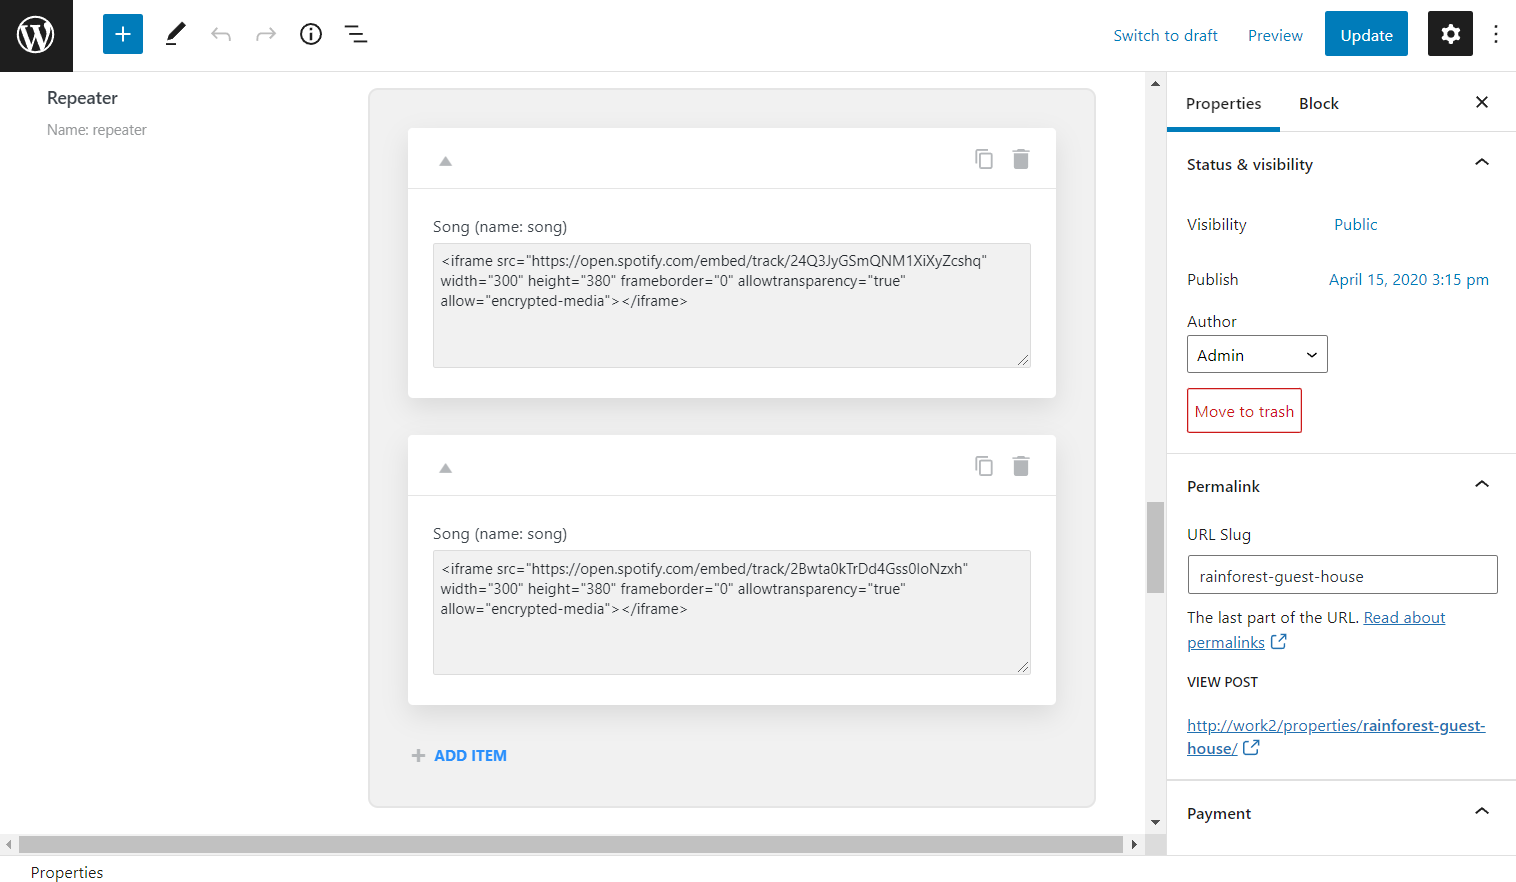
Push the “Update” button when all the changes have been made.
Paste the mentioned code with the help of the WordPress Theme Editor or Security Snippets plugin, depending on your preferences. Follow the instructions described earlier in the Textarea Field article section.
Results with the Dynamic Repeater
Go to the page editor and place the Dynamic Repeater widget.
Select the created repeater as the Source and change the Item format. Now we change the default %name% value into %song% that represents the Repeater field value we have added during the meta field editing.
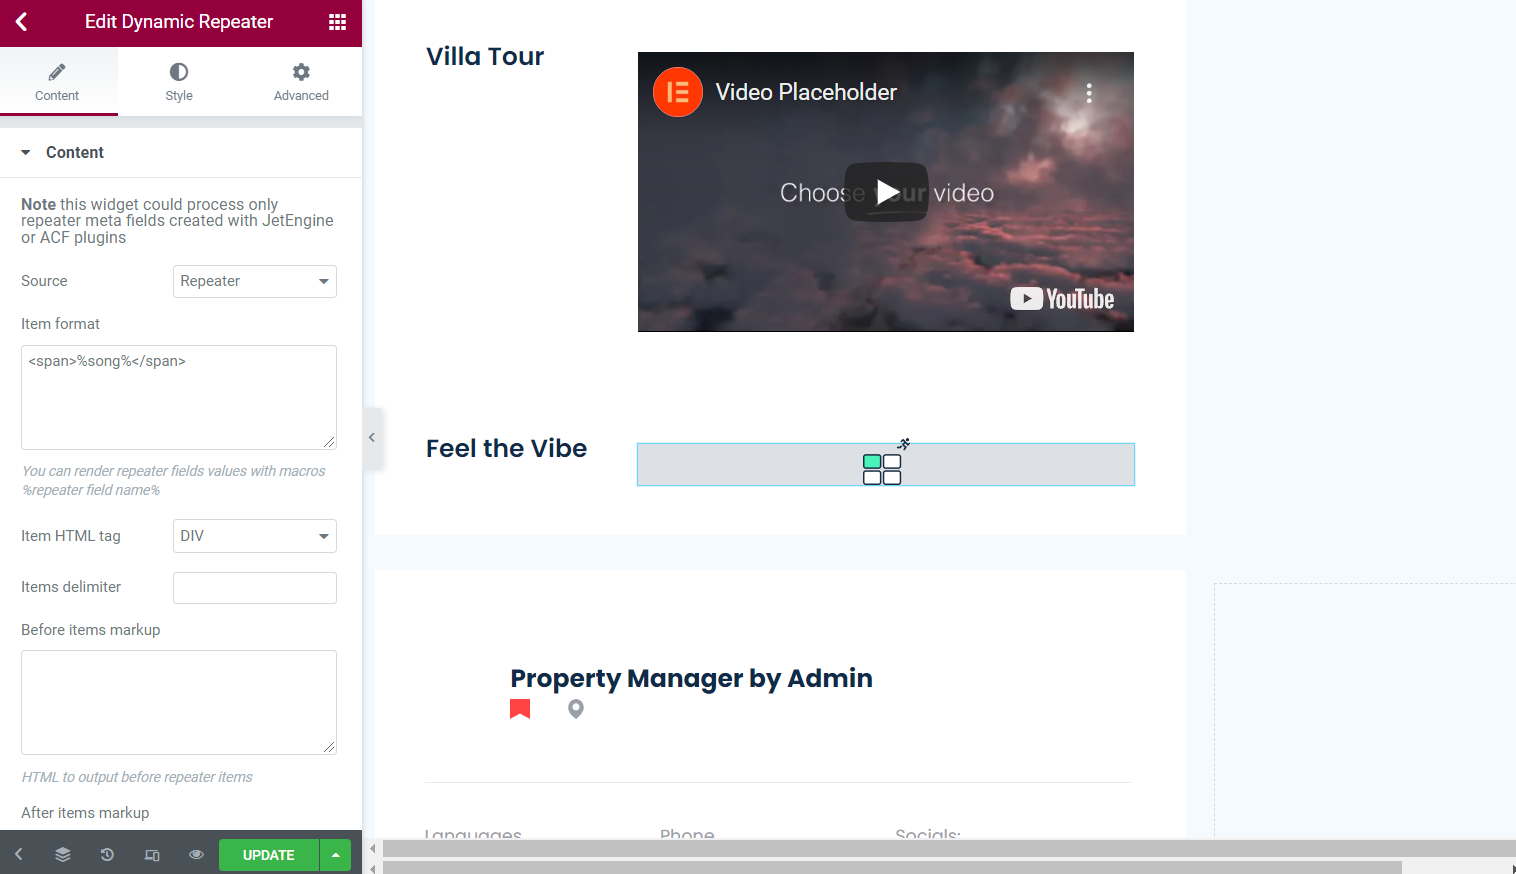
Set the Style settings and push the “Update” button after all the customizations.
Open the page on the front end to check the final results.
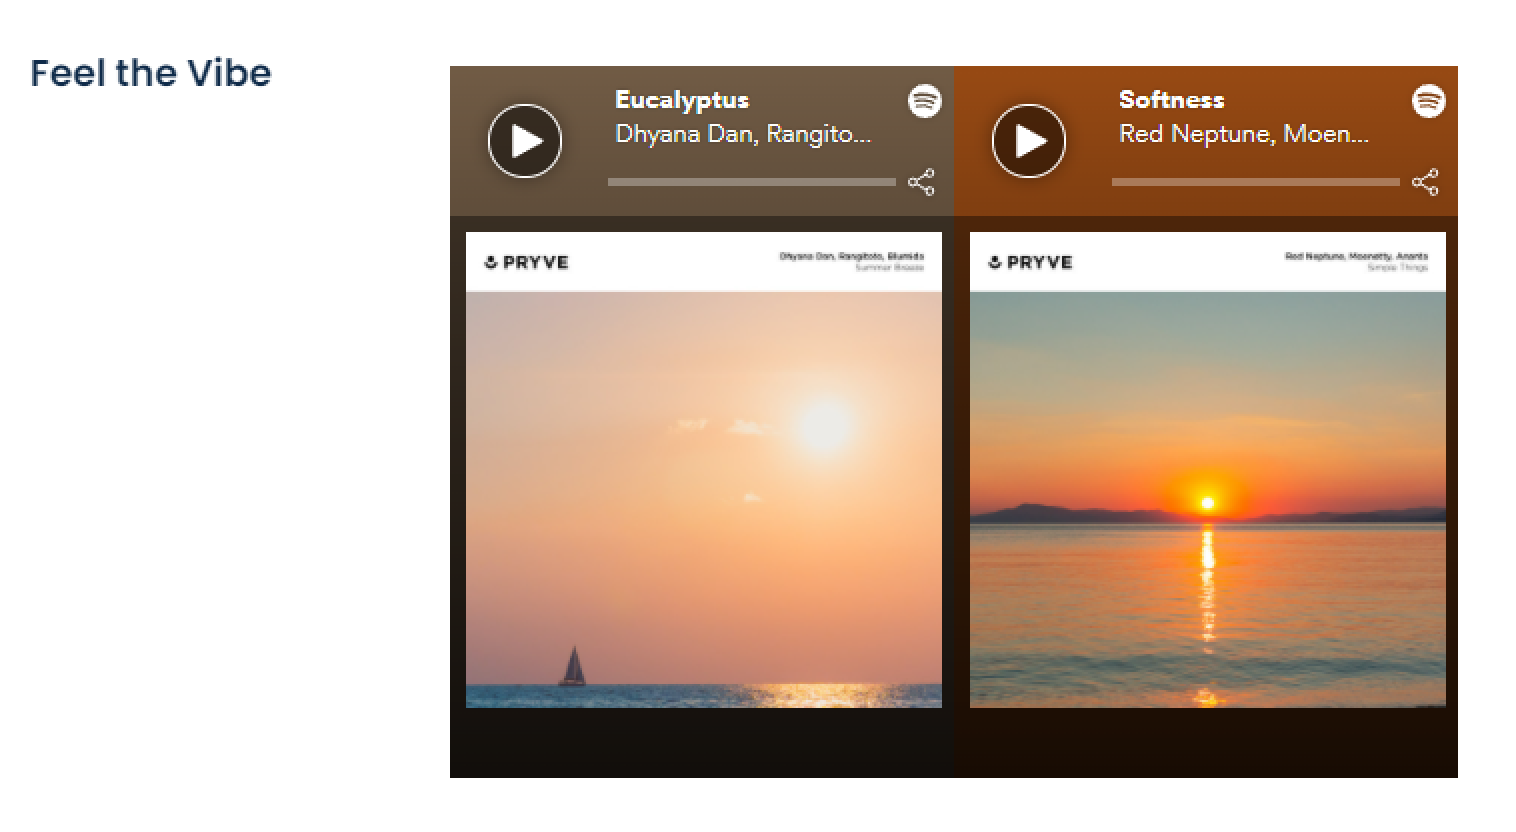
Now the issue is solved, and you have discovered how to embed inputs with any needed attributes.