How to Add and Edit Custom Content Type Items Remotely Using REST API
From this tutorial, you will learn how to link the form on one website and the Custom Content Type items on another one using the REST API. This will allow you to add and edit items remotely with the help of JetEngine plugin functionalities.
Not only the REST API allows you to pull the information from another source to list it on your website as shown in this tutorial. This functionality can also grant you access to CCT items management. Using a website form on one site, you can create and change items of a certain Custom Content Type on another site.
What Can You Use Remote Access to CCT Items Management for?
For example, let’s assume you have several websites and apps where users can subscribe to your company news. To gather all those subscribers into one table, you would have to visit every website separately and move the data to one storage manually.
REST API plugin allows you to sufficiently fasten that process. You can create a “Subscribers” Custom Content Type on your main website and create an access point (it is called Endpoint) to it via REST API. After that, you can create simple forms on other sources and link them with the Subscribers CCT. The data users add to the form will be stored as a CCT item, which is easy to list and use further.
How to Create CCT with REST API Endpoint?
Open your website’s dashboard, go to JetEngine > Custom Content Type, and click the “Add New” button. Choose the CCT’s name, menu icon, and position, as well as access capability. If you need more details, check out our Custom Content Type creation tutorial.
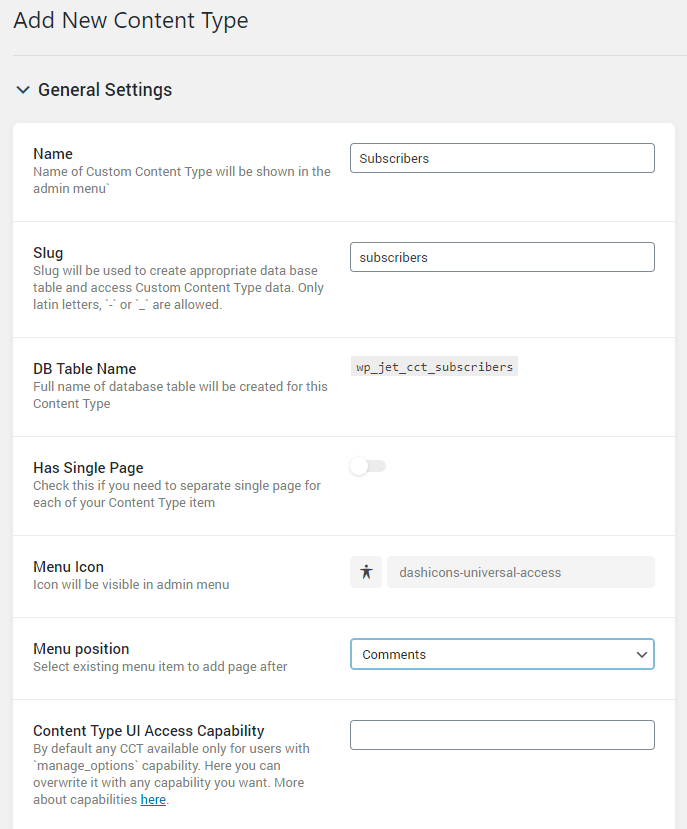
Register CREATE item REST API Endpoint
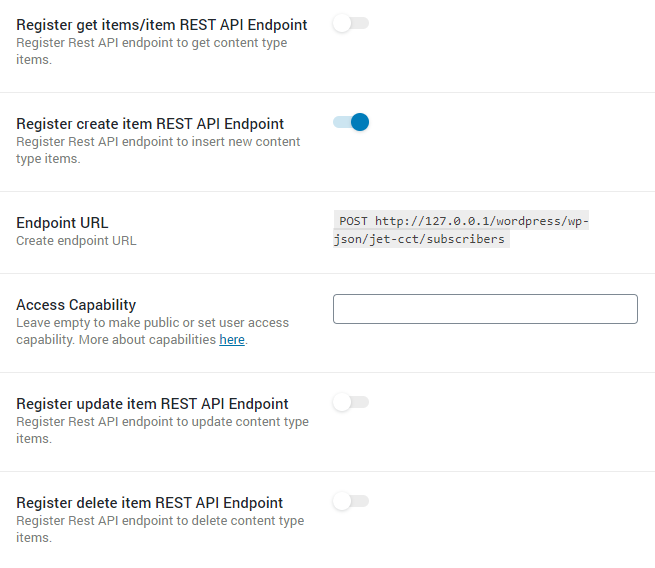
Enable the Register CREATE item REST API Endpoint toggle. You will need the Endpoint URL further, so save it somewhere. In the Access Capability field, choose who will be able to use the Endpoint. For example, it could be “edit_posts”, which will grant access to users who can edit posts – editors and admins.
Add all the necessary meta fields in the Field section and hit the “Add Content Type” button on the right side of the window.
Register UPDATE item REST API Endpoint
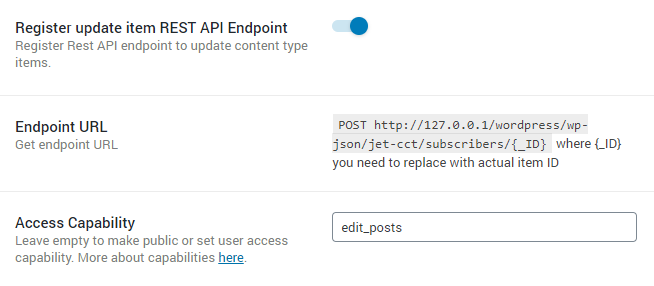
If you would like to give the visitors an opportunity to edit the items, you have to take into consideration a few details:
- The update functionality doesn’t allow to edit the existing data but to rewrite it. The user will have to fill in all the fields once more, and the new information will replace the old one;
- You will have to add an additional field to the form that will let the user choose what item he/she wants to update;
- To show the user the list of available items, you will have to create a separate listing. Follow this tutorial if you don’t know how to create it;
- You will have to create a separate form for the UPDATE functionality. Combining requests to different REST API URLs in one form is not possible.
Register DELETE item REST API Endpoint
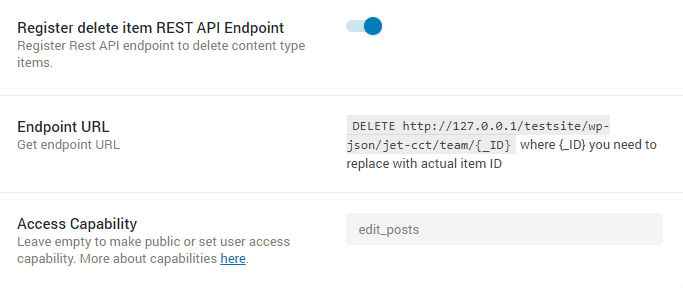
This Endpoint can be used only via a separate application. You won’t be able to delete CCT items using a form on another site. Along with all other REST API Endpoints, it will be useful if you want to create a mobile application. In that case, it will use your website as a database.
Enabling Connection with Endpoint
Go to the website to which you would like to add the form, open the dashboard, and proceed to JetEngine > JetEngine Dashboard > Modules. Scroll the page down and enable the REST API Listings toggle. Afterward, move to the JetEngine > JetEngine Dashboard > REST API Endpoints tab and click the “New Endpoint” button.
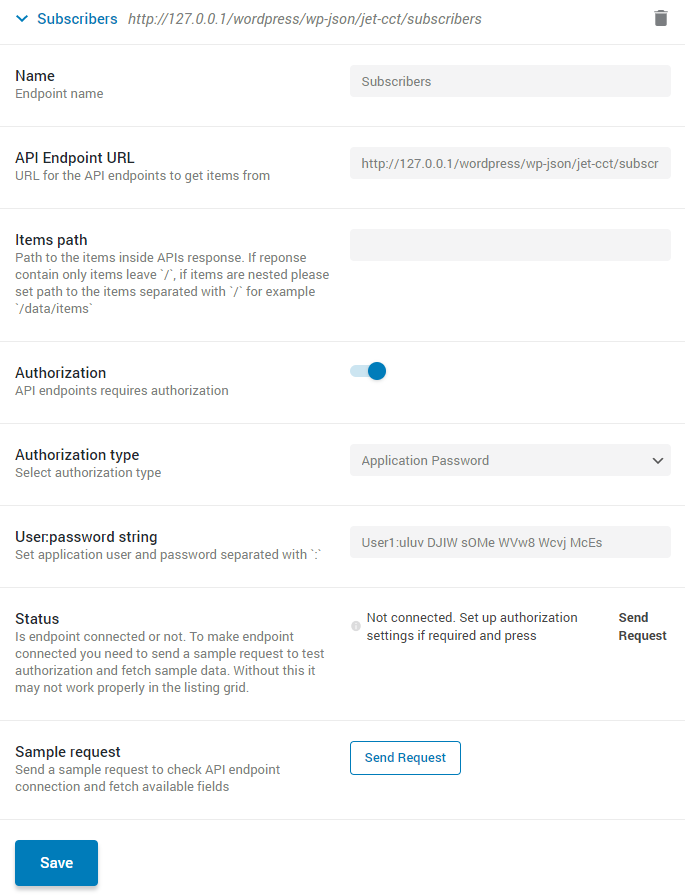
After naming the Endpoint, paste the URL from the Endpoint URL field to the API Endpoint URL. If you have changed the Access Capability, turn the Authorization toggle on.
You would also need to set the application passwords. Proceed to the Users > Profile WordPress tab and scroll down to the Application Passwords heading.
Enter any name into the New Application Password Name field, and hit the Add New Application Password” button.
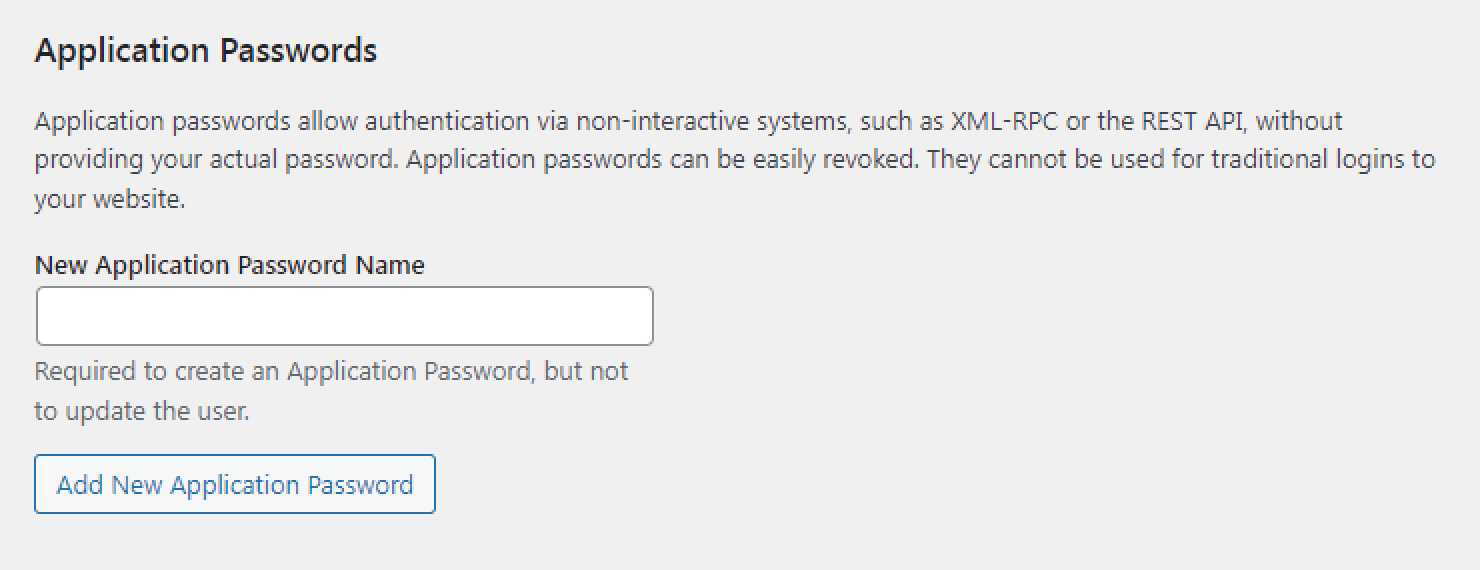
Copy the new password and save it somewhere.
Return to the customizing endpoint. In the Authorization Type, choose the “Application Password” option and insert the user’s name and password you’ve obtained previously to the User:password string field.
Hit the “Send Request” button and click the “Save” button once the connection is set.
You can get an error if there are no items in the connected CCT, so create a few items previously.
How to Connect Form to CREATE Item REST API Endpoint?
Create form
Now, go to the JetEngine > Forms submenu, hit the “Add New” button, and name the form.
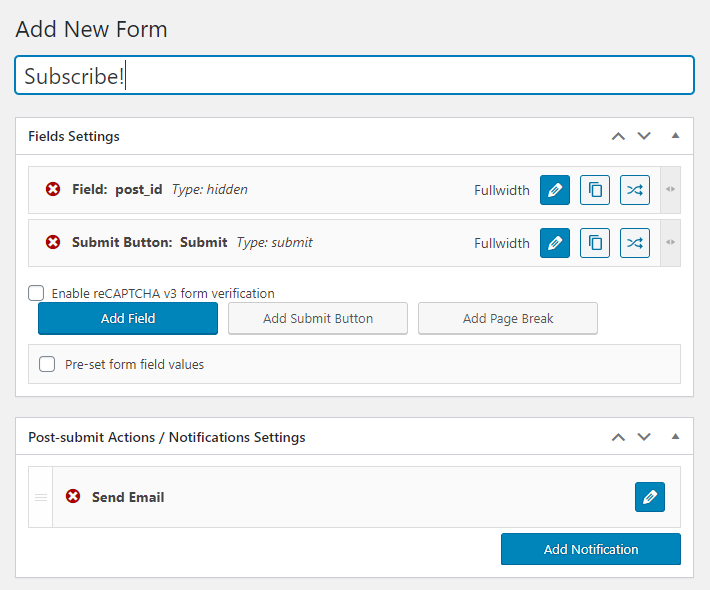
You will have to add as many form fields as you have meta fields in the Subscribers CCT. Click the “Add Field” button and create all the necessary fields. If you need a hint, go through our Form creation tutorial.
Create request
When the form fields are ready, scroll the page down to the Post-submit Actions/Notification Settings section, press “Add Notification” and then “Edit”. In the Type drop-down menu, choose the “REST API Request” option.

Paste the Endpoint URL to the REST API URL field. You can use macros in it if you need.
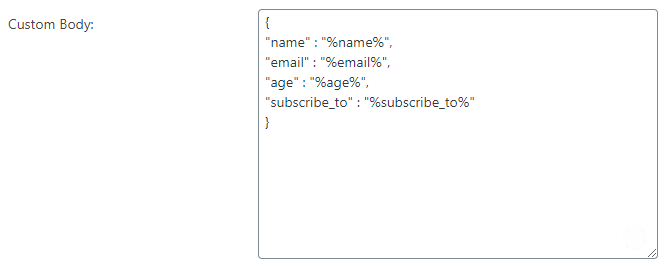
Custom Body text area is for the JSON code of the request. Here you need to define the connections between the form fields and the CCT meta fields. In the description placed on the right side of the text area, there is a link to the Online editing tool – open it.
Delete rows from 2 to 14 and use this code instead:
"CCT_field_ID" : "macros"
Instead of the “CCT_field_ID” part, you have to put the IDs of all the Custom Content Type meta fields.
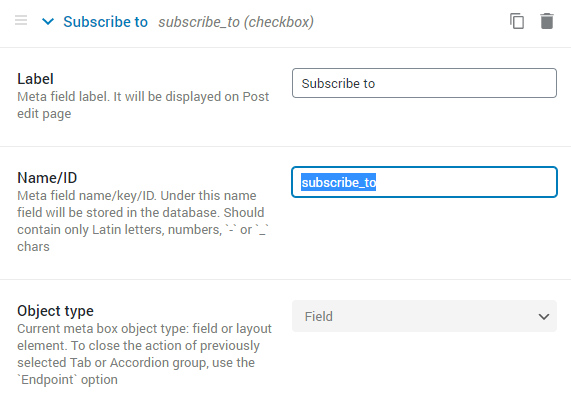
Instead of the “macros” part, you have to insert the names of corresponding form fields. They are listed next to the REST API URL field.

The result has to look like that, where the “age”, for example, is the name of the meta field from the main website and the “%age%” is the macro with the form field name:
If you set an authorization previously, tick the Authorization checkbox at the bottom of the REST API Request notification window. Choose the “Application Passwords” option in the Authorization type field and paste the user name and password as you did in the User:password string text area.
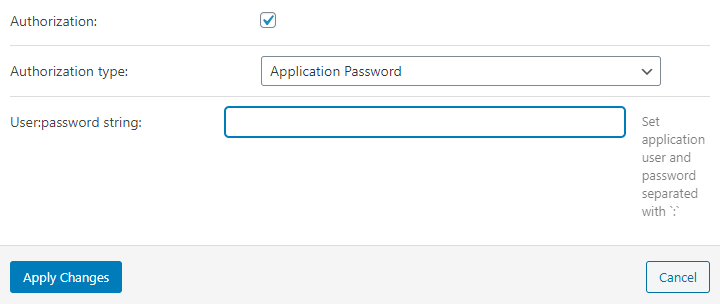
Don’t forget to click the “Apply Changes” and “Publish” buttons when you are done.
Place the form on any page, fill in the fields, and hit the Submit” button. Check if the new item appears on the main website.
How to Connect Form to UPDATE Item REST API Endpoint?
Create form
The process is mostly the same as for the UPDATE item REST API Endpoint. Go to JetEngine > Forms and click the “Add New” button. Name the form and add the fields that will correspond to the meta fields of the CCT. For a more detailed description, go through our Form creation tutorial.
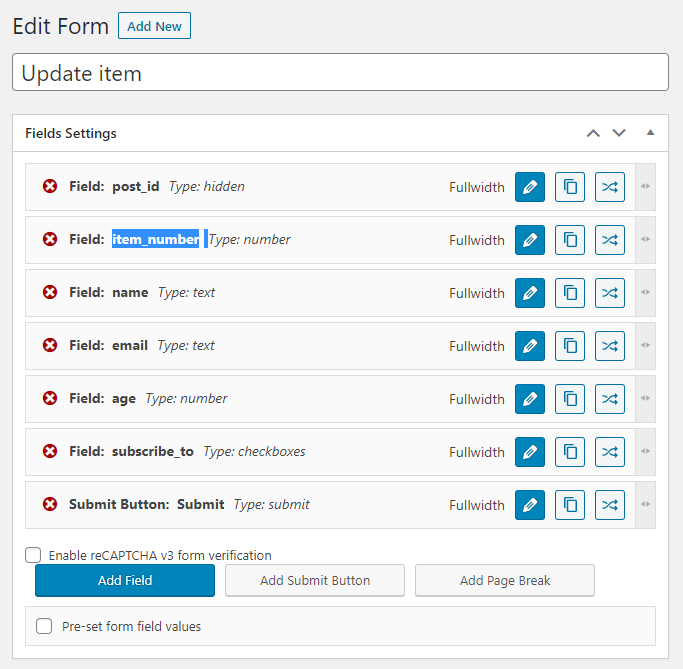
Besides that, you have to create an additional field where the user will have to choose the ID number of the item he/she would like to edit. It could be either a Number-type form field or any other type you see fit but be aware that it has to contain a number value.
Add request
Go to the Post-submit Actions/Notification Settings section and click the “Add Notification” button. Afterward, hit the “Edit” button.
Select the “REST API Request” option in the Type drop-down menu. Paste the UPDATE Endpoint URL to the REST API URL field. Instead of the “{_ID}” part, insert the macro code of the form field where the users will choose the item ID.
The Custom Body text area has to be filled with the custom code that connects the form fields and the CCT fields. The algorithm is the same as for the CREATE Endpoint request.
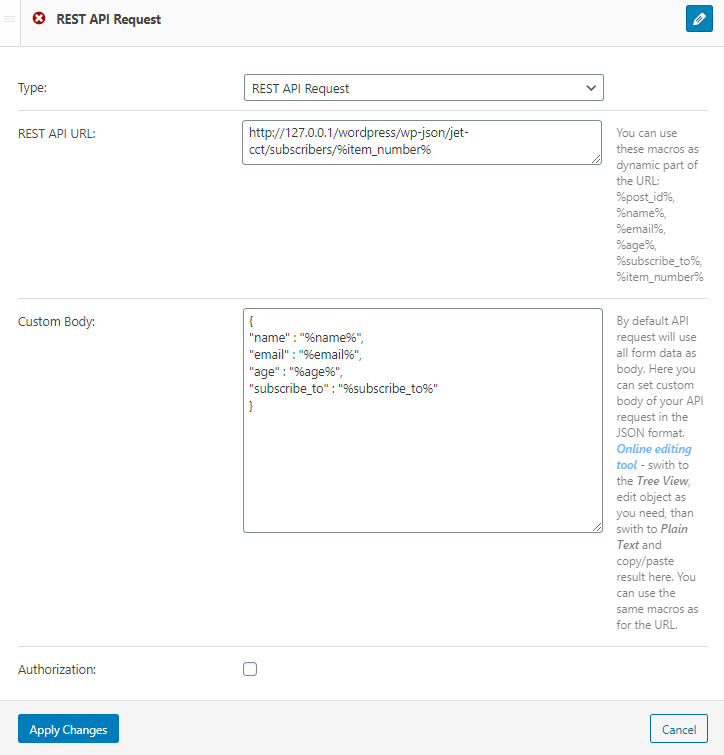
When you are done, click the “Apply Changes” and then “Publish” buttons.
Displaying and Checking Form
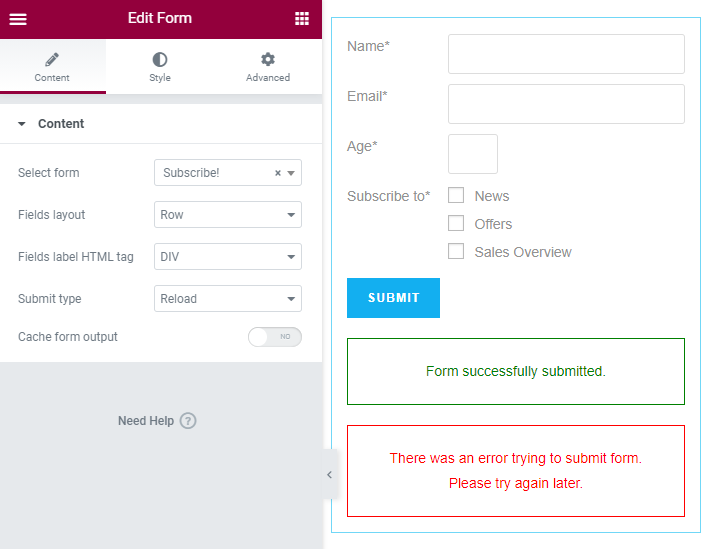
It is time to place the form on the page. Go to the dashboard and find the page where you would like to place the form. Open it with the Elementor page builder or Gutenberg editor and find the Form widget/block. Add it to the page. In the Select form drop-down menu, choose the form you’ve just created.
In Elementor, it will look like this:
And in Gutenberg like this:
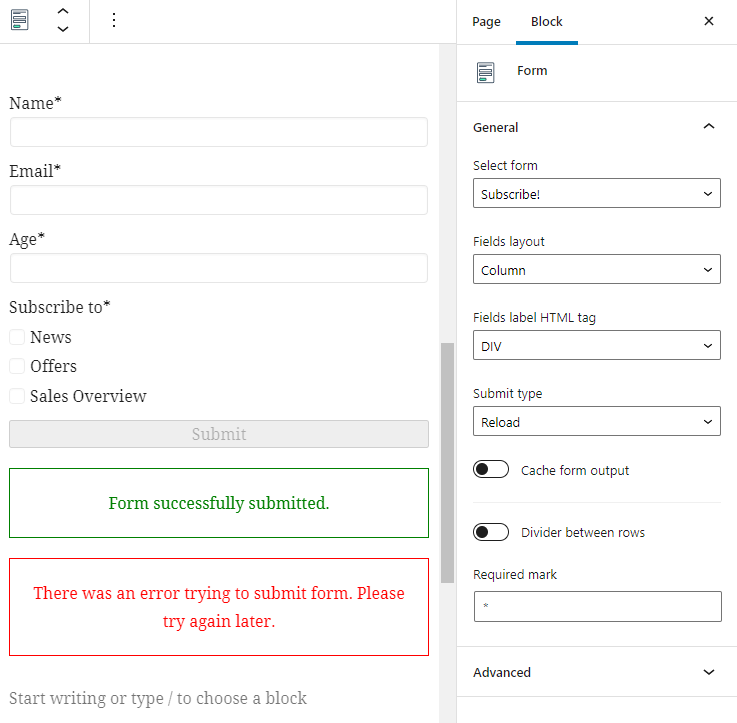
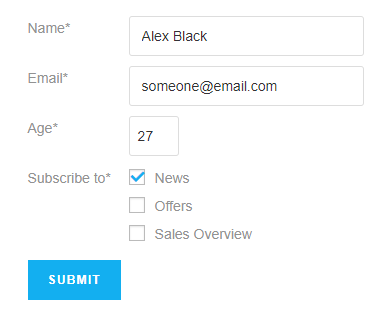
Customize it with the help of the tools available in the Style menu tab (Elementor) or Block Style section (Gutenberg) and hit the “Update” button. Open the front-page view and fill the form with some content.
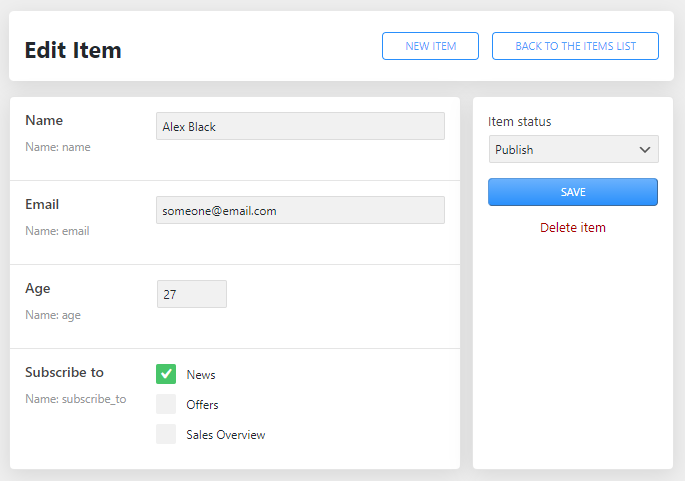
Go to the website where you have created the CCT. Open the tab of created Custom Post Type and check for the updates. You will see a new item with values similar to the ones you insert into the form.
That’s all. You’ve learned how to manage CCT items remotely using JetEngine and REST API functionality.