

Check Range Filter Overview
This tutorial explains what steps you need to take in order to create a Check Range filter using the JetSmartFilters plugin.
JetSmartFilters plugin, among all other things, provides an opportunity to filter products or posts with the Check Range filter. With its help, it’s possible to specify several range diapasons and provide the visitors with an easy way of selecting only the products or publications that fit into the chosen range.
Let’s have a closer look at the process of Check Range filter creation.
Creating Check Range filter in WordPress Dashboard
Name the filter
Navigate to the Smart Filters tab in your WordPress Dashboard and click the “Add New” button. Here you need to type in the Name, Filter Label, and Active Filter Label for your filter.

After that, in the Filter Type drop-down menu, choose the “Check Range” option.

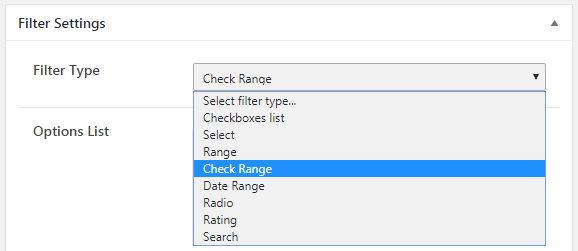
Define the check range filter’s settings
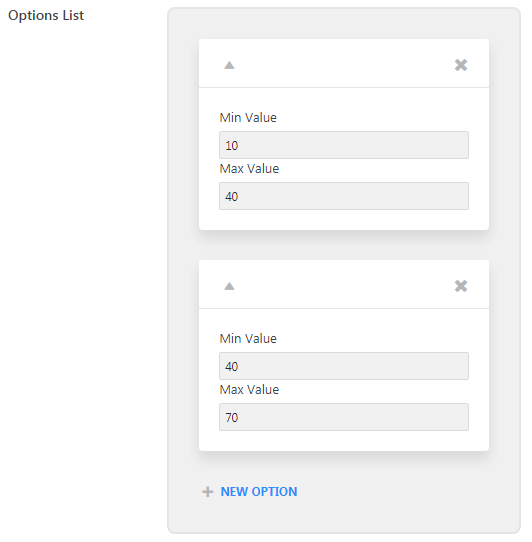
Click the “New Option” button and set the Min and Max Values for your products in the Options List. You can add as many ranges as you need.

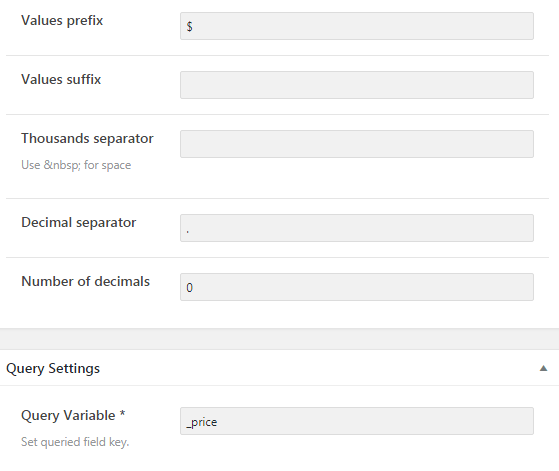
You can type in the Value prefix and suffix. They will be shown before and after the range value. Thousands separator and Decimal separator will be the characters that visually divide the values. In the Number of decimals field, you can set how many of them will be shown as a range.
In the Query Variable field you should put the name of the meta field. The values in that field will be sorted by this filter.
Don’t forget to click on the “Publish” button to save the changes.

Assigning a Check Range Filter to Products
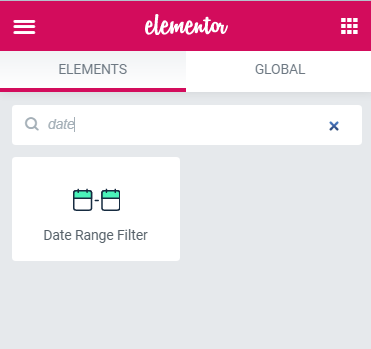
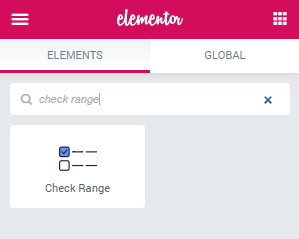
Open the page where you want to add the filter in the Elementor page builder. Drop the Check Range widget to the section.

In the Content settings, you’ll need to choose the created filter in the Select filter field. Then, apply This filter for the “JetWooBuilder Product Grid”.

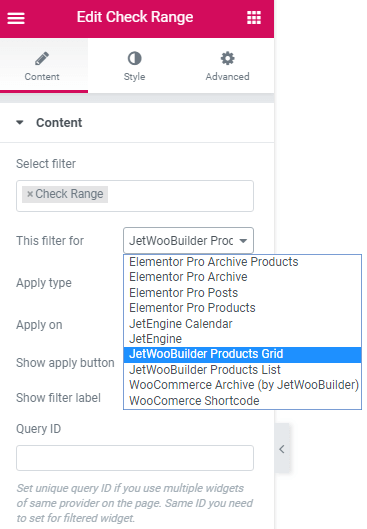
Fill in the other fields, define the widget you are working on within the Query ID field (the details about how to do that you can find in this tutorial), and do the styling. The last step is to click on the “Publish” button and check how the filter works.
Assigning a Check Range Filter to Publications
To apply a Check Range filter to publications, you have to create a meta field with a numeric value first. It has to be assigned to a Custom Post type. You will be filtering posts of that type.
Create a listing for that CPT and display the posts in the Listing Grid on the page.
After that, drop the Check Range filter widget to the page.
Now you know how to create a Check Range filter with the help of the JetSmartFilters plugin.