Popup Action Button Widget Overview
Learn how to operate the Popup Action Button widget from Crocoblock to adjust the conditions of pop-ups created with the JetPopup WordPress plugin.
Before you start, check the tutorial requirements:
- Elementor (Free version)
- JetPopup plugin installed and activated
JetPopup is a WordPress plugin that allows creating pop-ups and attaching them to specific widgets or applying them to different locations.
With JetPopup, you can fill the pop-up with content, change the pop-up block location and appearance, and set the specific trigger events. Also, you have different options for adding pop-ups to widgets and buttons or displaying them in other parts of the site.
What is a Popup Action Button?
Popup Action Button is a widget made for creating buttons that prompt users to close a pop-up or redirect to another page.
This tutorial teaches you about all the Popup Action Button widget features. So, let’s start.
Using Popup Action Button Widget
An example is a button that contains “Yes/No” questions in the pop-up. After users see the question “Do you want to know more about it?” and choose the “Yes” option, they will be redirected to the link you have set in the settings block. And in case the user clicks “No,” the pop-up will be closed.
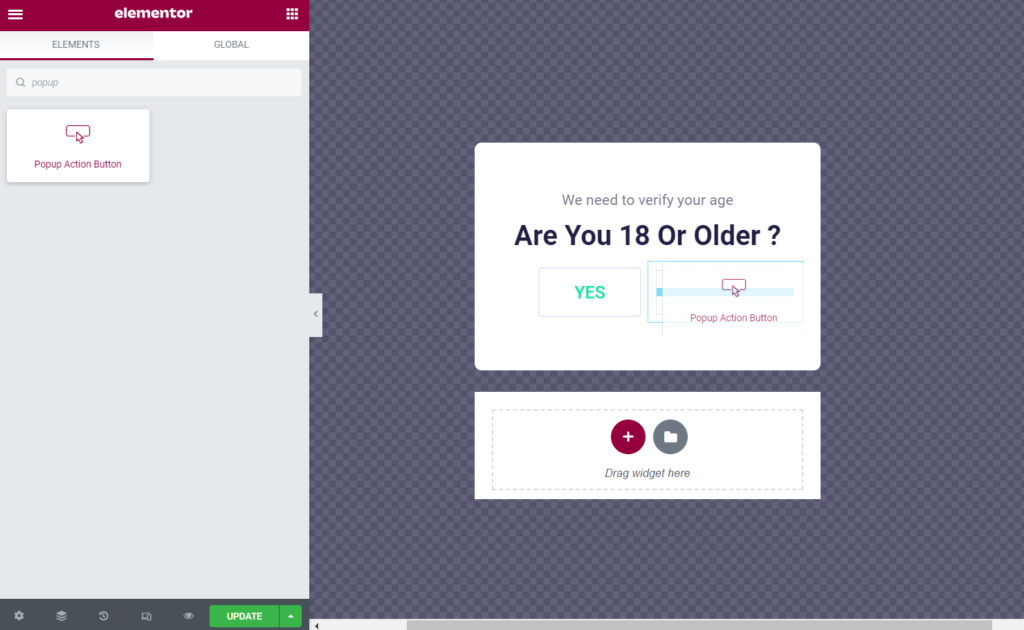
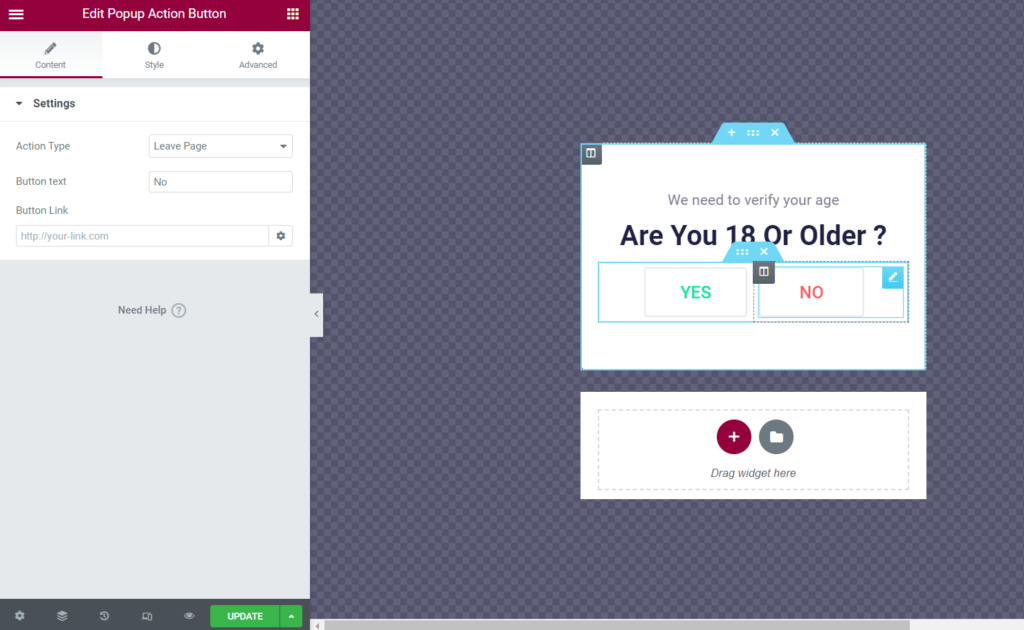
Another example is the “Are you 18 or older?” pop-up. When users hit the “Yes” button, they close the pop-up, and when they click the “No” button, they are redirected to the previous page.
First, open the WordPress Dashboard and proceed to the JetPopup dashboard on the left. Here you can create a pop-up from scratch in the Elementor editor, use the template from the Popup Library or just open the pop-up you created earlier.
To get started, find the Popup Action Button widget and drag it to the section where you want to place it.
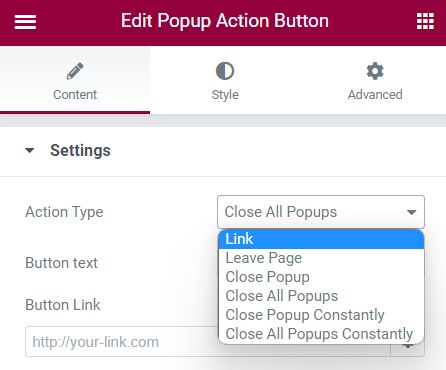
After that, navigate to the Popup Action Button widget Settings. You can pick such options in the Action Type drop-down:
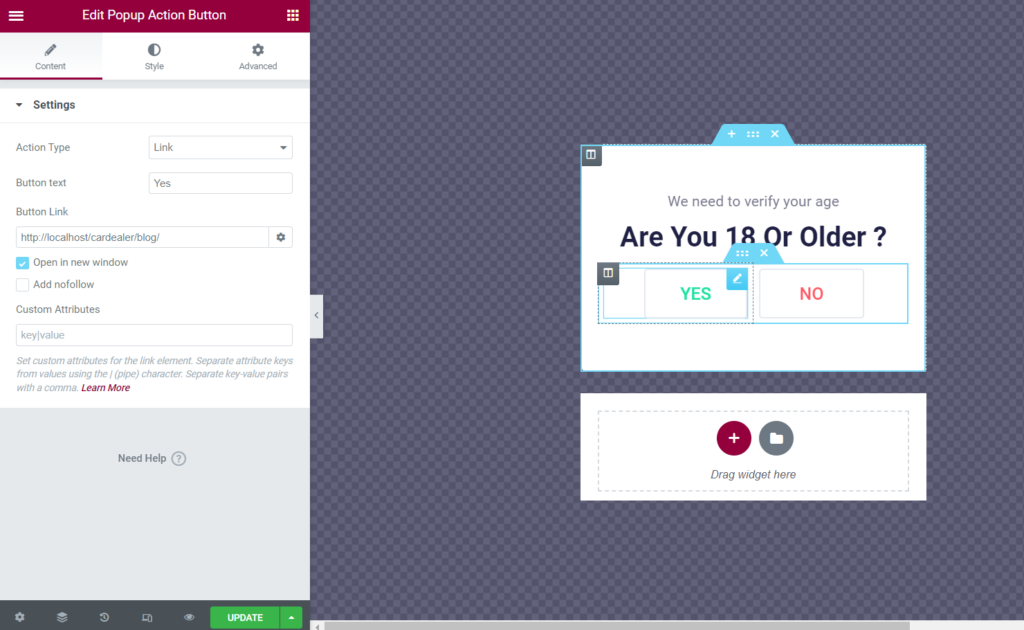
- Link. Use it to redirect the user from the pop-up to another page. Enter the page URL into the Button Link field;
- Leave Page. If users click the button, they return to the previous page;
- Close Popup. Close the currently opened pop-up;
- Close All Popups. Close all pop-ups on the page if they are open;
- Close Popup Constantly. Close the currently opened pop-up, and it won’t show up again;
- Close All Popups Constantly. Close all currently opened pop-ups, and they won’t show up again.
In the Button Text field, you can set an appropriate label for the button title.
If you want to add a link to the button, you should navigate to the Button Link option, where you can specify the page link where customers proceed after pressing the button. Hit the gear icon to open more settings. Tick the Open in new window option if you want the page to open in the new window, and tick the Add nofollow option to make search engines not follow the link.
Proceed to the Custom Link Attributes tutorial to learn how to use the Custom Attributes option.
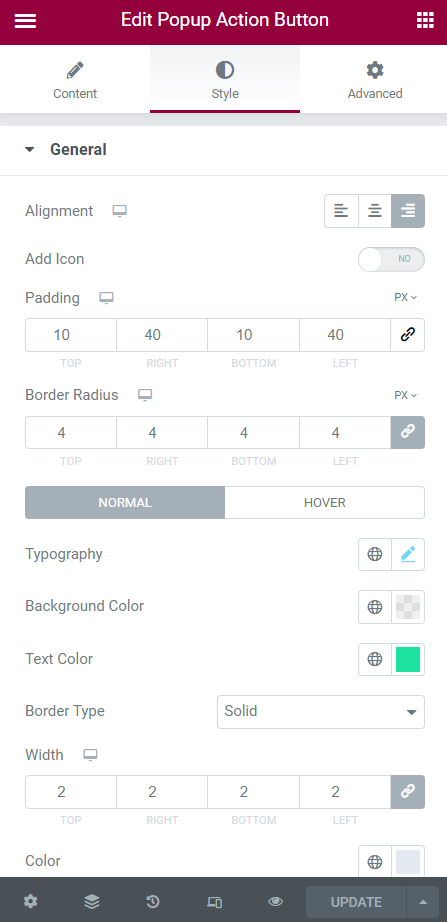
You can change the style of the Popup Action Button widget in the Style section.
Click the “Publish/Update” button, proceed to the front end, and check the results.
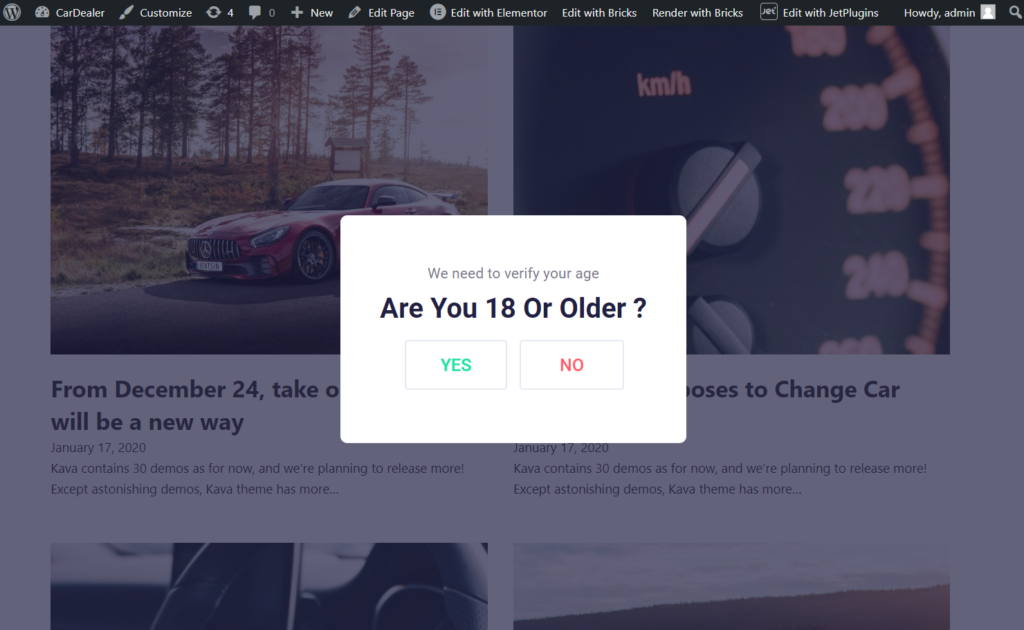
That’s all. Now you know how to create the Popup Action Button using the JetPopup WordPress plugin.