My Account Widgets Overview
Learn how to enable the My Account Page widgets and discover their settings to build the My Account page with the help of the JetWooBuilder and WooCommerce plugins.
Before you start, check the tutorial requirements:
- Elementor (Free version)
- WooCommerce plugin (Free version) installed and activated
- JetWooBuilder plugin installed and activated
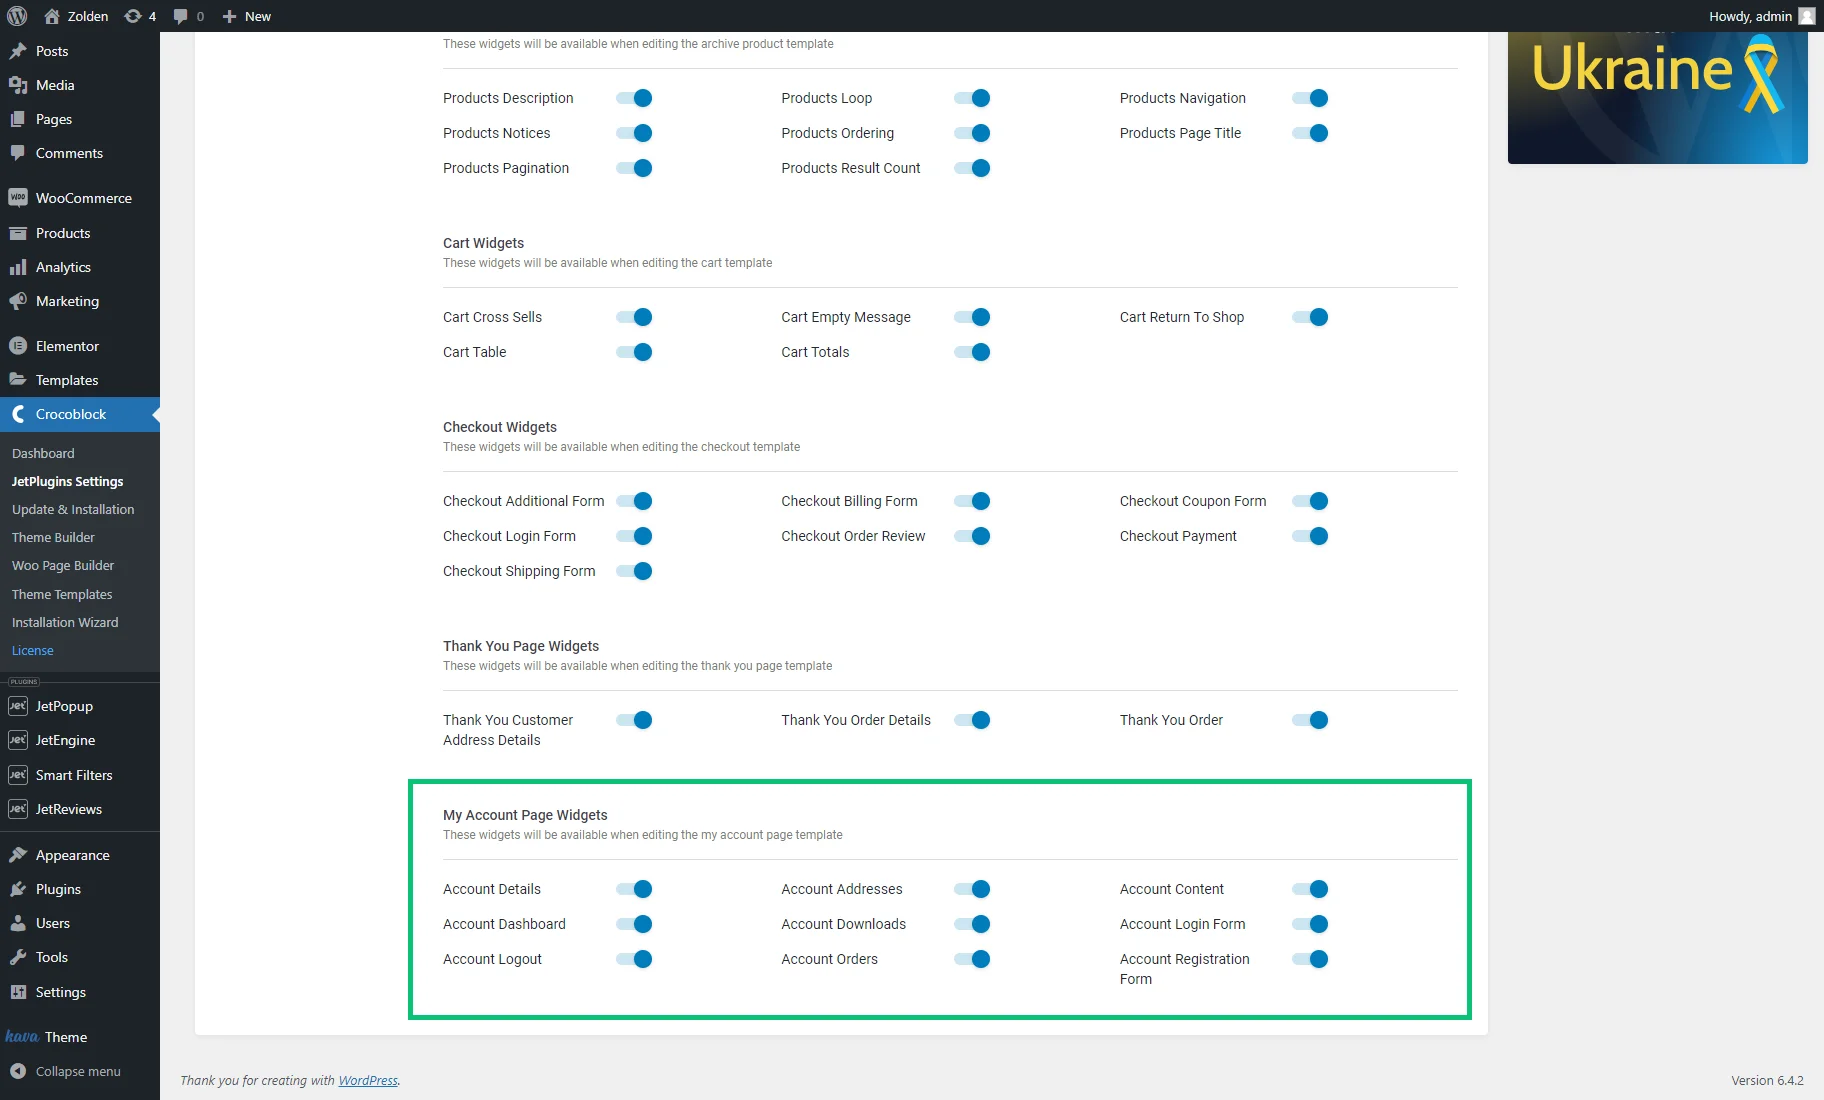
My Account Page Widgets Activation
My Account Page Widgets Overview
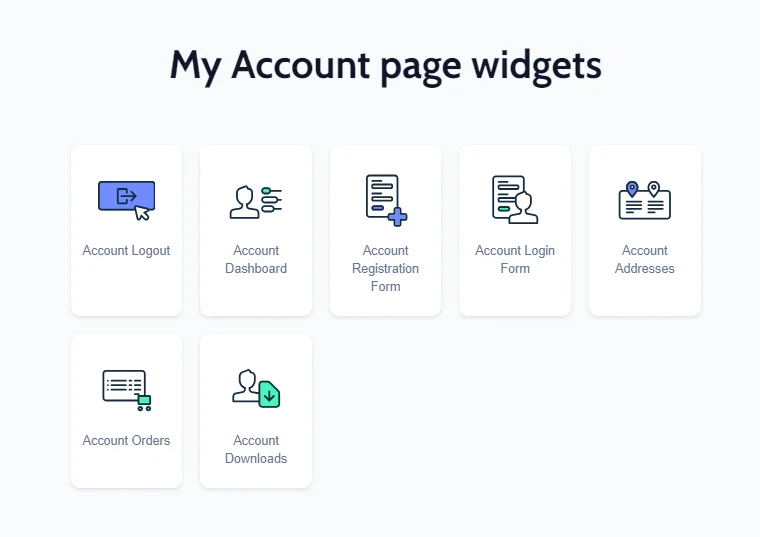
The JetWooBuilder plugin offers widgets for the My Account page. Let’s take a closer look at them.
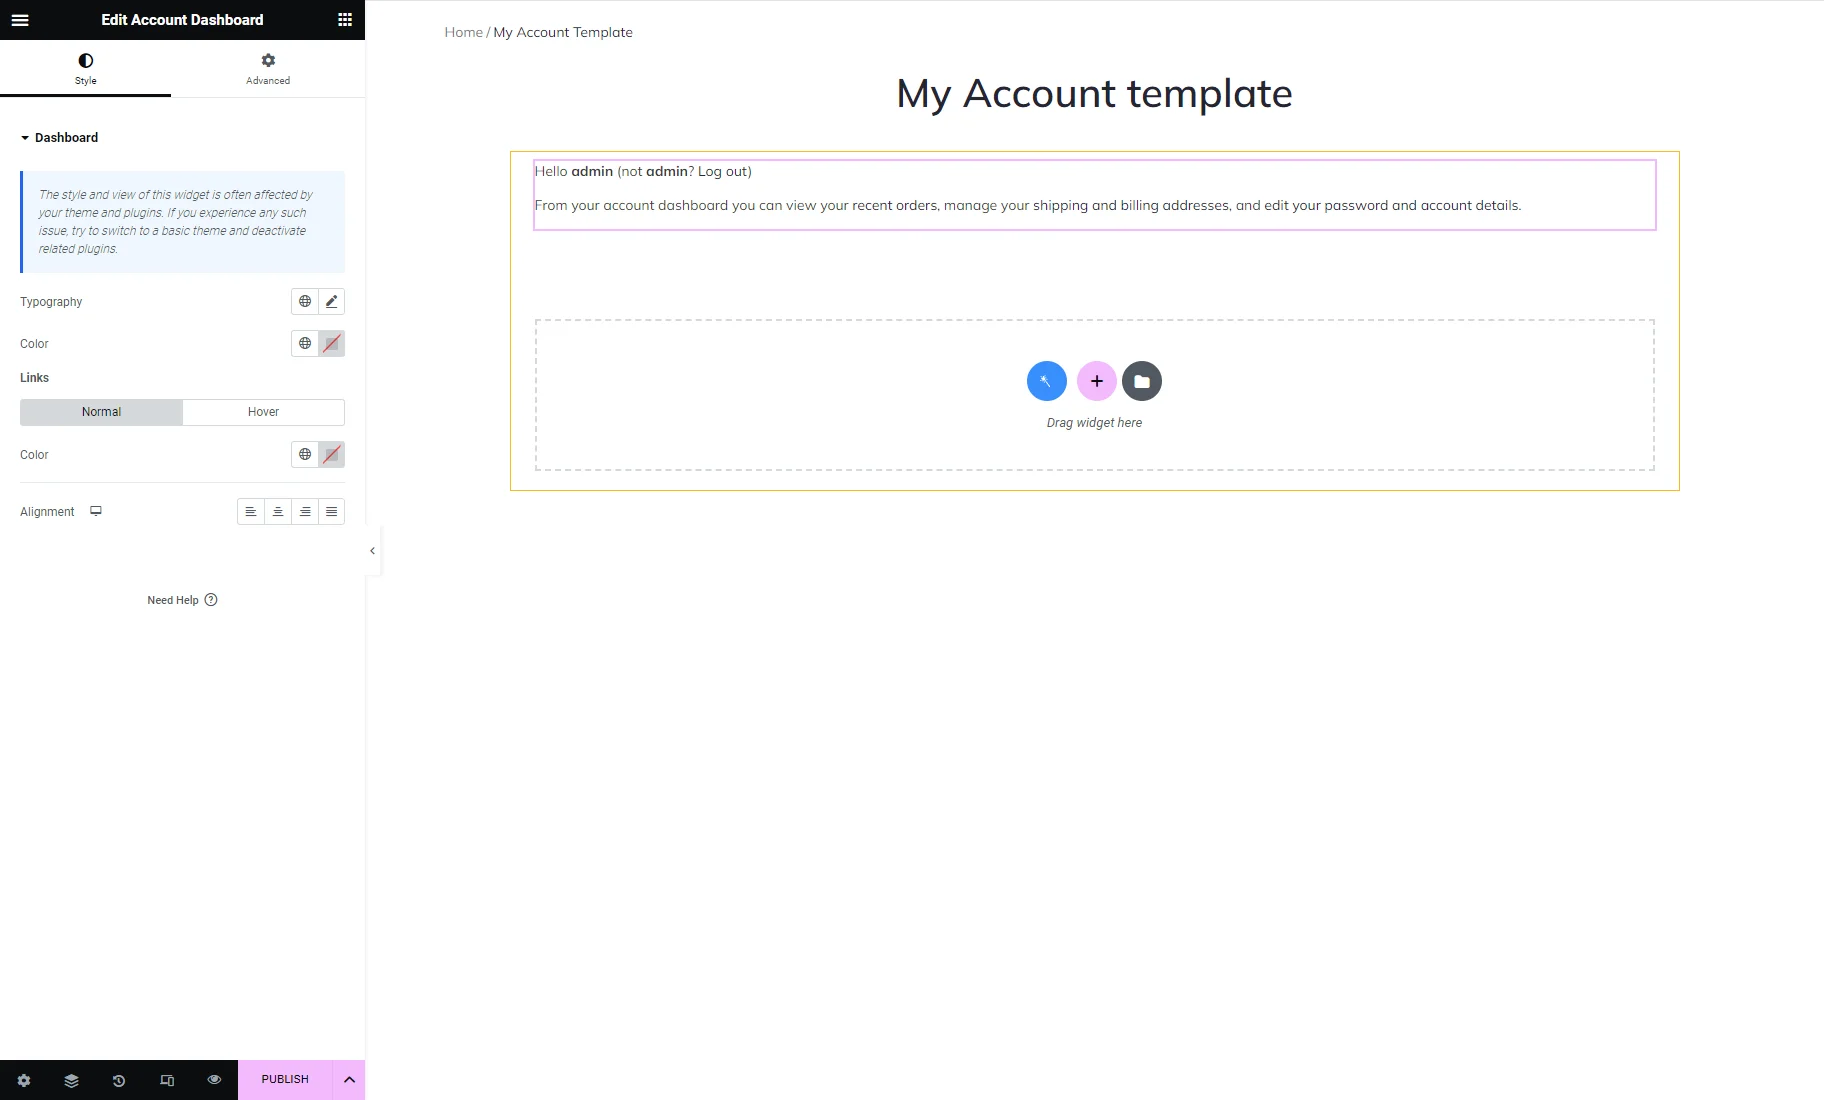
Account Dashboard
When opening an account page, the first thing a user sees can be the block added with this widget. It contains a greeting message, the “Log Out” button, and links to the recent orders, addresses, and account details editing windows.
In the Style setting tab, you can change the text’s Color, Typography, and Alignment and the “Normal” and “Hover” Colors of the Links.
Account Details
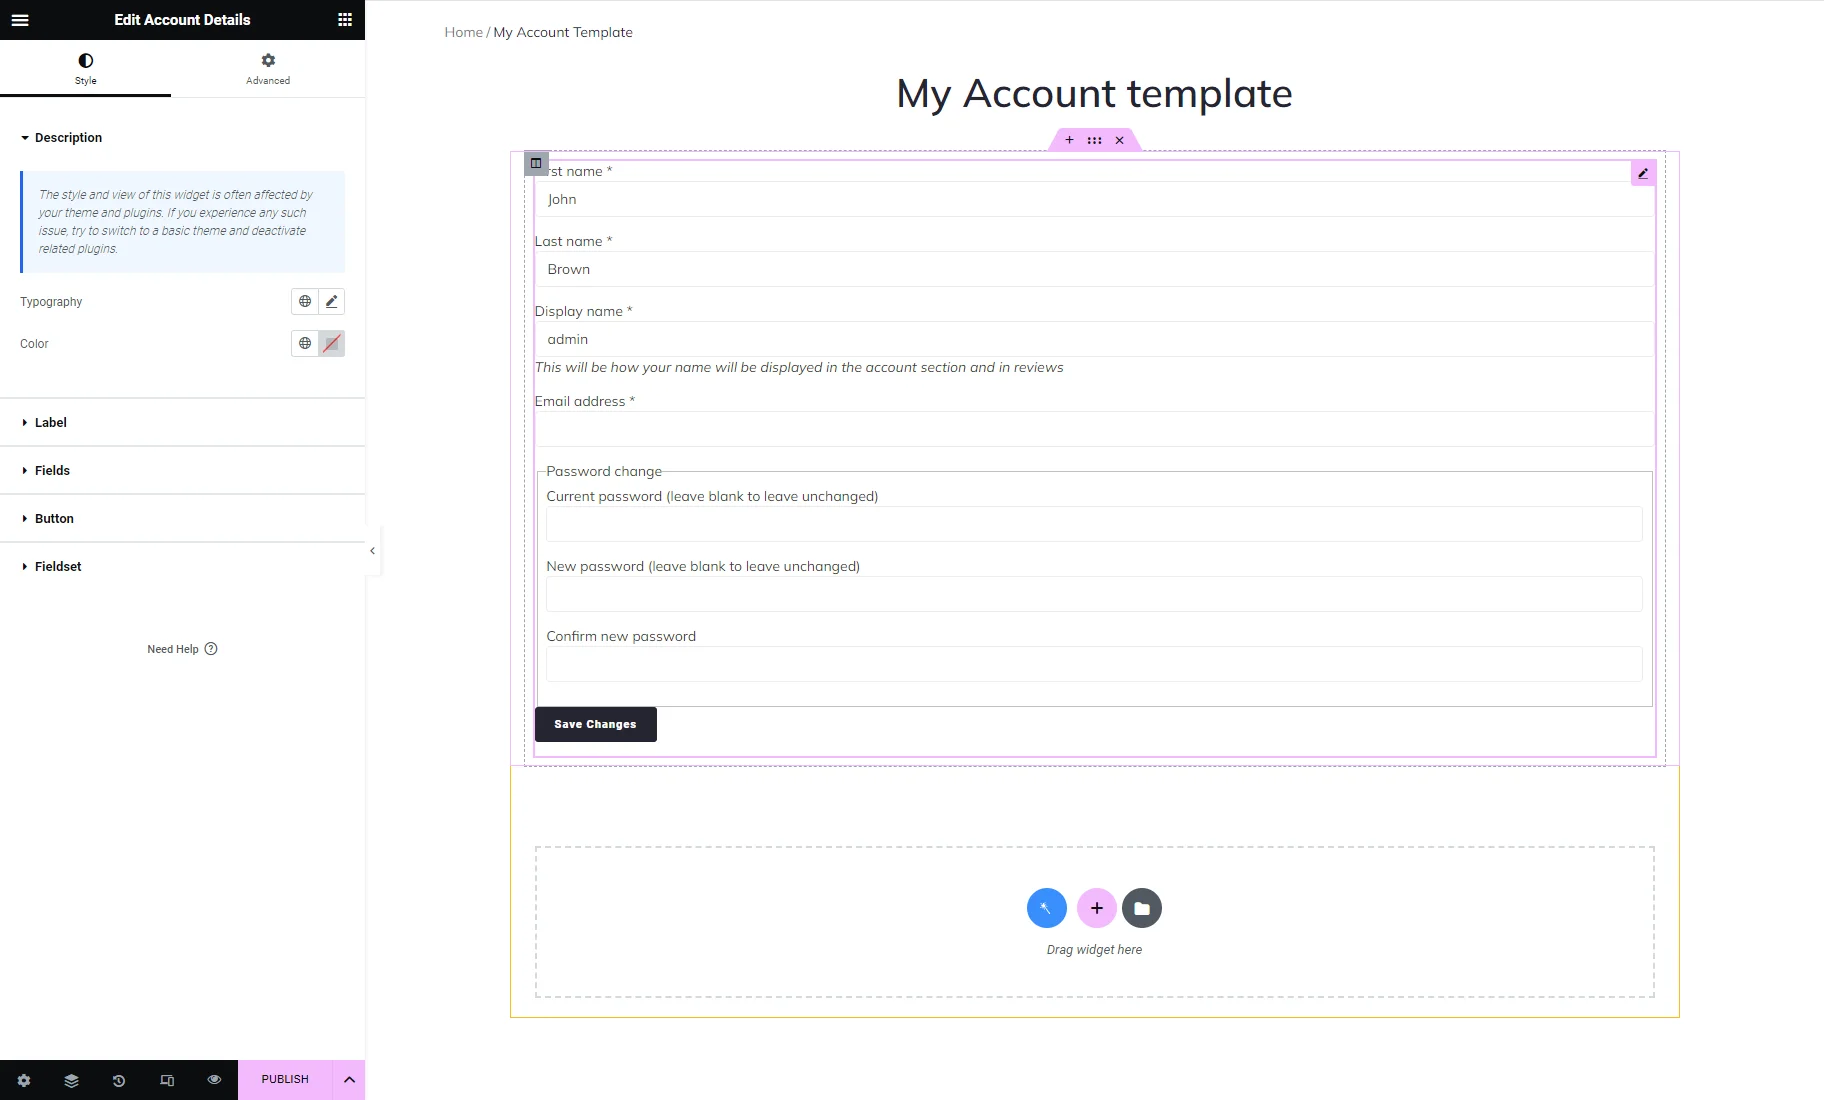
This widget adds a form where users can change personal information, like first and last names and email addresses. Besides that, it contains a section where the client can change the password.
There is the “Save Changes” button at the bottom of the form.
In the Style menu tab, you will find tools to customize the look of the form in general and all its parts. It includes the “This will be how your name will be displayed in the account section and in reviews” Description, field Labels, form Fields, the “Save Changes” Button, and the “Password change” Fieldset.
Account Addresses
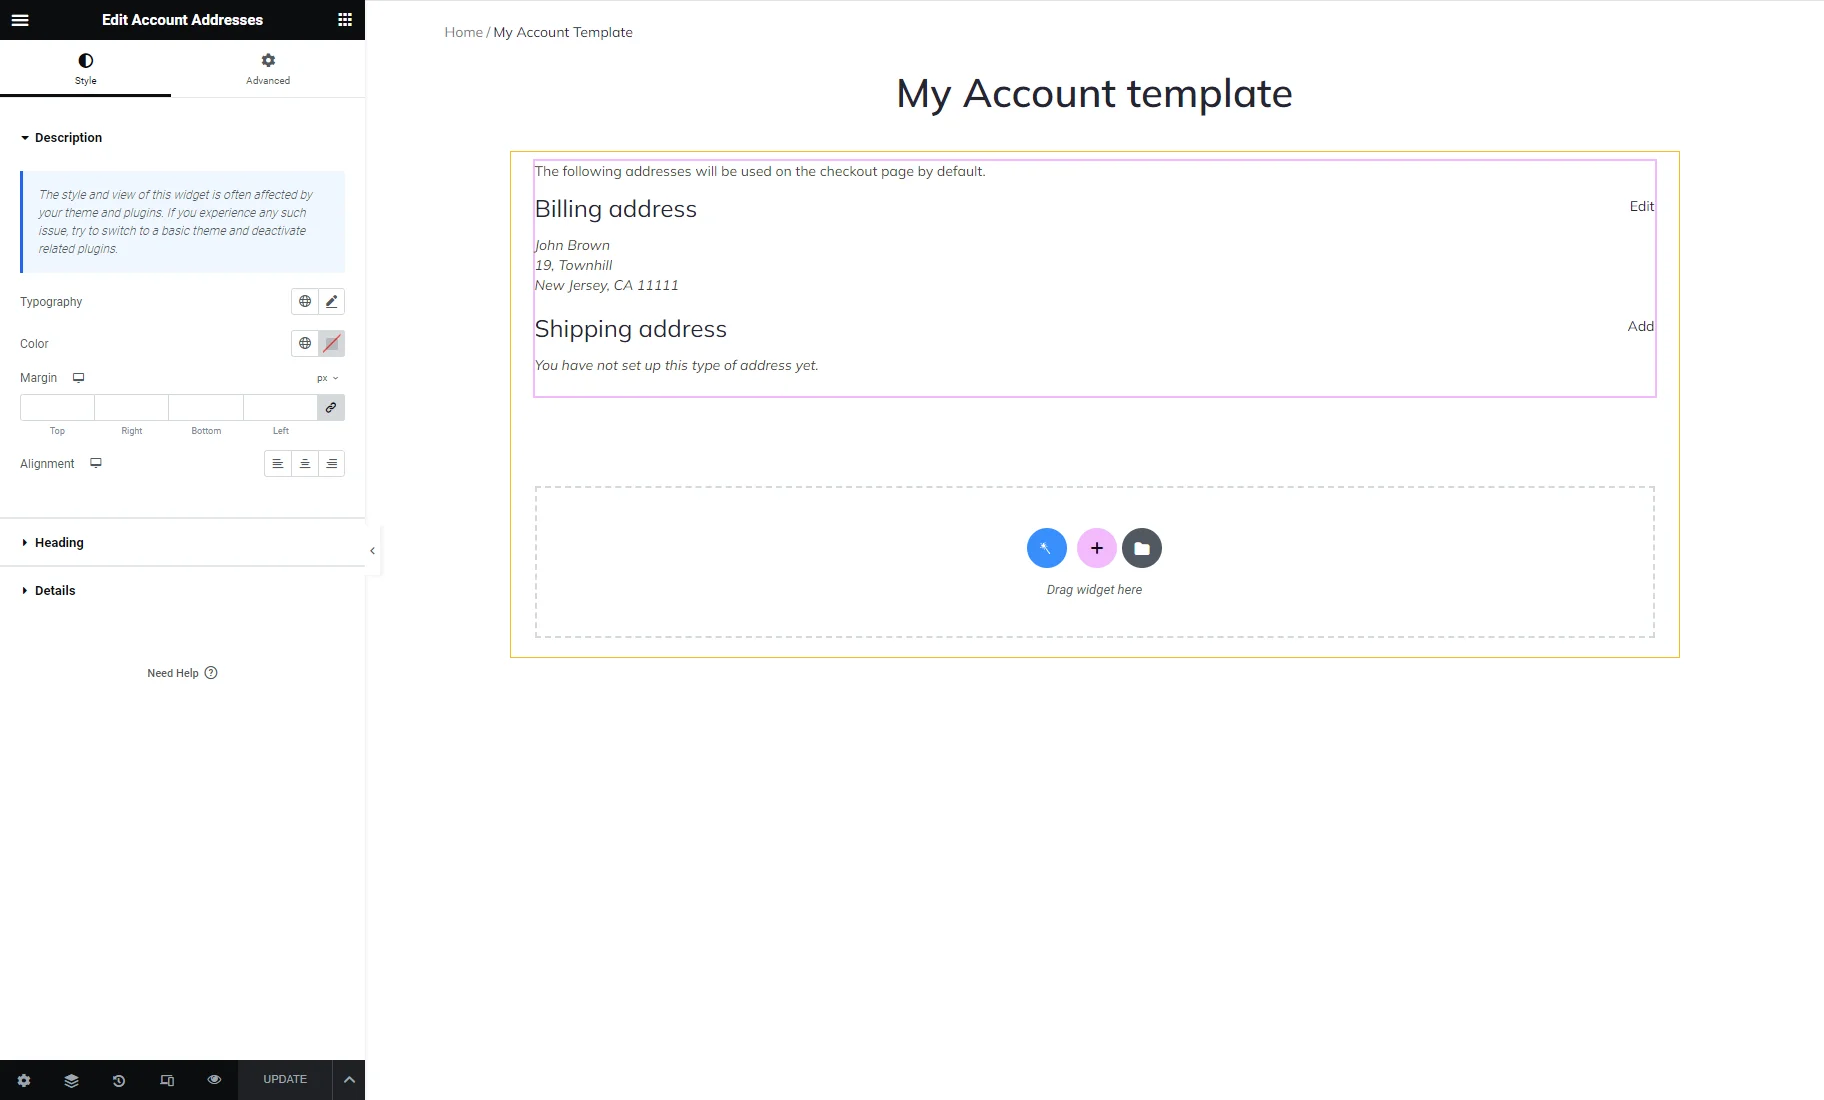
If the customer saves the billing and shipping address in the account, you can automatically add these details at the checkout. This widget adds a block that allows the client to add or edit a billing and shipping address for future purchases.
In the Style setting tab, you can customize the look of the Description, Heading, and Details text.
Account Downloads
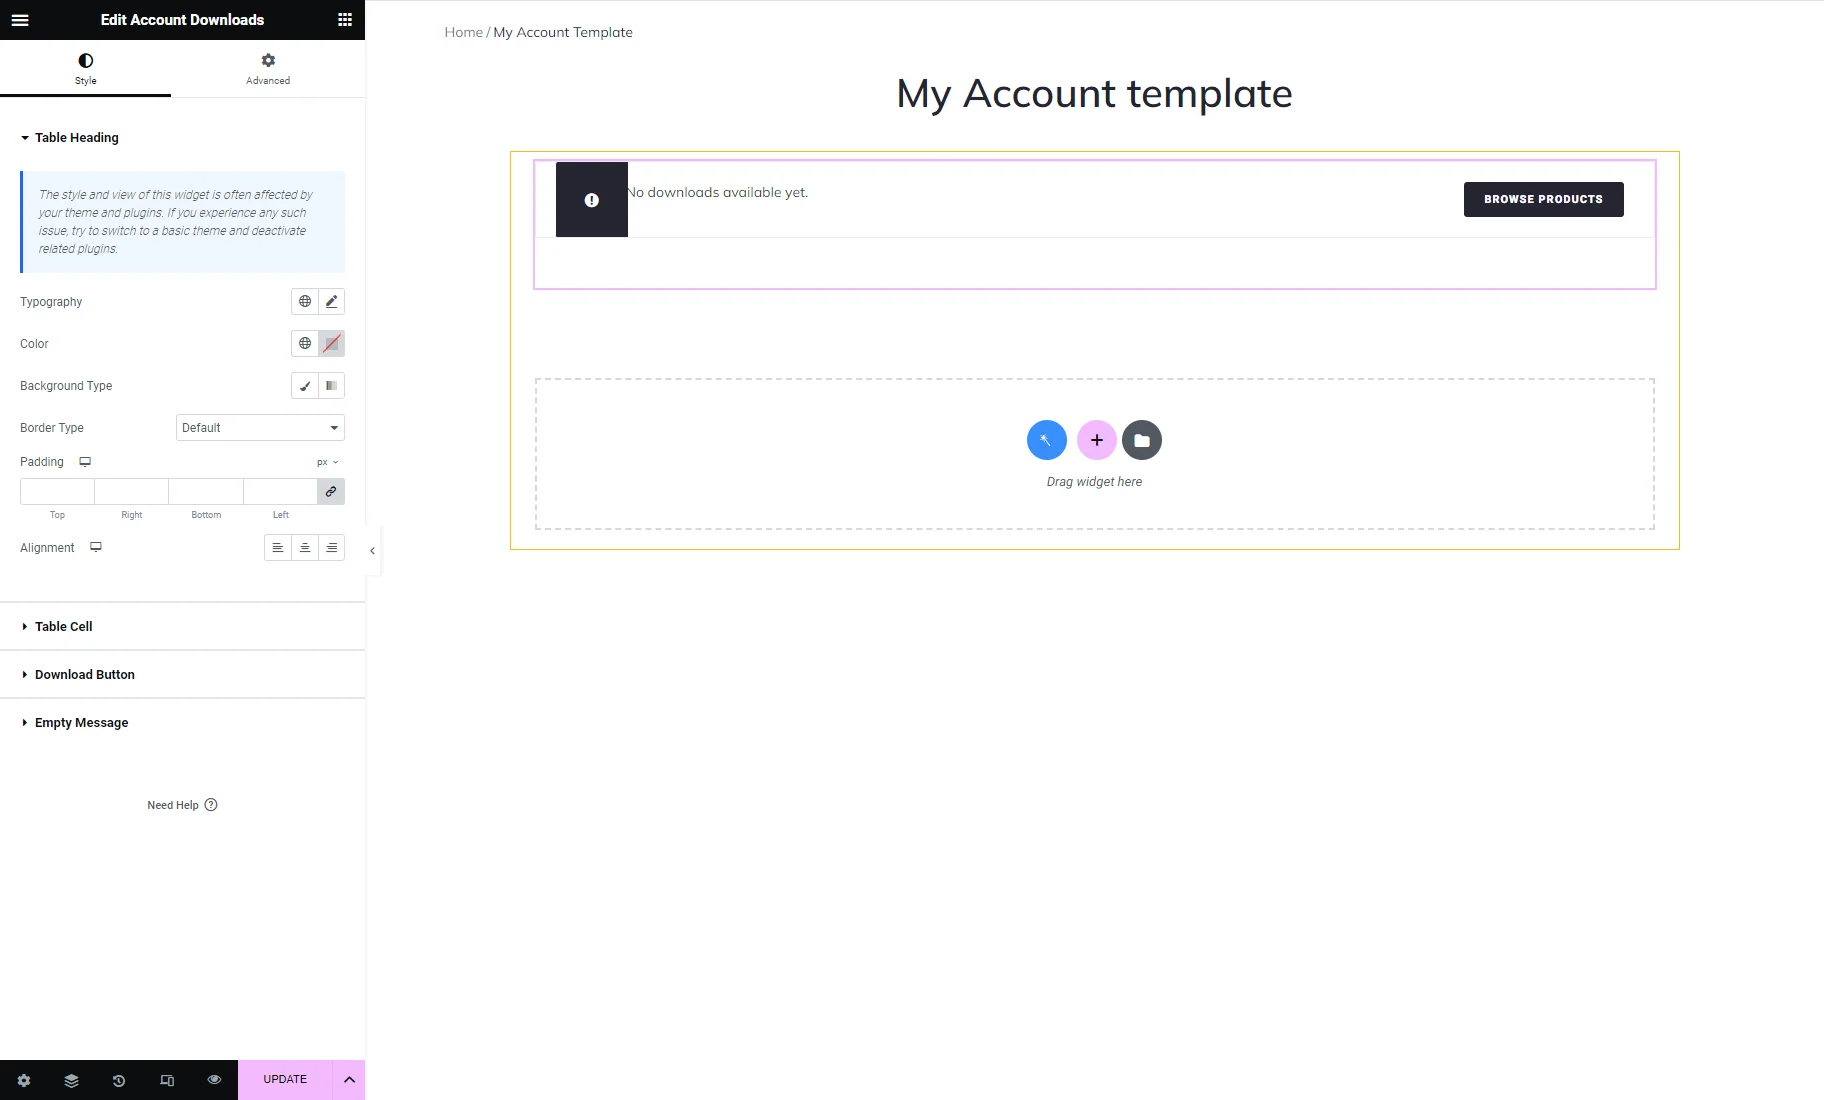
If your online store offers downloadable electronic products, such as apps or movies, this block will show the products that the client has already downloaded. This widget is similar to Account Orders but shows the other types of products.
Account Login Form
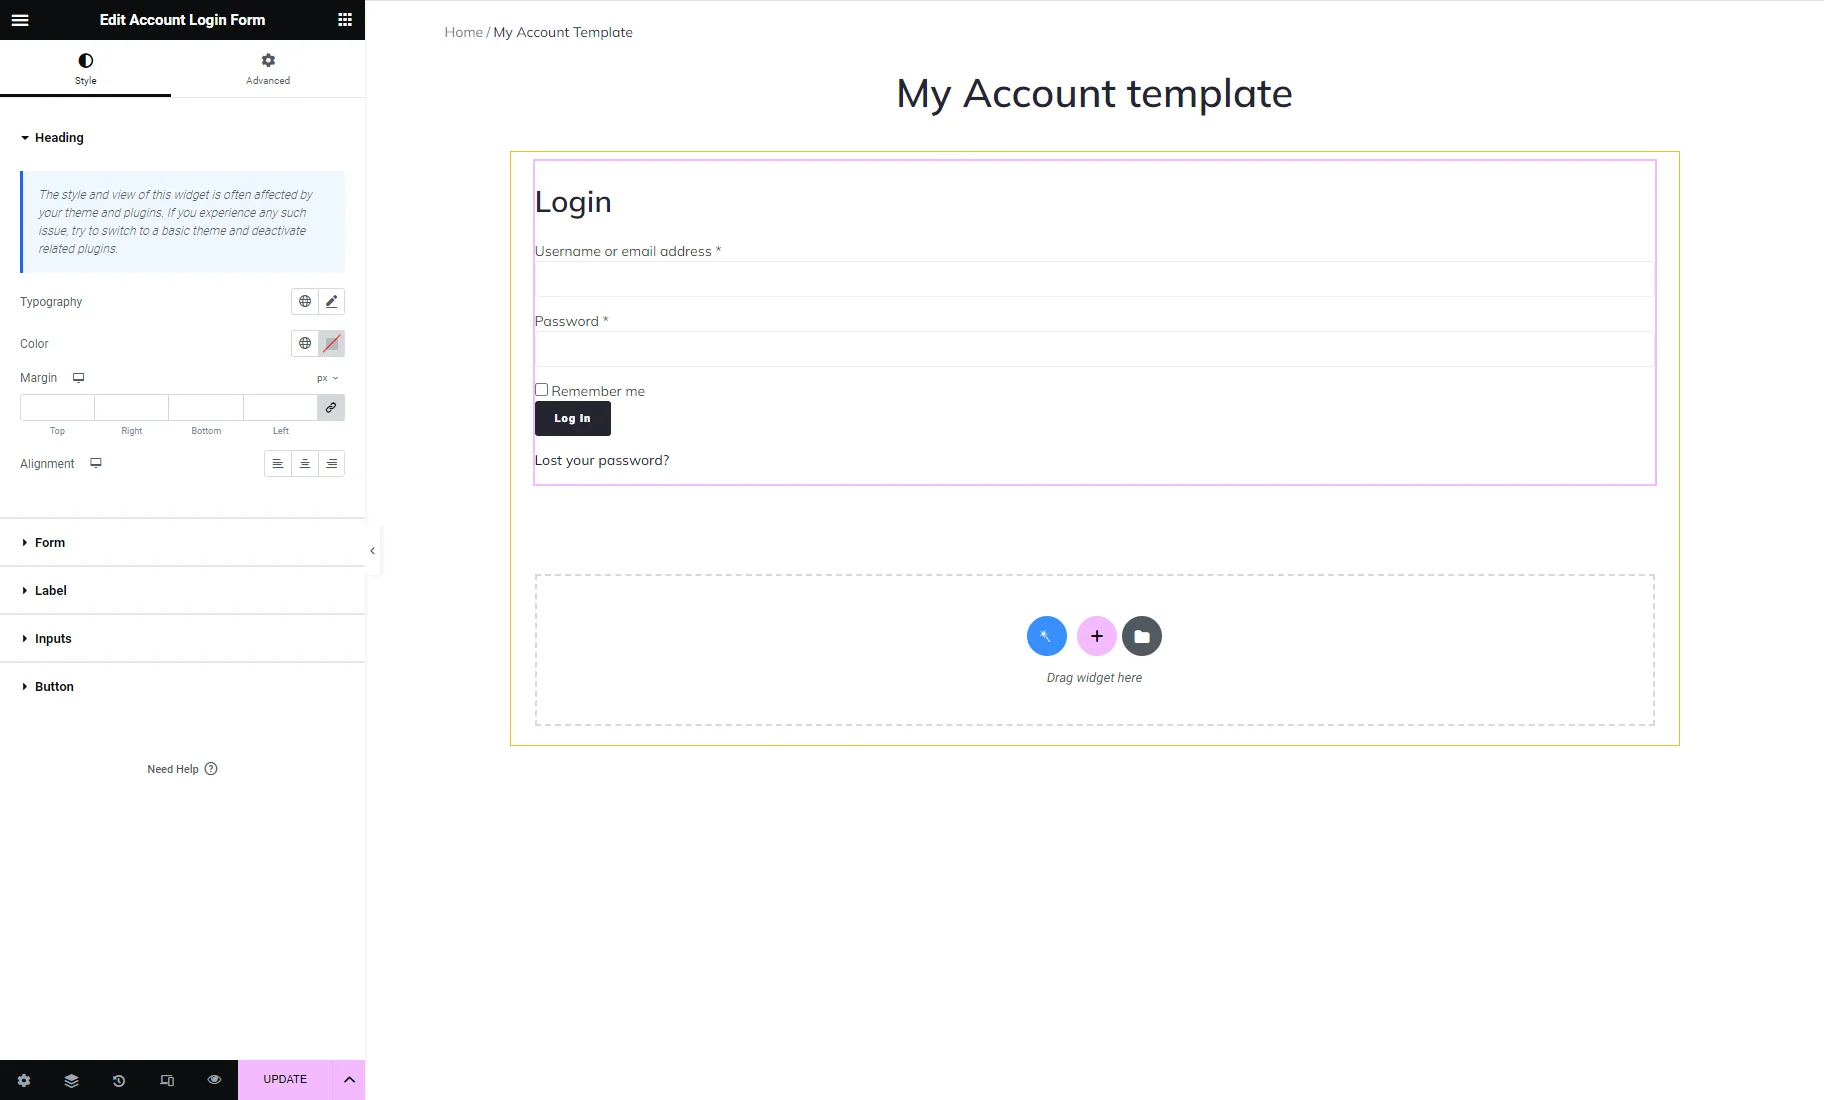
Before entering the account page, the user must complete the identification process. This widget adds a login form. The client fills in the username and password and then clicks the “Log In” button to open the account page. As in all the other widgets, the parts of the login form can be customized in the Style menu tab.
Account Logout
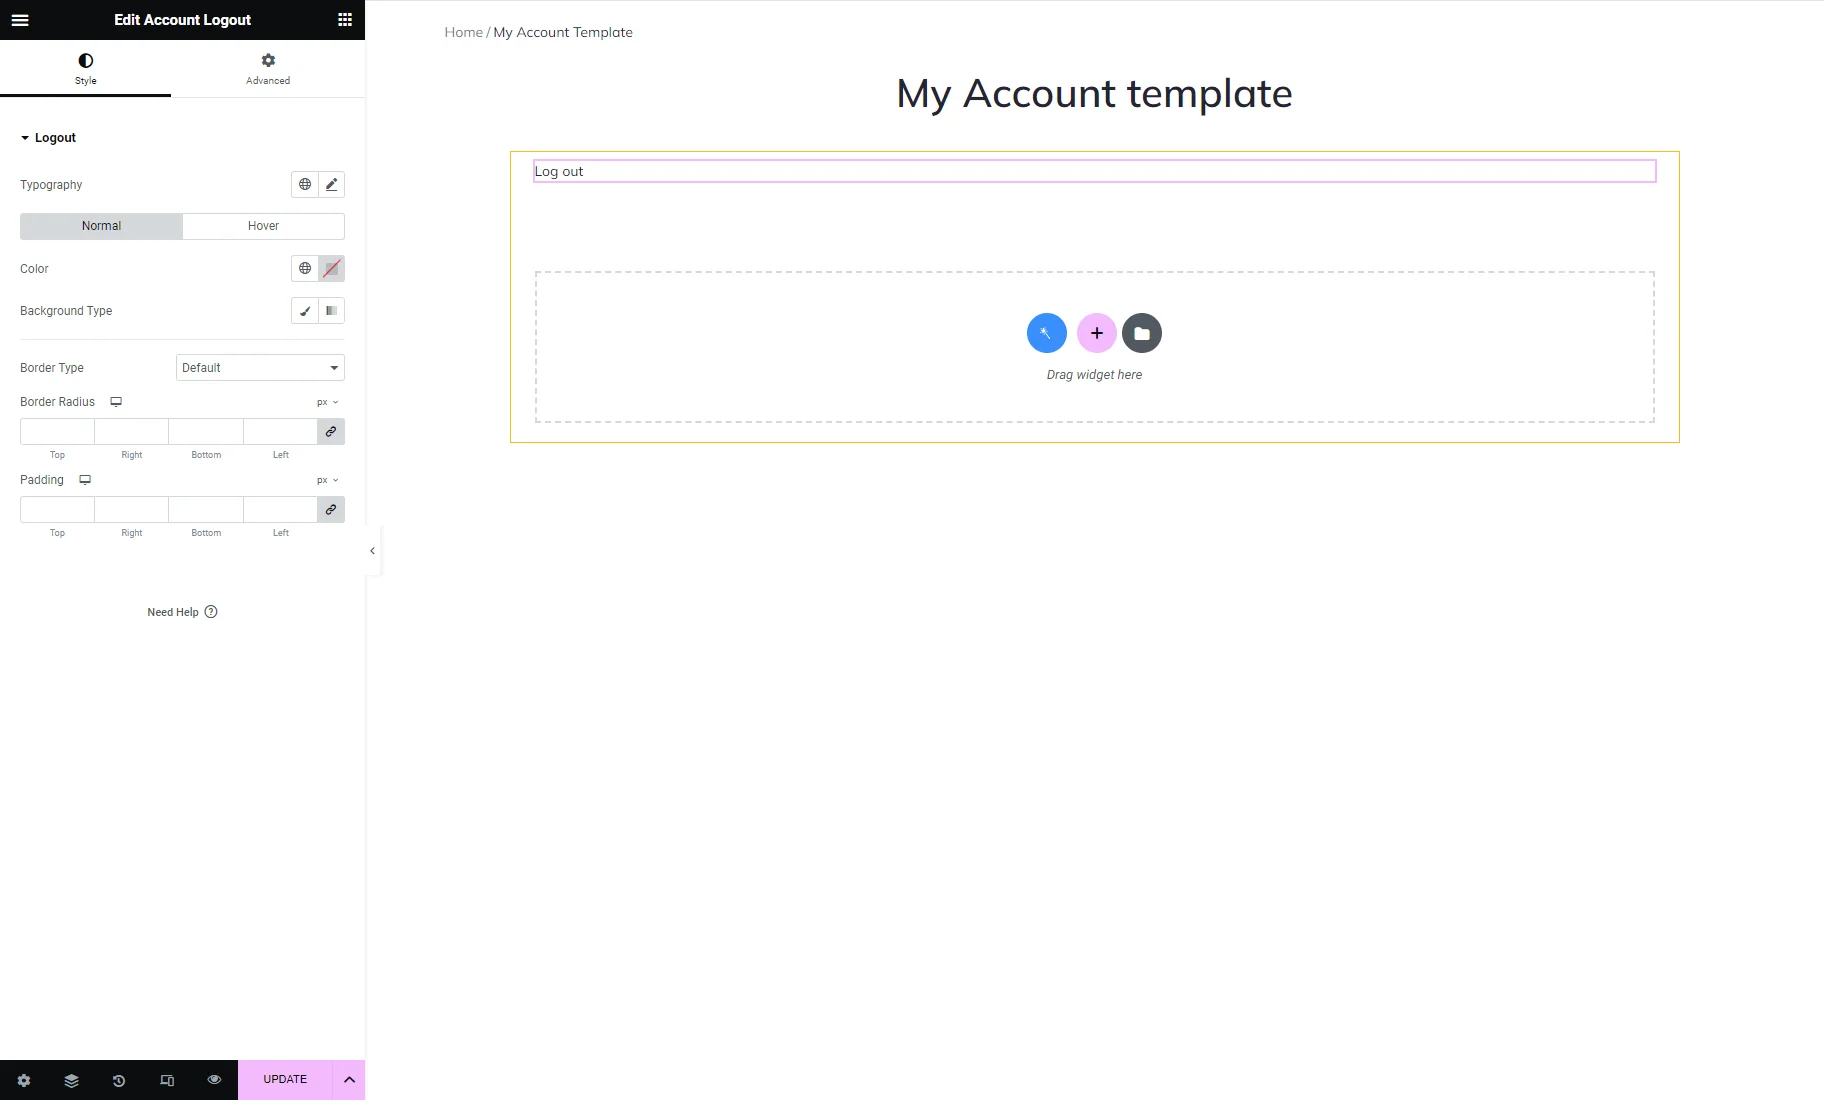
The Account Dashboard widget contains a “Log out” link, but you may want to place another one somewhere at the top or bottom of the page with the Account Logout widget. You can use any Style tab tools to change the “Normal” and “Hover” look of that link.
Account Orders
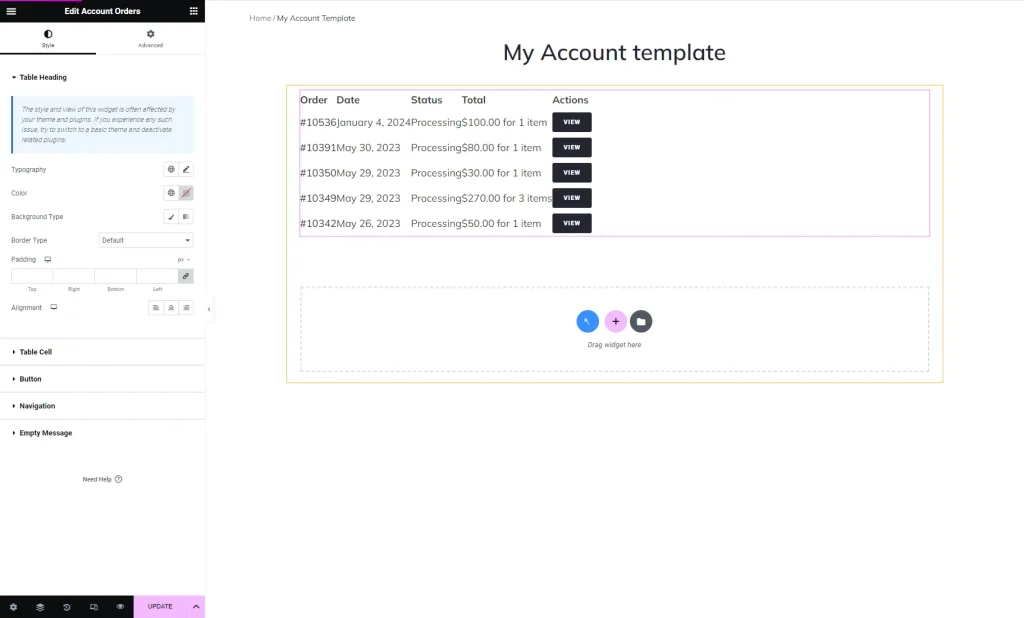
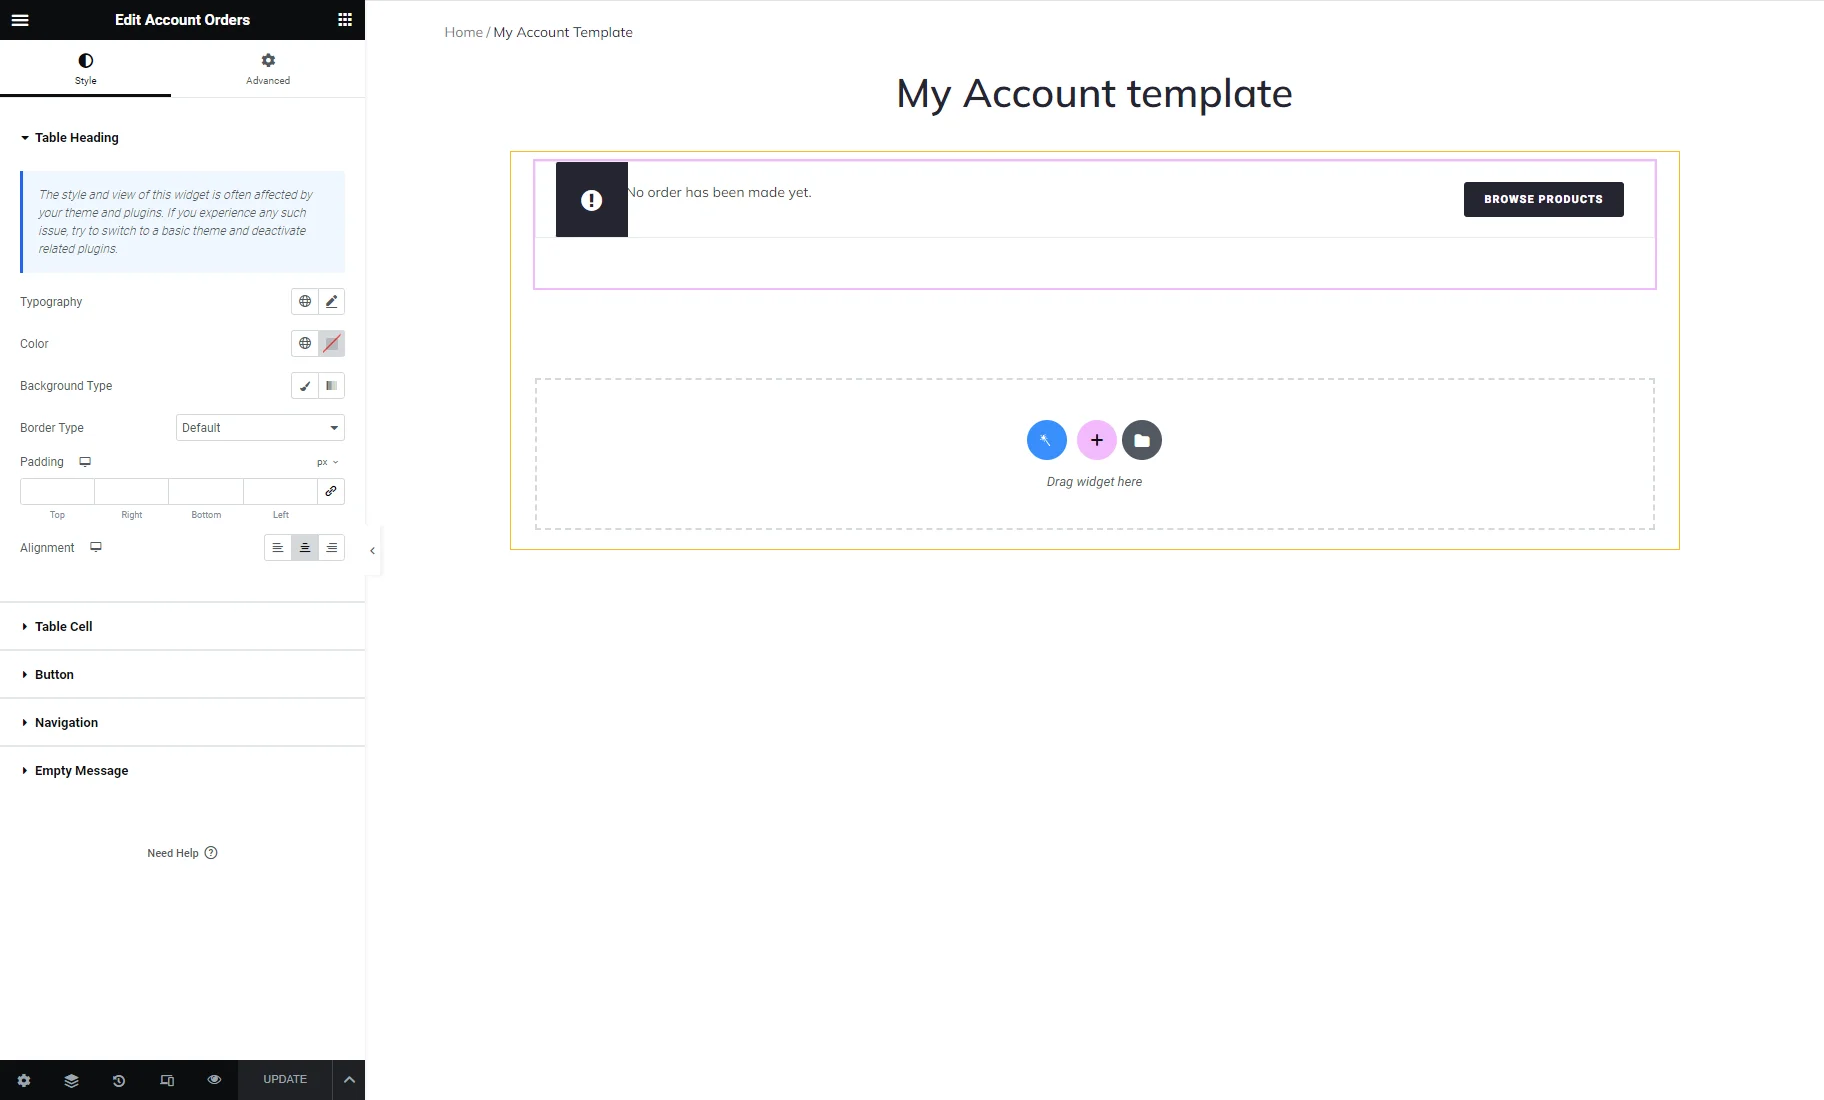
When a logged-in user makes an order, it falls into a block created with this widget. The table contains the number, date, status, and total price of all orders made by the customer.
In the Style settings tab, you can design the Table Heading, Table Cells, and the “View” Buttons.
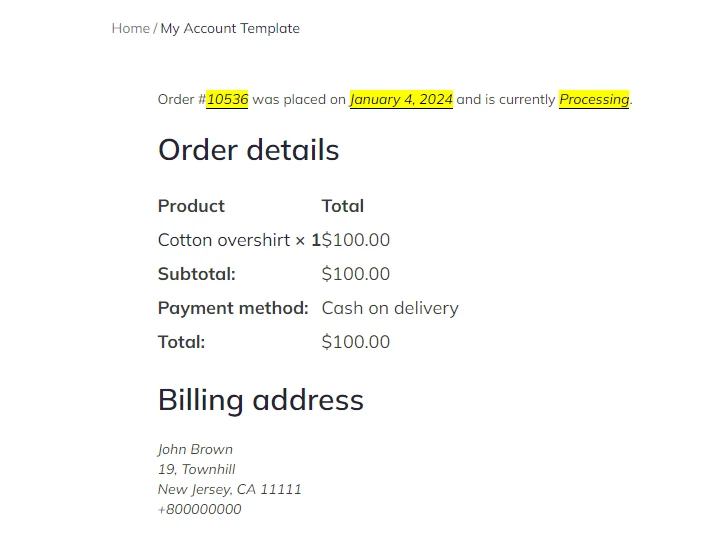
If the user pushes the “View” button on the front end, they can see the order details.
If a user hasn’t made any orders yet, they will see the default WooCommerce message, the style of which can be edited in the widget’s Style tab.
Account Registration Form
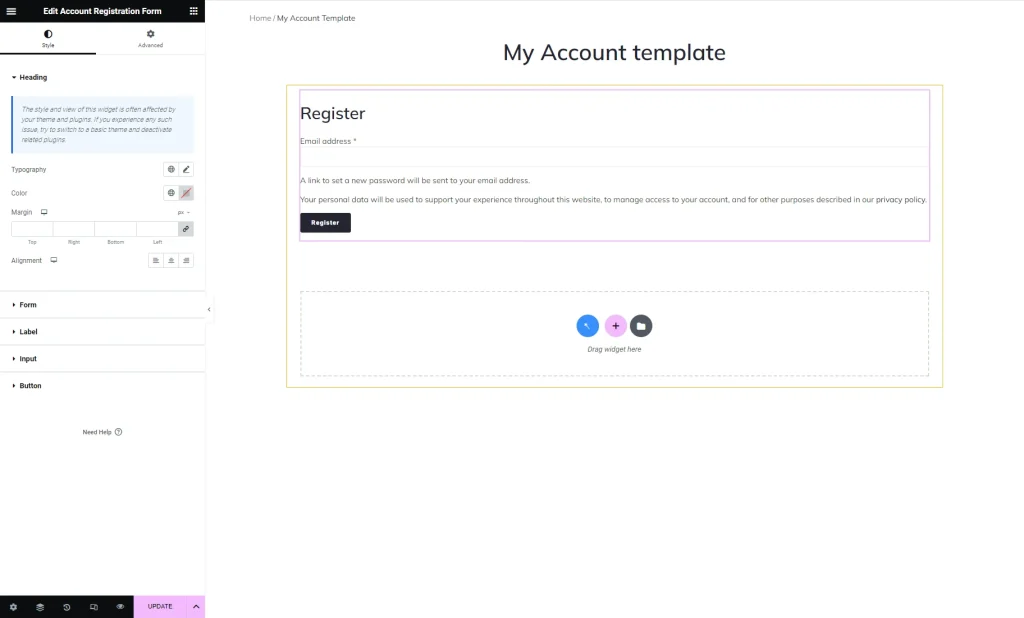
Non-registered users must complete a registration form to access the account page. This widget adds a form with a field where users have to insert their email address and press the “Register” button. It also has a notification message with a link navigating users to the company’s privacy policy page. Once again, you can customize the form’s appearance in the Style menu tab. This includes the “Register” Heading, overall Form design (such as form text, background, and border), “Email Address” field Label, Input field, and the “Register” Button.
That’s all. Now you know all about the My Account Page widgets and their style settings. The next step may be the My Account Page With Endpoint Templates creation.
