How to Add Manual Input Data Source for the Select Filter
This tutorial presents detailed instructions on how to create a Select filter with Manual Input data source based on the select meta field type using the JetSmartFilters plugin.
It is available to display the data from the select meta field type in the Select filter with the help of JetSmartFilters functionality. We are going to show how it works in the example of filtering events by the number of people.
Start with creating a certain meta field type for the custom post type.
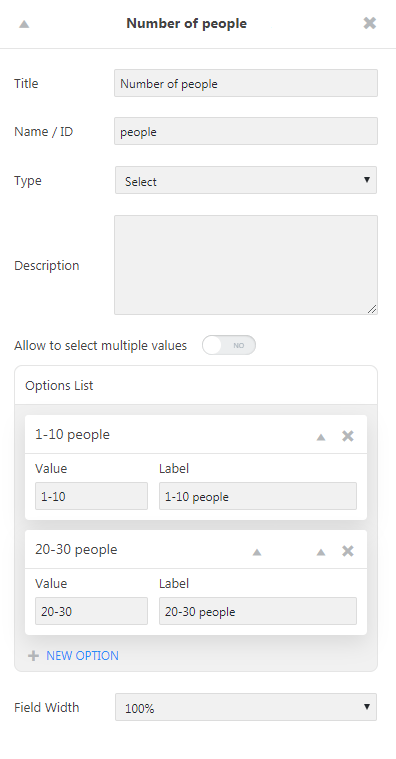
There is an Events custom post type, where we add a Number of people meta field type. Here we specify the Name/ID: people of the meta field, choose the Select type in the appropriate field and add the options list with needed values. Click the Update post type button on the top.

Then, go to the Events custom post type in the WP Dashboard and specify the value according to the number of people for each post in it.

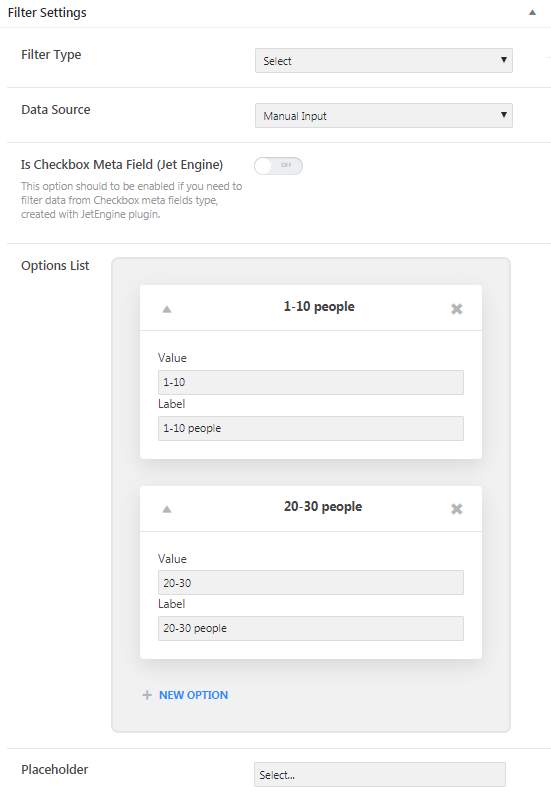
The next step is creating a Select filter in the Smart Filters > Add New section. There are many varied fields for setting the filter as we want. In the Filter Settings tab, we select the Data Source: Manual Input and create the options list with the same values as in the Number of people meta field type of the Events custom post type.

Moreover, in the Query Variable field, specify the meta field name (“people”).

Save the adjustments and proceed to edit the page where we intend to display the filter.
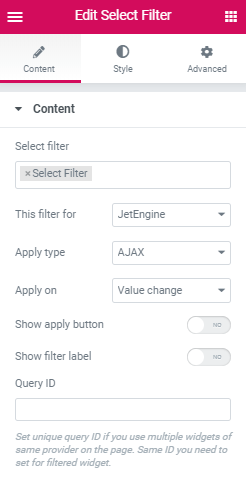
We drop the Select filter on the section where we want to place it and apply necessary settings in the Content block, such as the Select filter and the This filter for options, selecting the created filter and the listing, which will be filtered. Also, you can style the appearance of the filter section in the Style block.

Click the “Update” button and take a look at the page on the front end.
As you can see, it is easy to display the data from the select meta field in the Select filter with JetSmartFilters.