Displaying Custom Repeater Fields in the Accordion Widget
Display custom repeater fields in the Accordion widget with the JetEngine and JetTabs plugins. Find out how to easily create a repeating block set and display the needed information.
Before you start, check the tutorial requirements:
- Elementor (Free version)
- JetEngine plugin installed and activated
with a Custom post type created
- JetThemeCore plugin installed and activated
with Single Post Page Template created
- JetTabs plugin installed and activated
- Dynamic data addon installed and activated
(you can find it on the page with other free add-ons)
With the JetEngine and JetTabs plugins, you can easily create repeating blocks set and display the needed information in a Classic Accordion widget.
Creating the Custom Repeater Meta Fields
Navigate to the WordPress Dashboard > JetEngine > Post Types directory and open a Custom Post Type editor where you want to add the repeater fields.
Scroll to the Meta Fields tab and press the “New Meta Field” button.
Complete the Label and Name/ID fields with the desired values.
Leave the default “Field” Object type and set “Repeater” as a Field type.
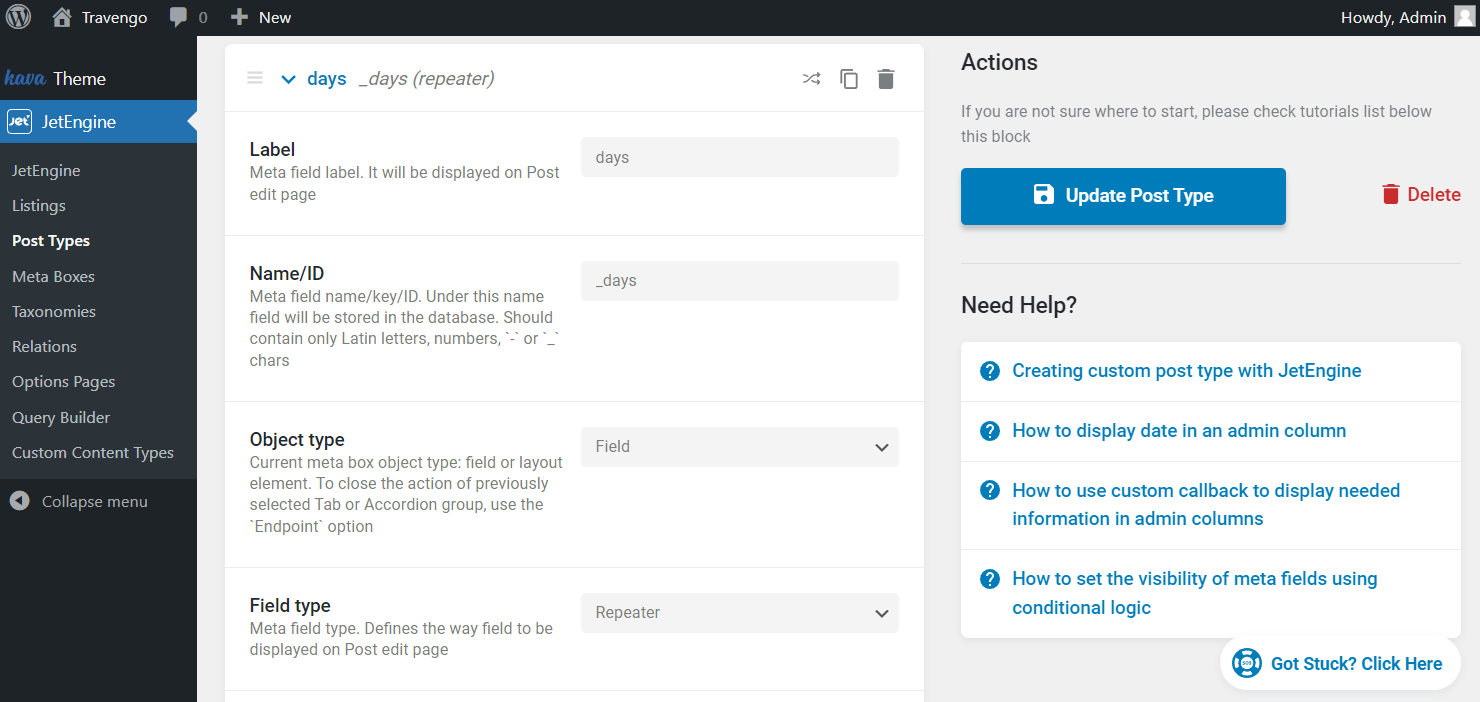
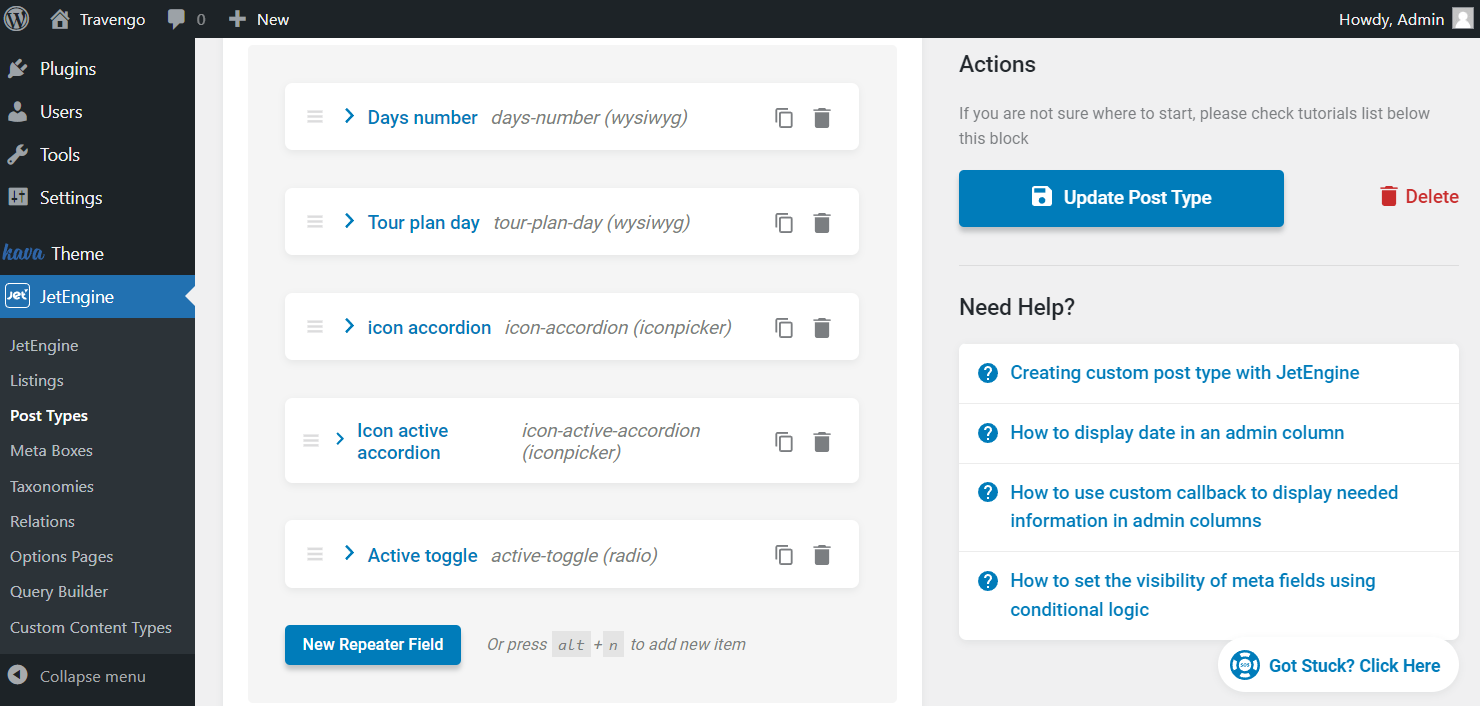
Follow the detailed guide through the Repeater meta field creation process and add the necessary fields to the repeater by pressing the “New Repeater Field” button.
Firstly, we build a meta field for the label of the tab. For example, it can be a Text field or a WYSIWYG one, as presented in this tutorial.
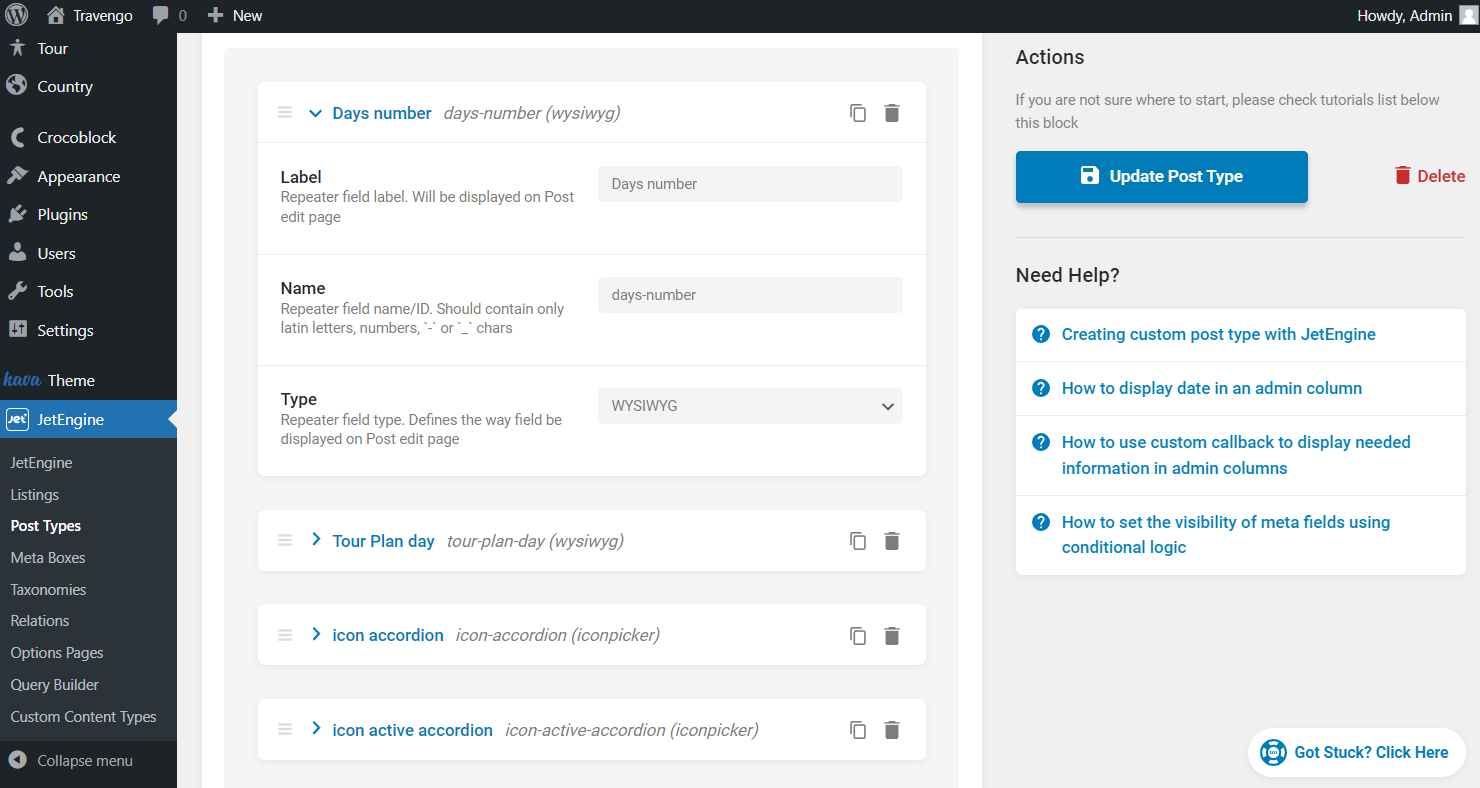
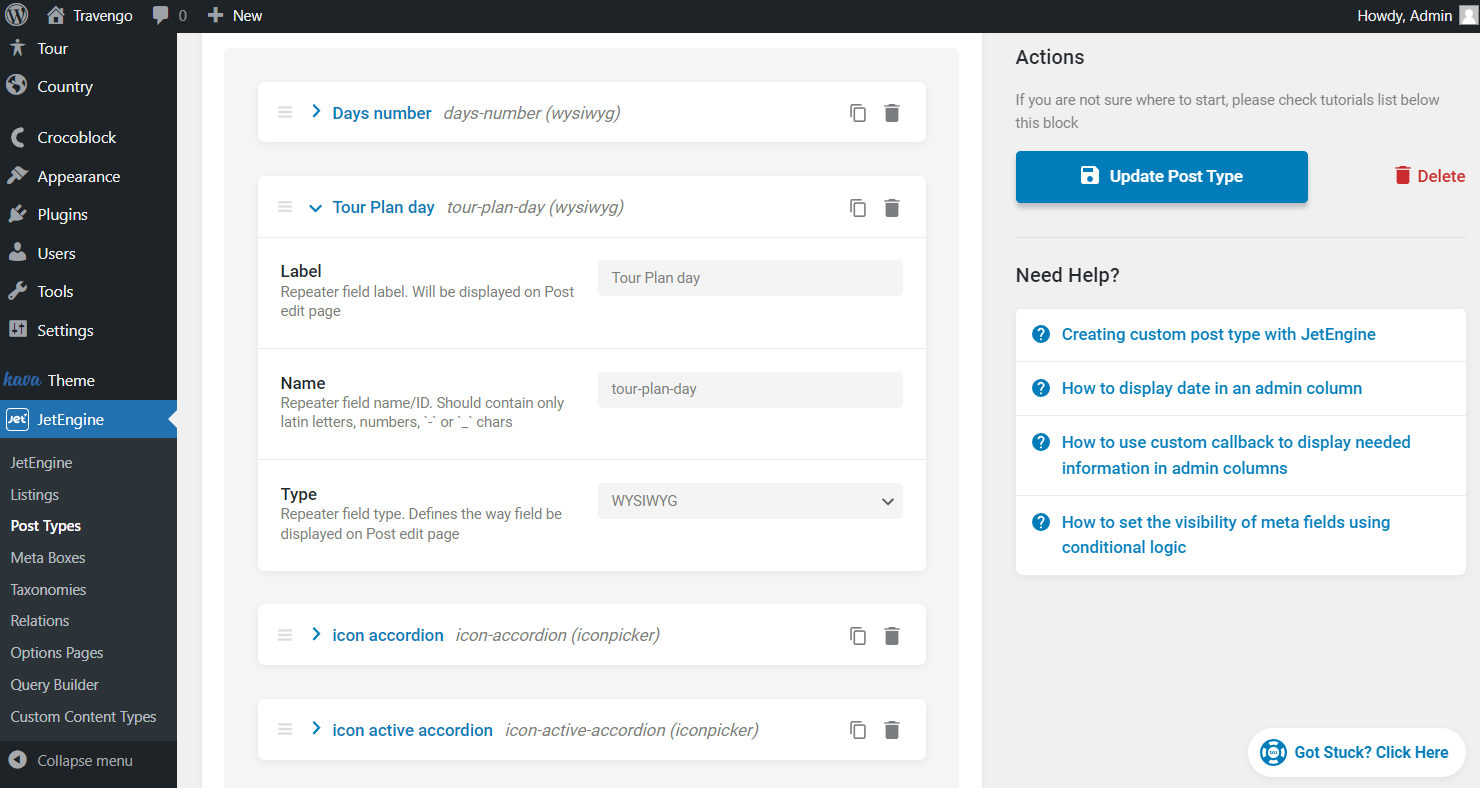
One more WYSIWYG field is built for Editor Content in the tabs.
Also, two fields for icons should be created, one for active and one for inactive tabs.
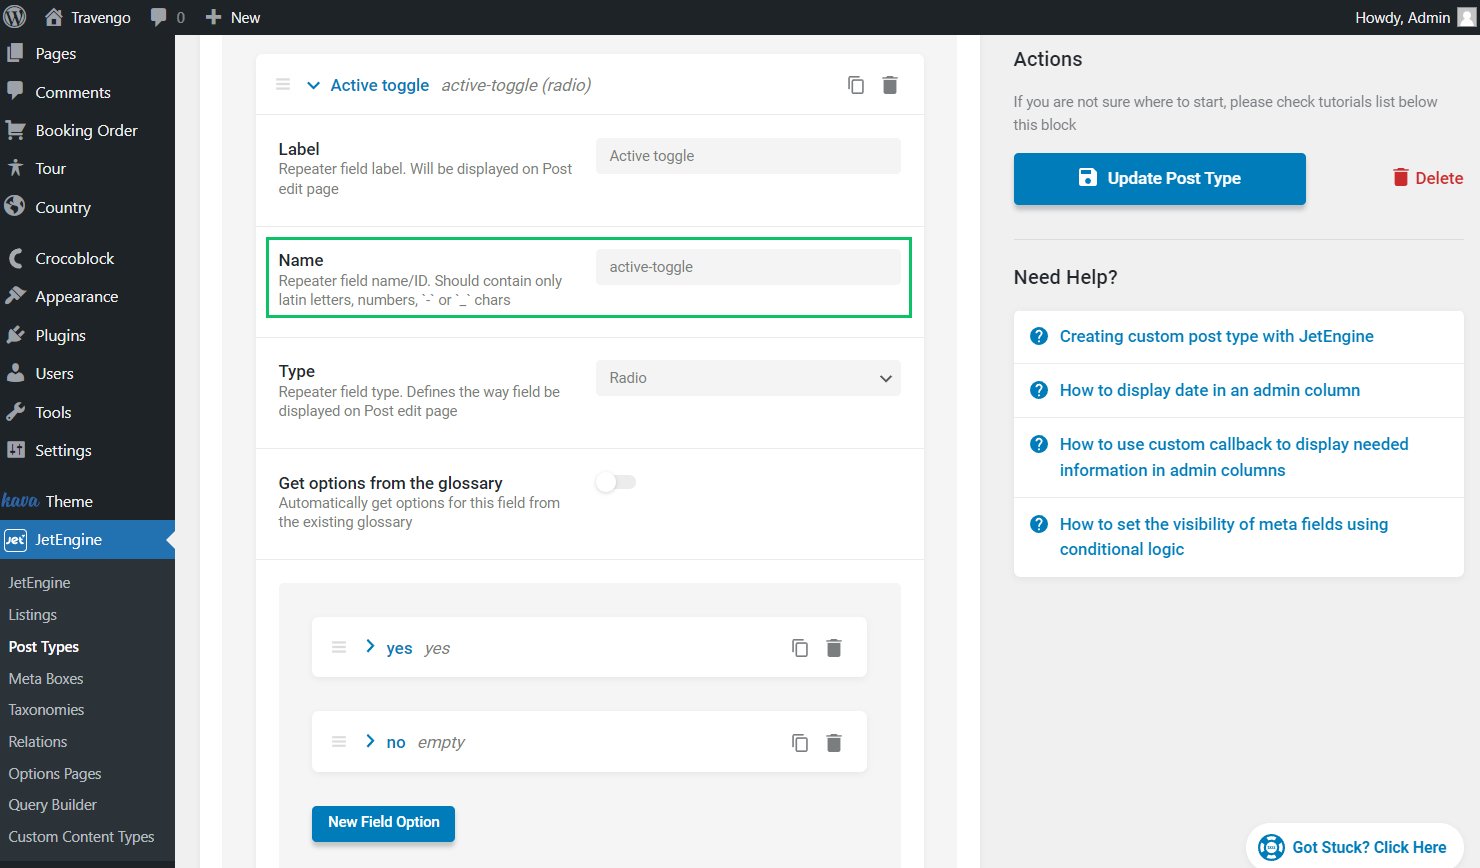
The following is a field to define whether the tab is active (yes or empty string); for instance, it can be a Radio meta field with two values.
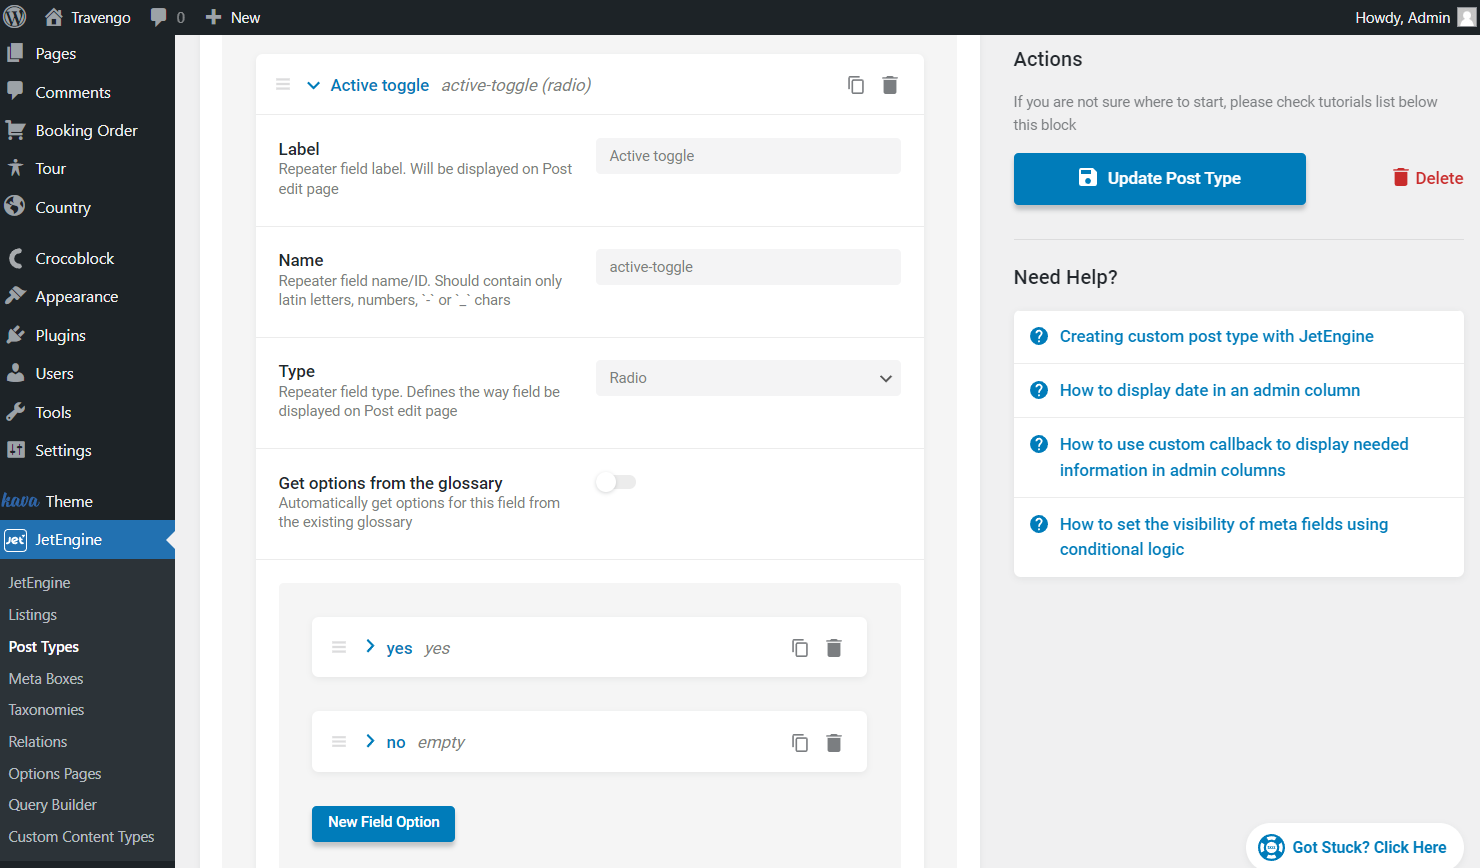
Once all the needed fields are created, click the “Update Post Type” button.
Fill the Fields Within the Posts
Go to each CPT post, scroll down the page, and add the needed information to the Repeater fields.
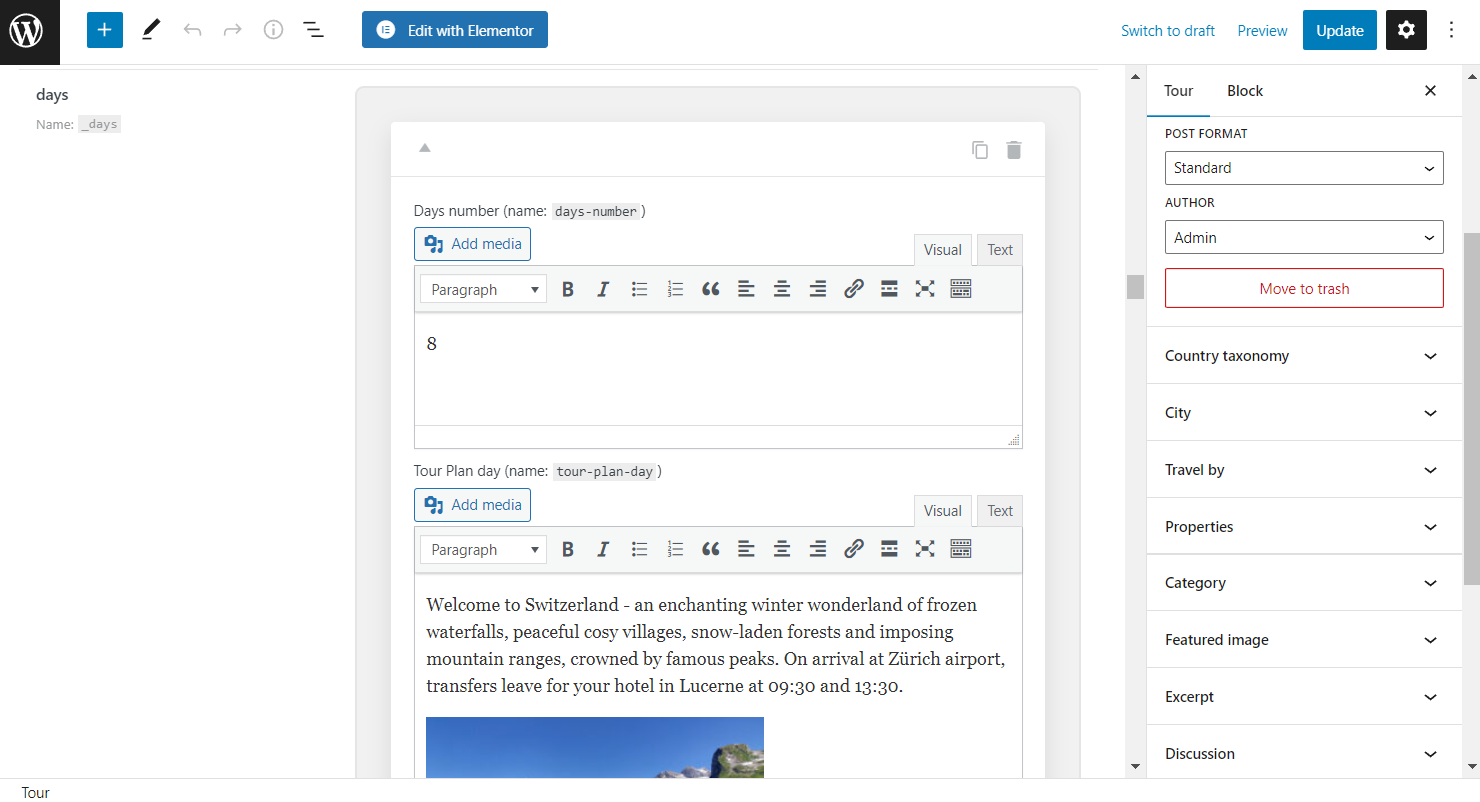
As the repeater fields will be displayed in the accordion tabs, you have to add as many blocks with information as needed. E.g., in the case of the tours, each one will have four or more days.
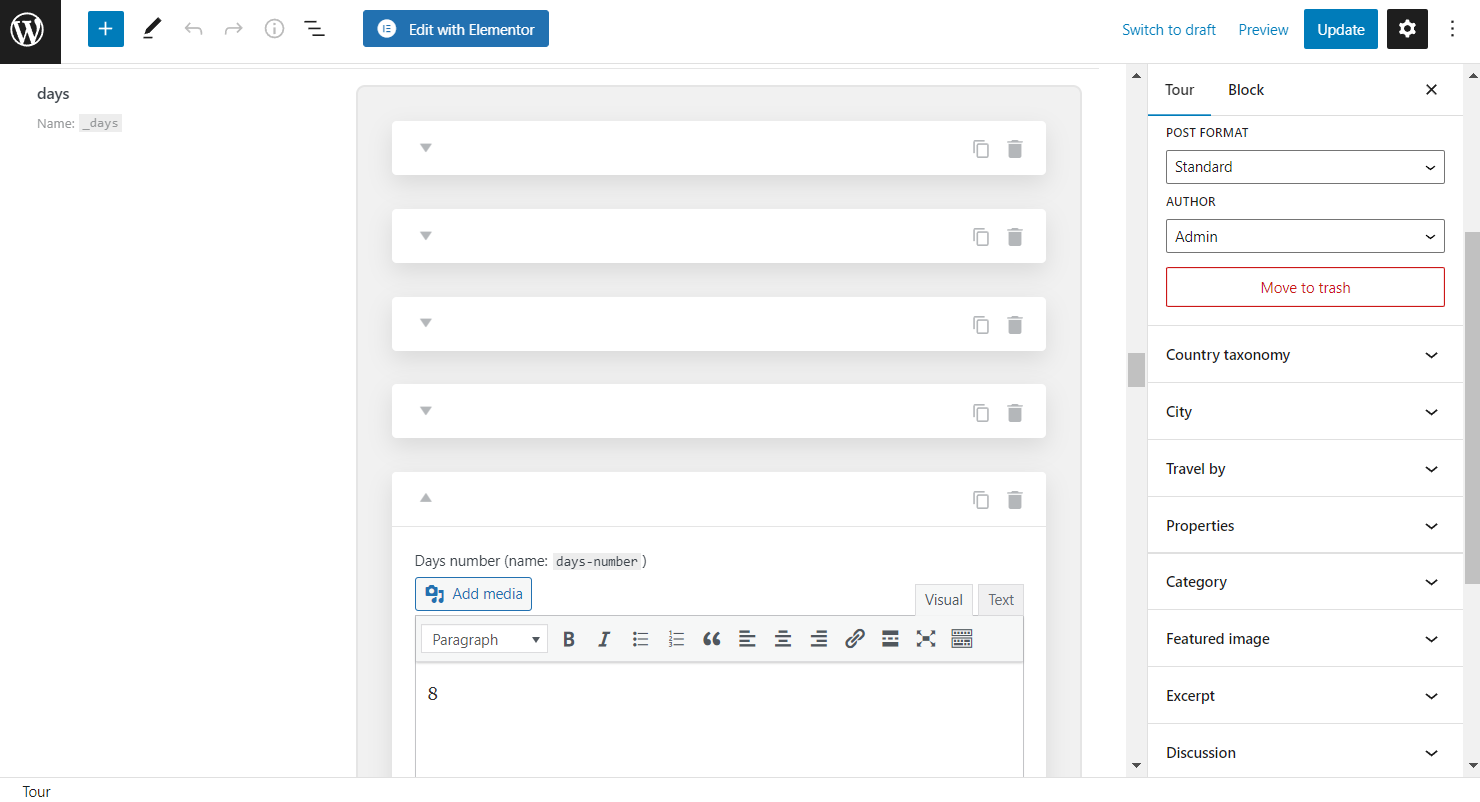
Once you’re done, update the post and proceed to the next step.
Working with the Accordion Widget
Go to WordPress Dashboard > Crocoblock > Theme Templates. Open the Single Page in Elementor and drop the Classic Accordion widget.
Unfold the Items section of the Content tab and delete the two last items presented by default, so only one is left.
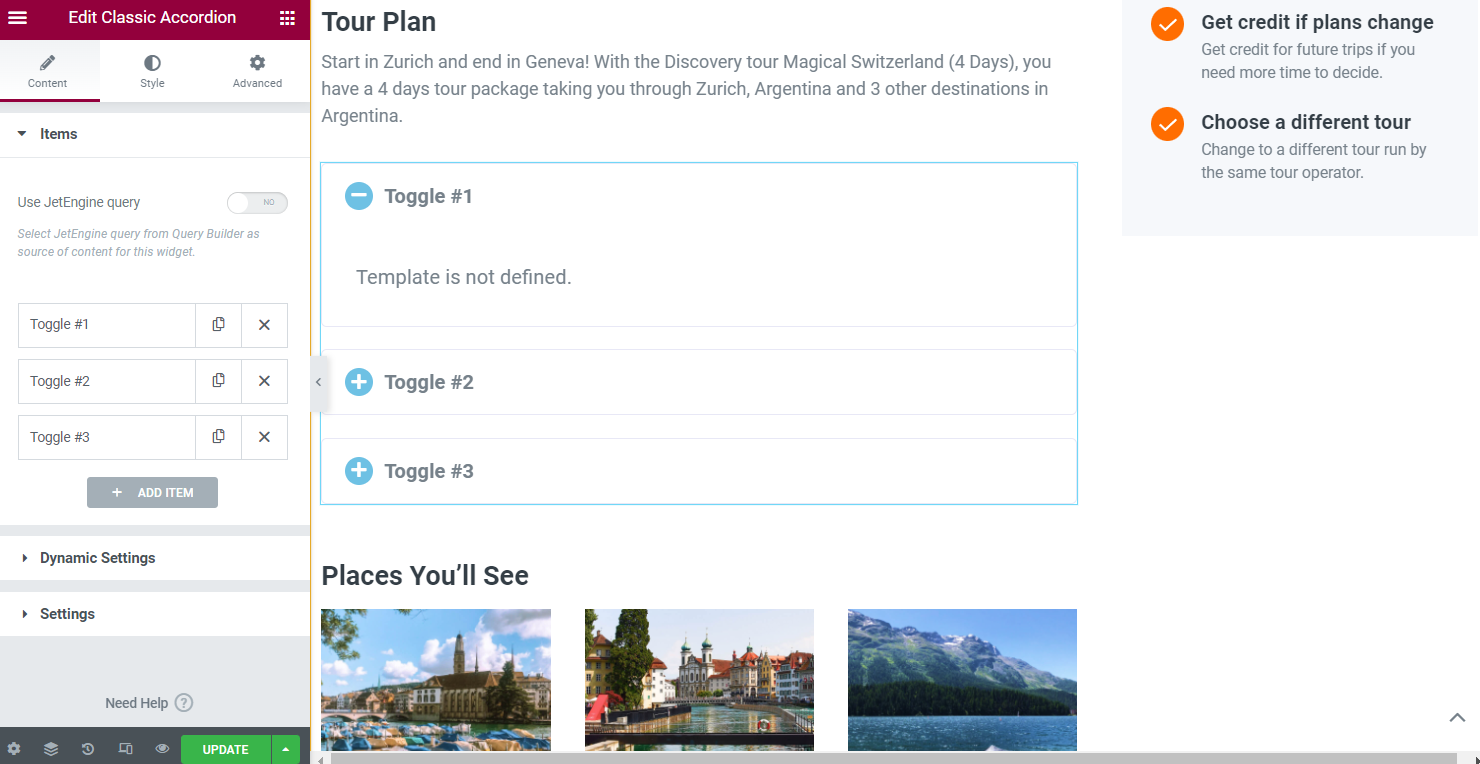
Open the left Toggle #1 and ensure the Content Type is set to “Editor.” Here, you can also change the Label of the toggle to the one you prefer.
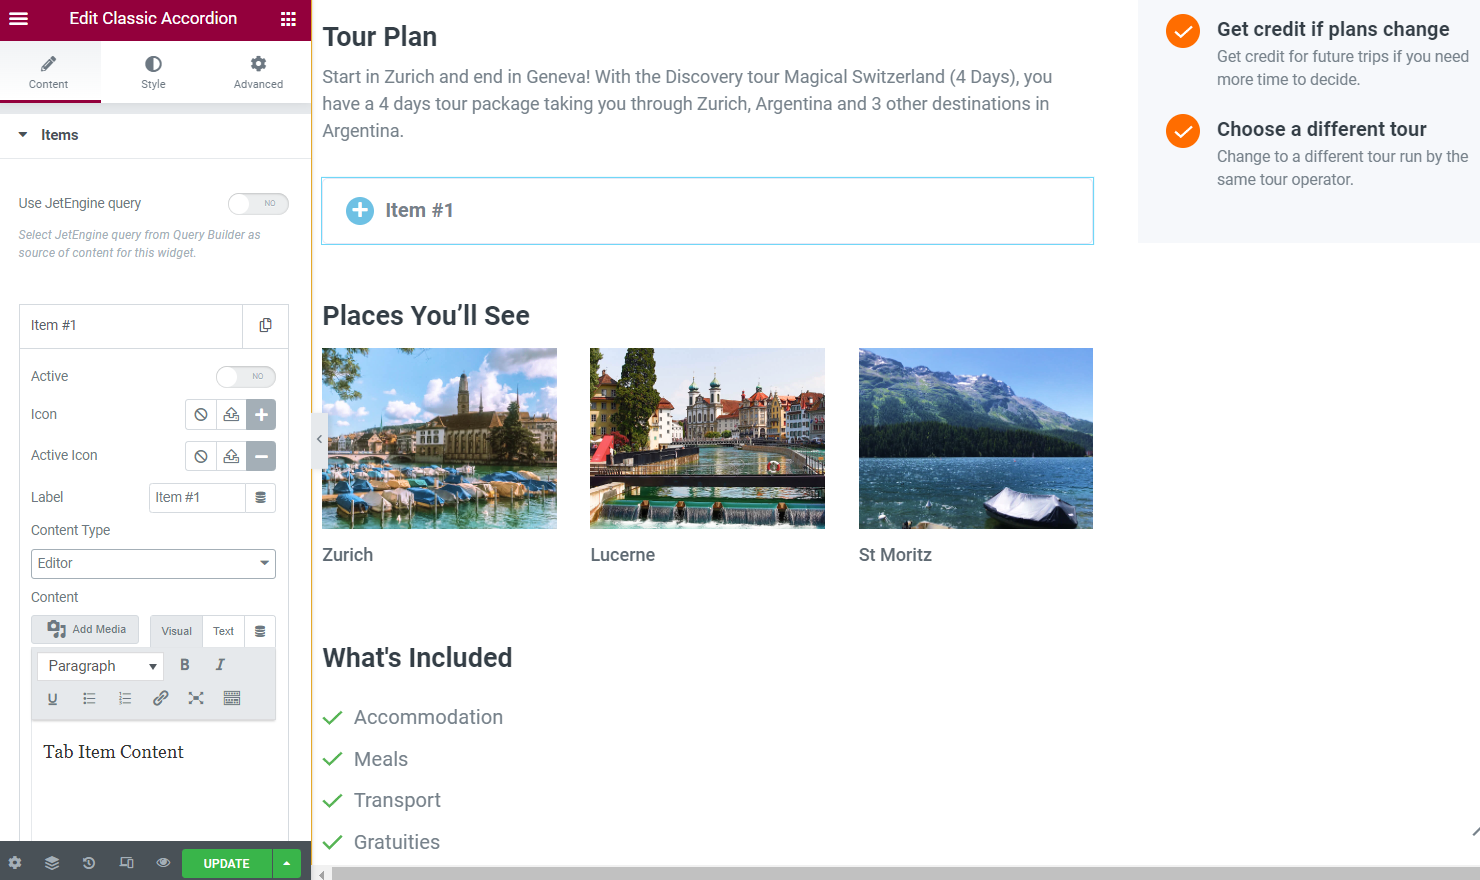
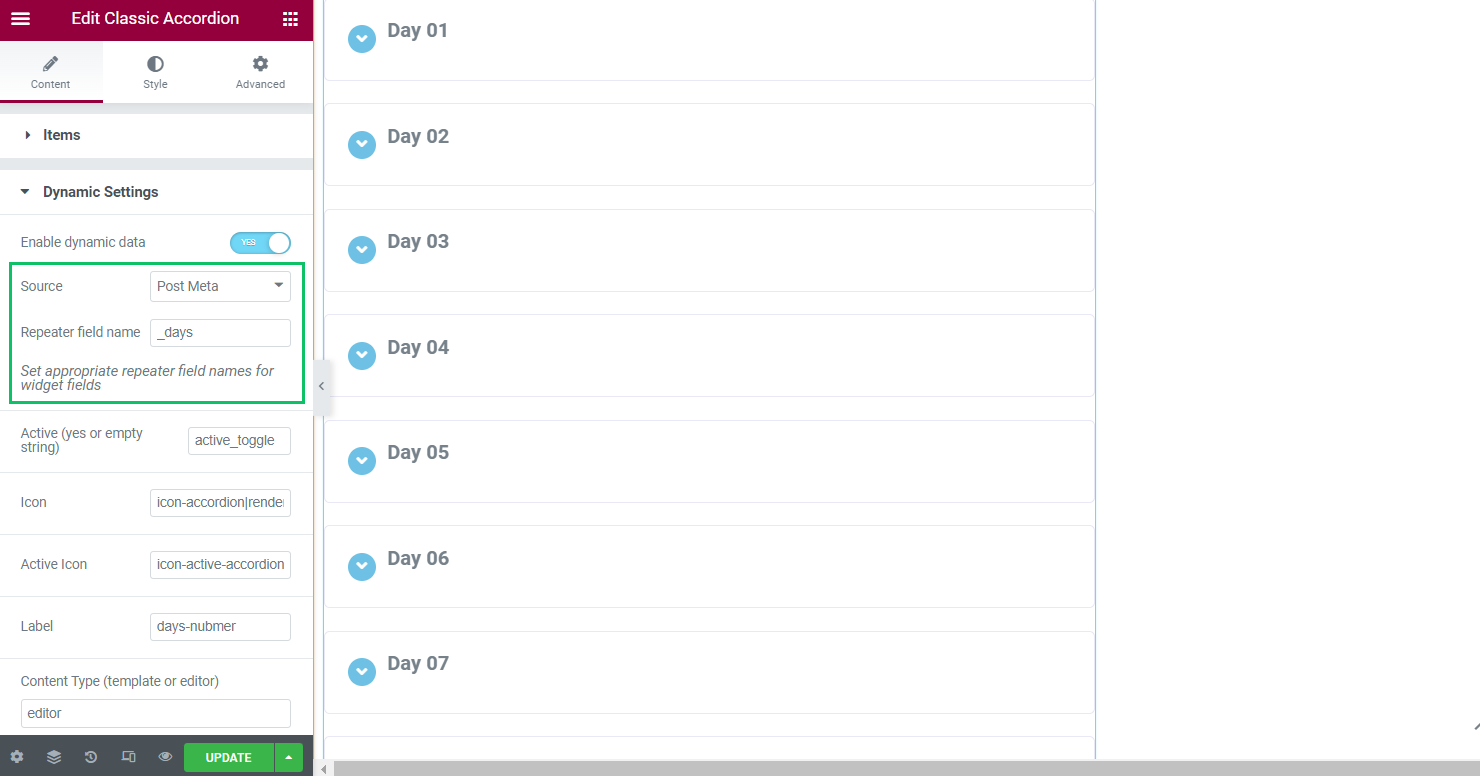
Unfold the next section, Dynamic Settings, and turn on the Enable dynamic data toggle.

Set “Post Meta” as Source and complete the Repeater field name bar with the CPT repeater field name.
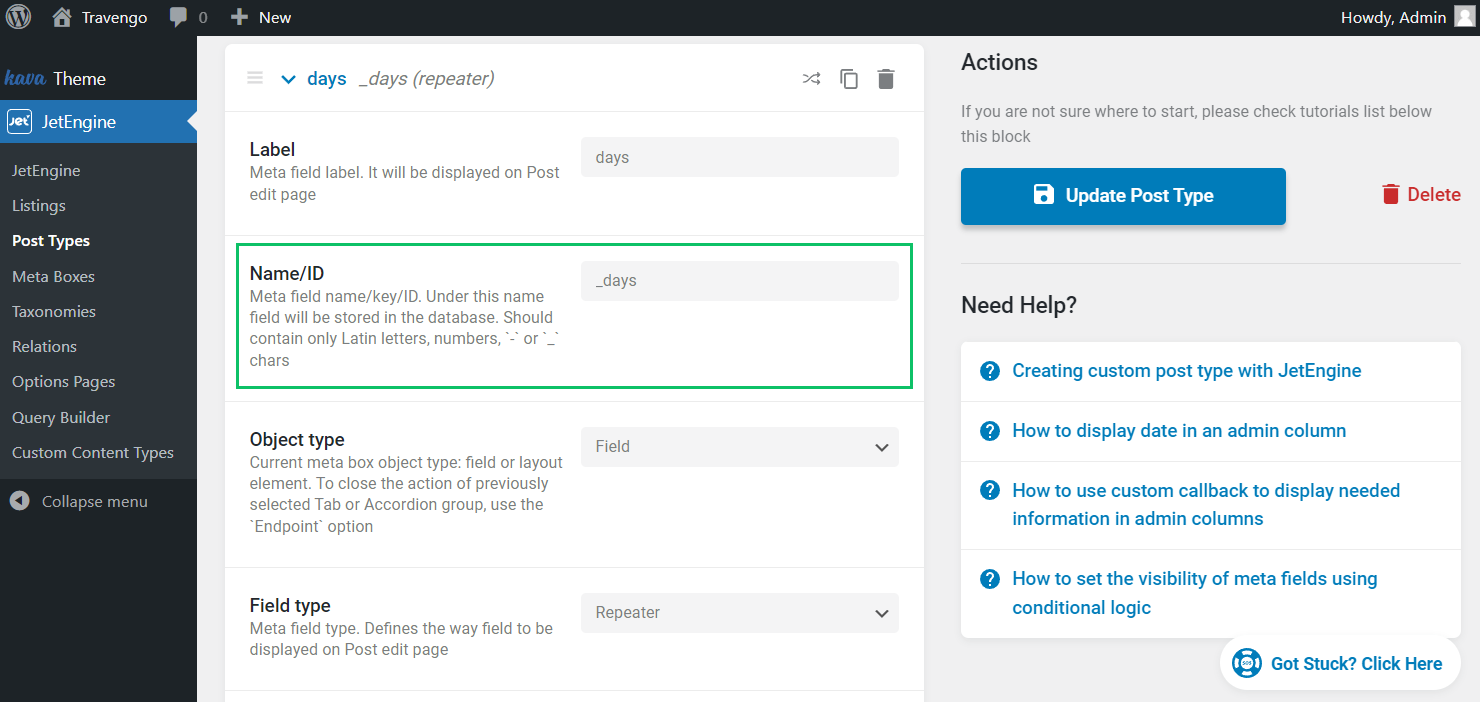
To find the repeater field name, return to the WordPress Dashboard > JetEngine > Post Types and scroll down to the Meta fields section.
Proceed to the following fields in Elementor and enter the appropriate repeater field names from your CPT.
The Active (yes or empty string) field should be filled in with the Name value of the corresponding meta field.
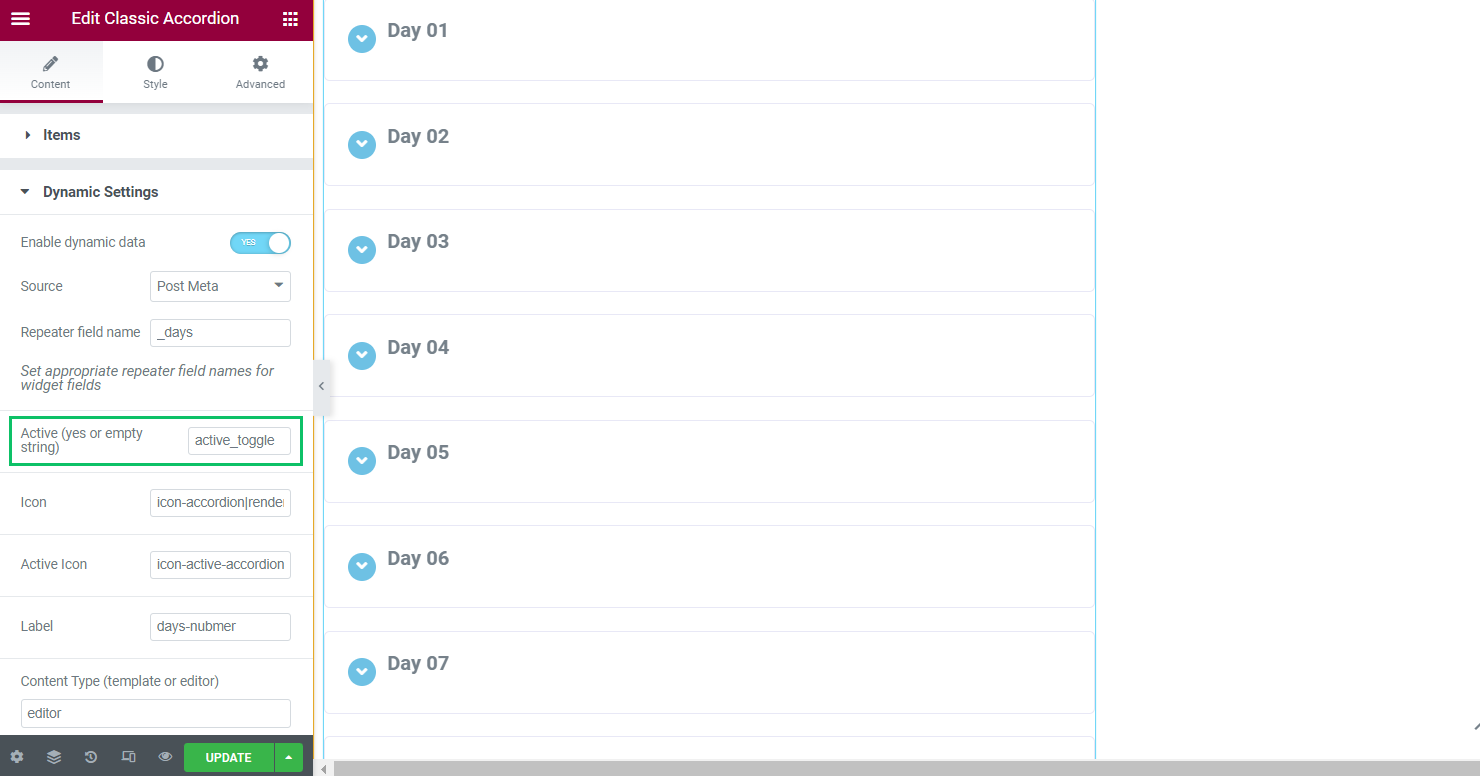
The Name value can also be found in the WordPress Dashboard > JetEngine > Custom Post Type directory of the needed CPT.
The following Icon and Active Icon fields represent the Iconpicker meta fields we have created before.
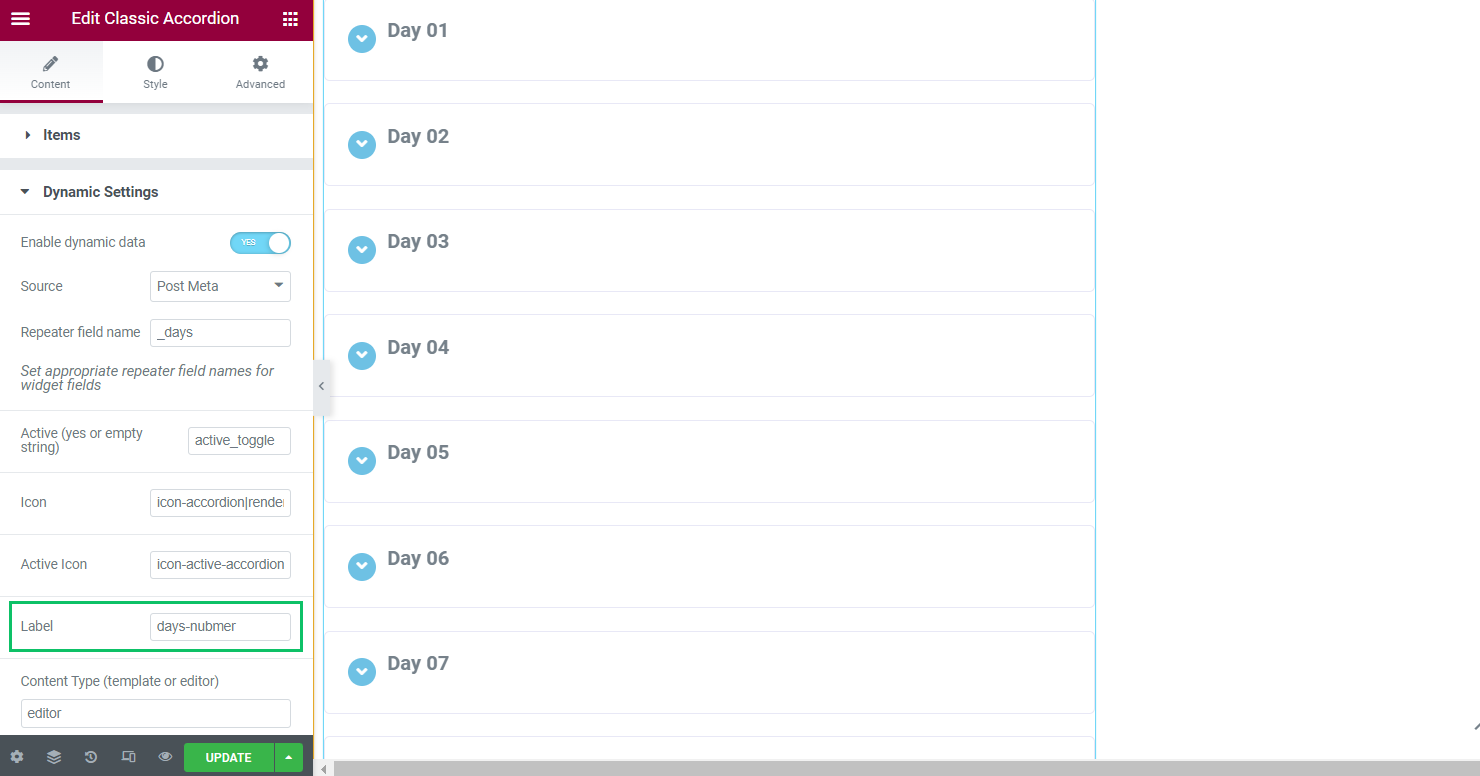
Complete the following Label field. In the described case, the value put in there is the one representing tour days in the WYSIWYG field.
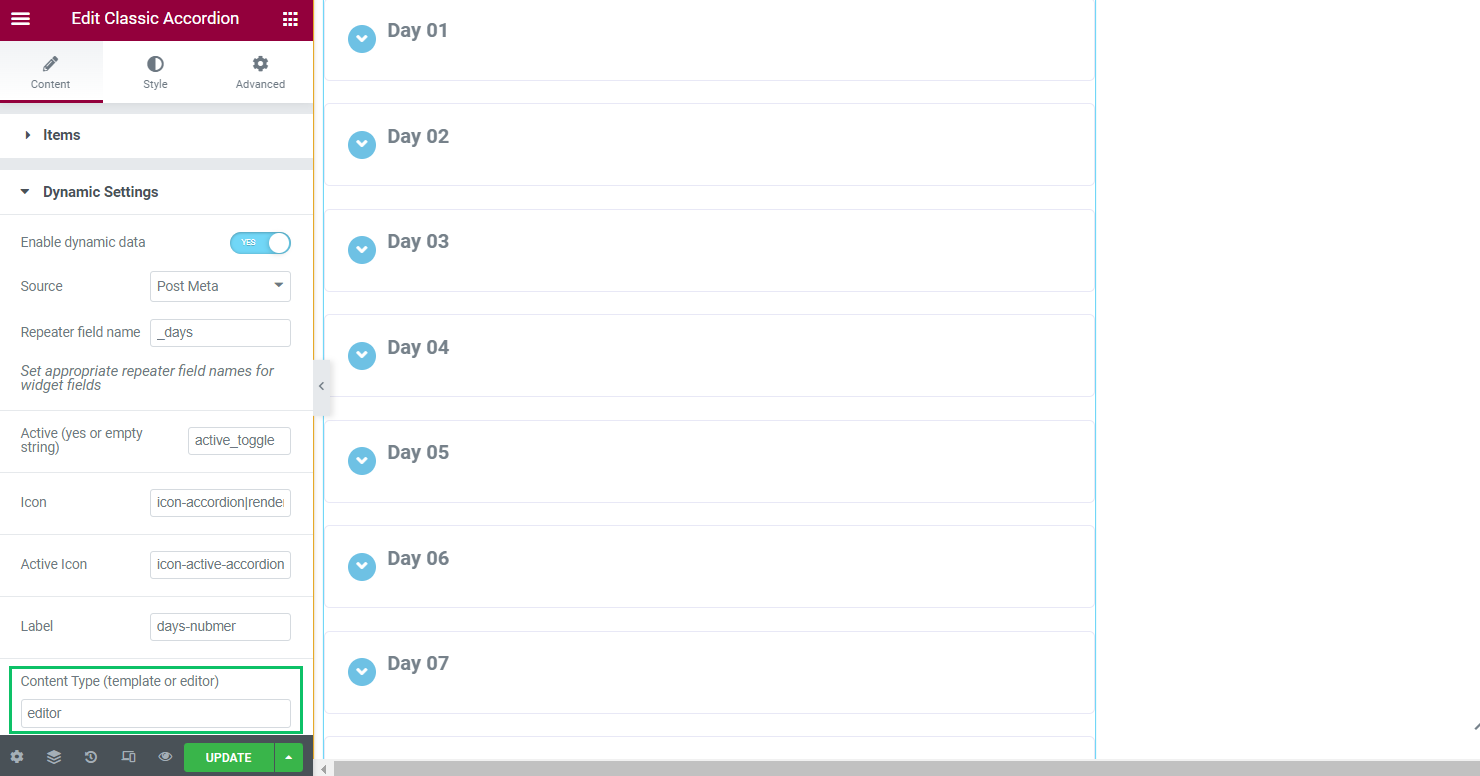
In the Content Type (template or editor) field, type in the “editor” value.
The last field to be completed is the Editor Content one. In the presented case, the WYSIWYG field for tour plan day is used.
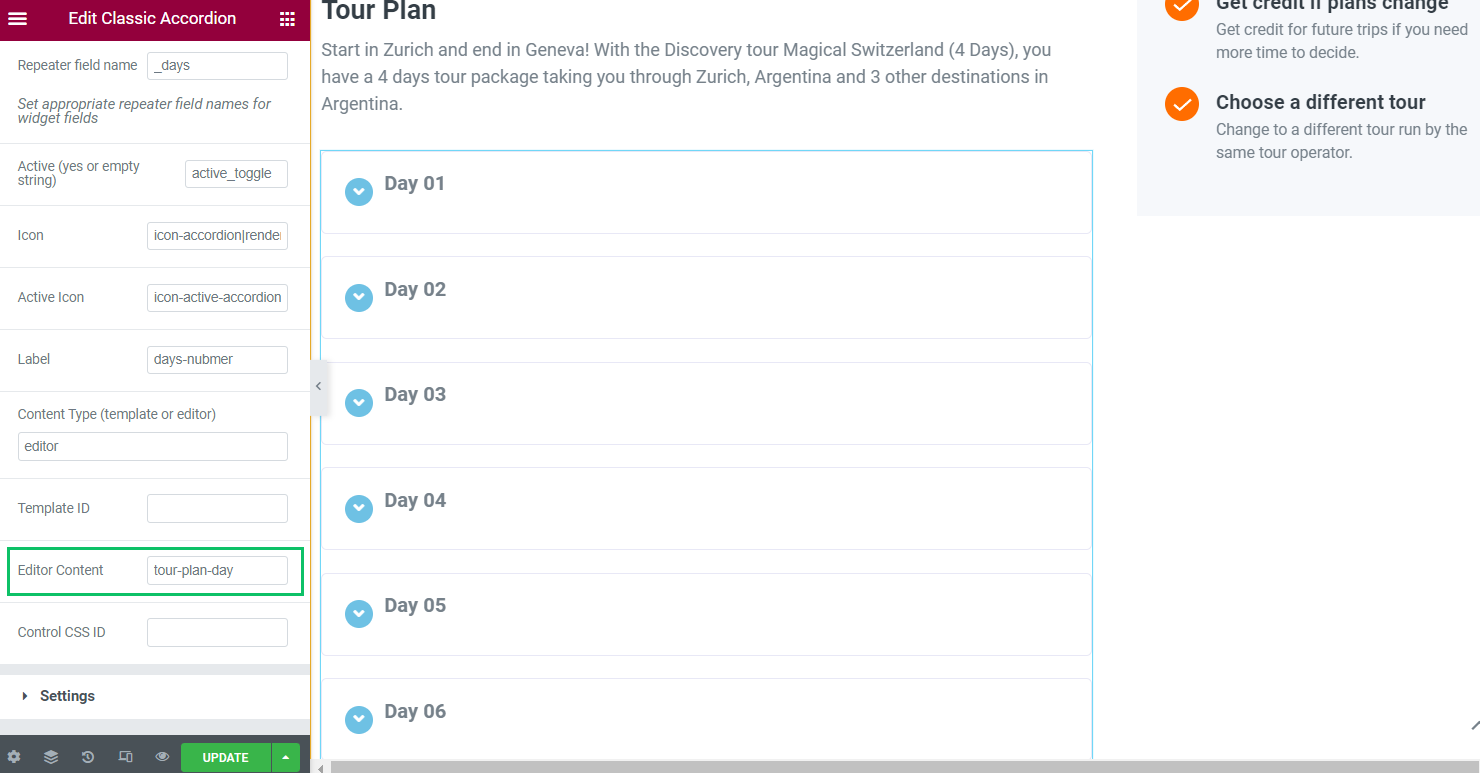
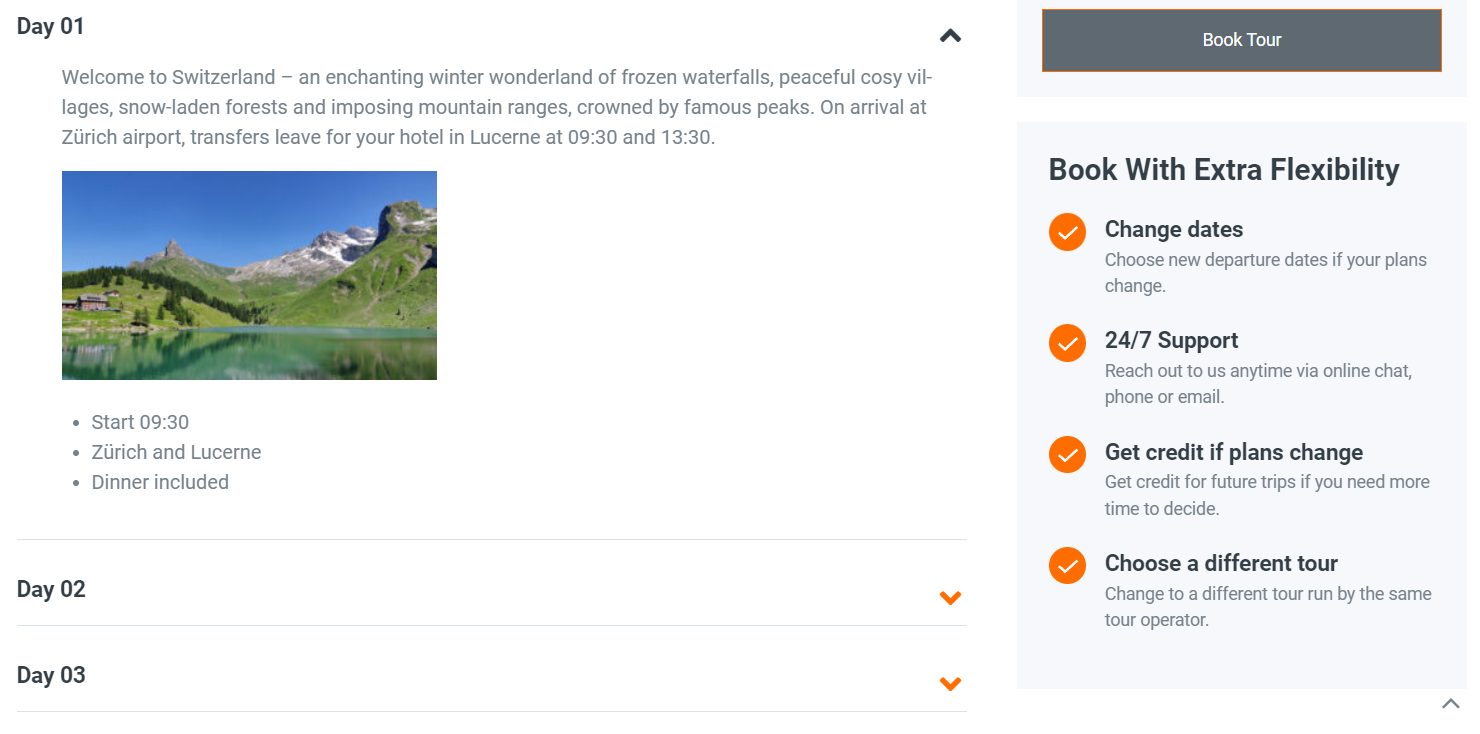
Style up the widget, and once you’re done with the settings, update the page. On the front end, the Accordion widget will display the information you previously entered into the repeater meta fields of the post.
That’s all about displaying custom Repeater fields in the Classic Accordion widget available with the JetTabs plugin.