How to Add Reviews to the Post
Learn how to add a user reviews section to any type of post using the JetReviews plugin. It allows users to leave reviews and comment them.
Before you start, check the tutorial requirements:
- Elementor (Free version) or Block editor (Gutenberg)
- JetReviews plugin installed and activated
- JetEngine plugin installed and activated with Custom Post Type created
- JetThemeCore plugin installed and activated
The Reviews Listings widget/block is a widget/block of the JetReviews plugin for Elementor and Gutenberg. This widget contributes to the commenting system created by the JetReviews plugin. The Reviews Listings widget/block displays:
- reviews/comments to posts, pages, archive templates, or CPTs arranged as a reviews grid;
- pre-moderated reviews/comments;
- shows the number of displayed reviews and customizes the number of reviews per page;
- customizes the rating layouts (stars/points), rating inputs (slider/stars), and review rating types (average/default);
- allows displaying author avatars, review titles, and comment author avatars; adding icons/texts for review elements and review forms.
Adding Reviews to Posts, Pages, CPTs, or Forms
Adding a new review type
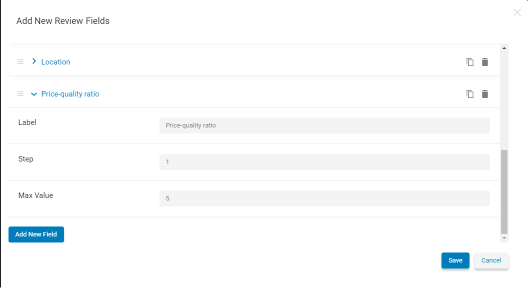
Navigate to the WordPress dashboard and open JetReviews > Review Types. Click the “Add New” button, type in the Name, and add the necessary Type Fields: Label, Step, and Max Value.
Press the “Add New Field” button to add another field for a multi-field review.
Read more about How to Create Custom Post Types in WordPress using the JetEngine plugin in this tutorial.
You can find more details in the Review Type addition tutorial. When you are done, hit the “Add Type” button.
Assign the Review Type to the Custom Post Types
Proceed to JetReviews > Settings. Open the tab of the post type where you would like to add reviews (Posts, Pages, any Custom Post you created, WooCommerce Products, or Forms).
Turn the Use review for post type toggle on to select the CPT for review (here, Properties).
To allow displaying reviews without pre-moderation of the admin, turn on the New review approval toggle.
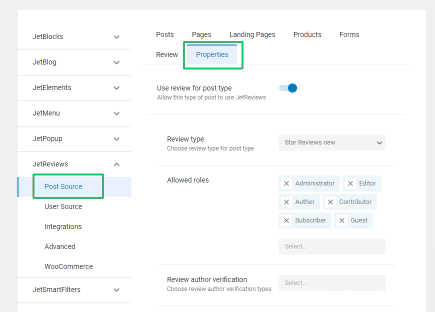
Choose the review type in the Review Type drop-down menu.
Define who can add reviews in the Allowed roles bar and set the options according to your needs.
Adding Reviews to Archive Templates
Adding reviews to Archive templates
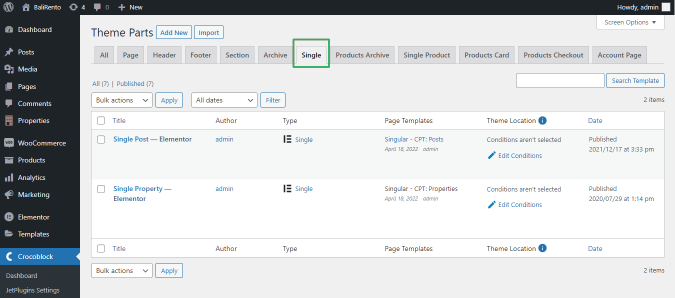
To add reviews to the Custom Post single items, navigate to JetPlugins > Theme Builder and find the Single post page template you created for your Custom Post Type.
Read the tutorial to learn How to Create a WordPress Single Post Page Template.
Click the “Edit with Elementor” button under the needed Single template.
Adding the Listing Review Widget/Block and Managing Its Settings
Adding the Listing Review widget
Open a new Post, Page, Custom Post you created, WooCommerce Product page, Form, or the Archive Template.
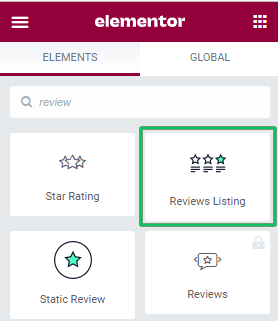
Find the Reviews Listing block in Gutenberg or Reviews Listing widget in Elementor. Drag-n-drop it to the page.
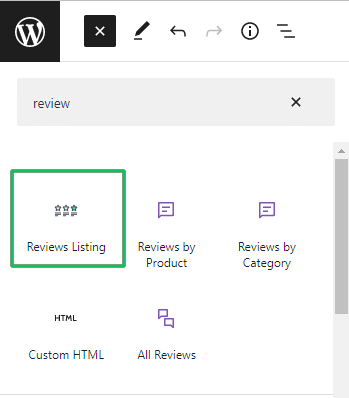
alt text: reviews listing block for gutenberg
Reviews Listing widget settings
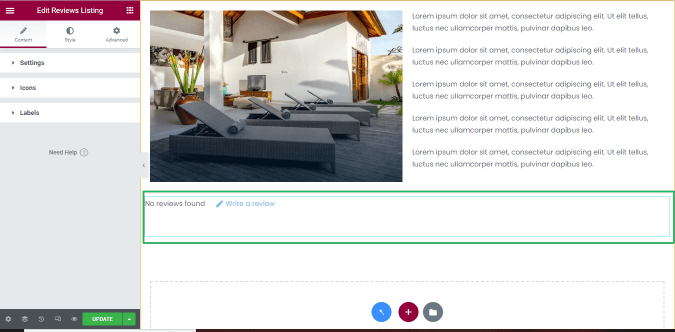
The Reviews Listing widget shows the number of reviews previously added to the post/page/CPT/form (here, No reviews found) and the form to add a new review. Texts of all reviews associated with the posts/page/CPT/form etc., and the form for adding a recent review is displayed on the front end.
Managing the Settings
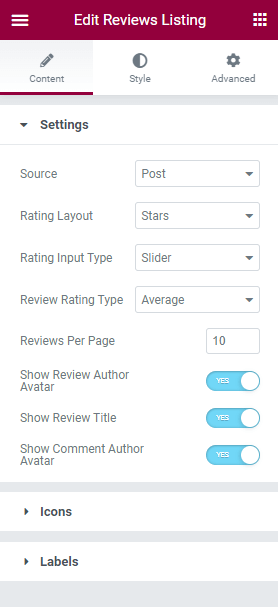
The Settings tab allows:
- choosing the Source for reviews (Post or User), Rating Layout (Stars or Points), Rating Input Type (Sliders or Stars), and Review Rating Type (Average or Default);
- typing the number of Reviews per Page;
- showing or not the Review Author Avatar, Review Title, or Comment Author Avatar.
Customizing the Icons for reviews
The Icon tab allows leaving empty, choosing from the library, or uploading SVG files for the Empty Star, Filled Star, New Review Button, Show Comments Button, New Comment Button, Empty Like, Filled Like, Empty Dislike, Filled Dislike, Reply Button, Prev Icon, and Next Icon.
Customizing the Labels for reviews
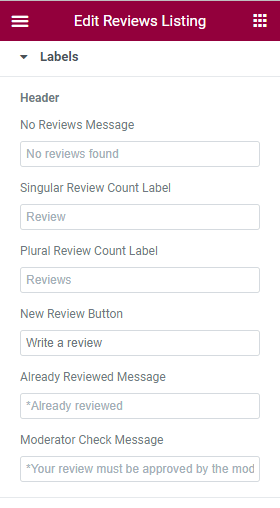
Unroll the Labels tab proposes fields to type texts displayed on the:
- Header: No Reviews Message, Singular Review Count Label, Plural Review Count Label, New Review Button, Already Reviewed Message, Moderator Check Message;
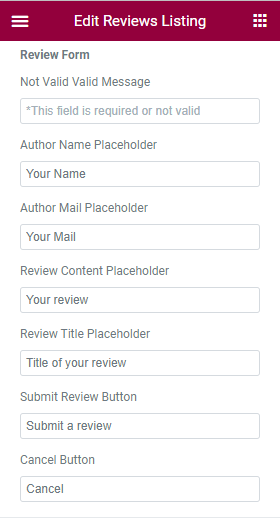
- Review Form: Not Valid Valid Message, Author Name Placeholder, Author Mail Placeholder, Review Content Placeholder, Review Title Placeholder, Submit Review Button, and Cancel Button;
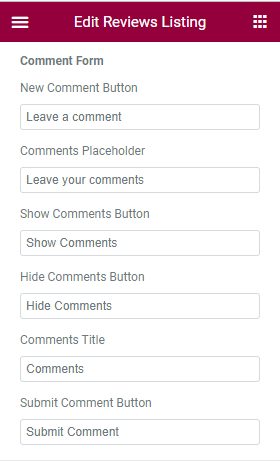
- Comment Form: New Comment Button, Comments Placeholder, Show Comments Button, Hide Comments Button, Comments Title, and Submit Comment Button;
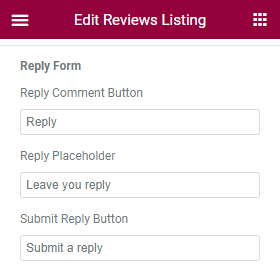
- Reply Form: Reply Comment Button, Reply Placeholder, Submit Reply Button.
These settings allow building the review listings as the demo shows.

Front-end view
Save the changes and publish the page.
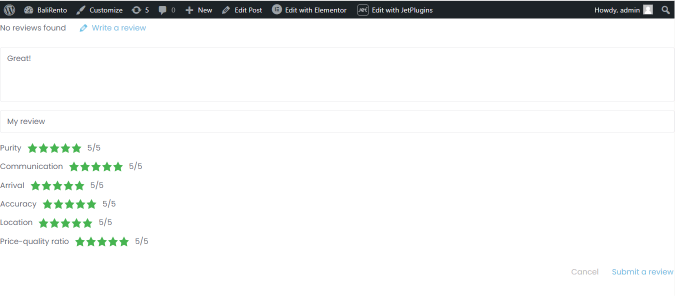
The front end of the review grid looks as follows.
Add the review and press the “Submit review” button.
Approving of the Comments/Reviews
Navigate to the JetReviews > All reviews of the WordPress dashboard. The Review List shows all reviews. Here admins can approve, edit, or delete the comments.
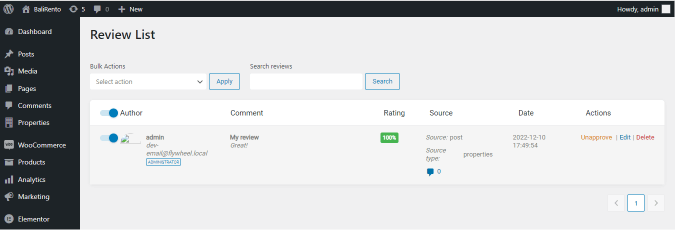
Showing all Reviews Associated with the Post, Page, CPT, Form, or Template
After approving the review, the review grid has a simple structure. On the top, there is a header. It shows the current number of reviews, has a “Write a review” button, and average score.
Every review consists of the following:
- author avatar;
- author name;
- time when the comment was left;
- the average score for this review. If you click the “Details” button, you will see what values the user put for every assessment criterion;
- title of the review;
- text of the review;
- “Like”, “Dislike,” and “Leave a comment” buttons.

That’s all about adding the reviews to the posts, pages, CPTs, forms, or archive templates.