How to Create Google Maps API Key
This tutorial describes the step-by-step process of creating and applying a Google map yo your website's page using the Advanced Map widget of the JetElements plugin.
The Advanced Map widget available in the JetElements plugin is irreplaceable if you need to insert a Google map on your website’s page. You can add multiple pins, alter the map style, switch from satellite to map view, and define the zoom settings. The widget is easily customizable and user-friendly.
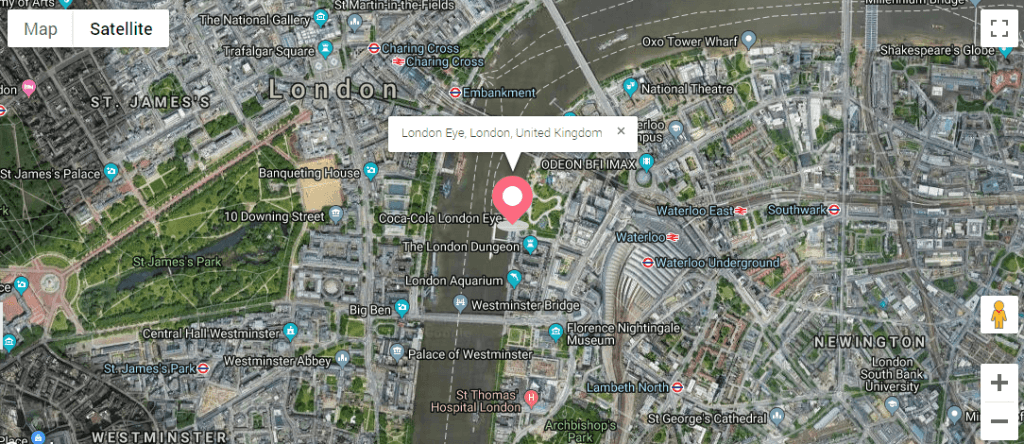
Adding Google Map to the Page
1 Step — Add the Advanced Map widget to the page
Go to your website’s Dashboard, find the page or post where you need a map to be placed and open it in Elementor page builder. In the left-side widget menu, find the Advanced Map widget and drag it to a new section.
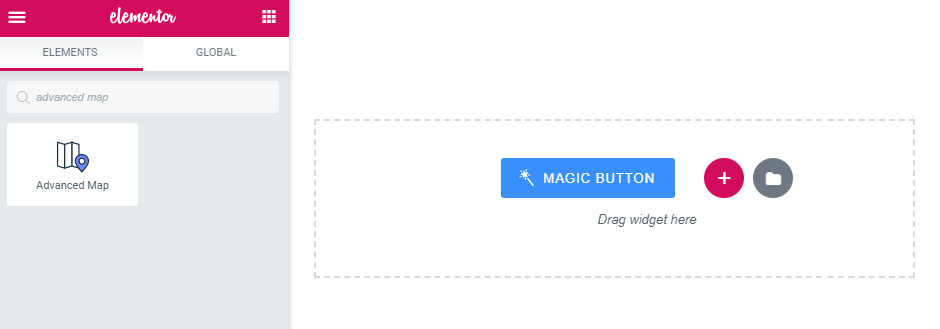
2 Step — Define map’s settings
There is the Content menu block with two option sets that allow changing content and style of the map and pins.
The Map Settings block provides the ability to specify zoom settings, define the map view, and also the location of the map center.
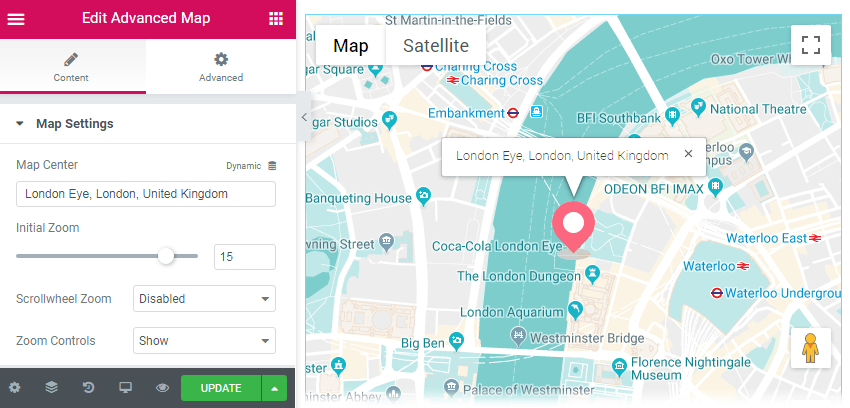
After that, select the style of the map’s appearance from suggested variations in the dropdown list in Map Style.
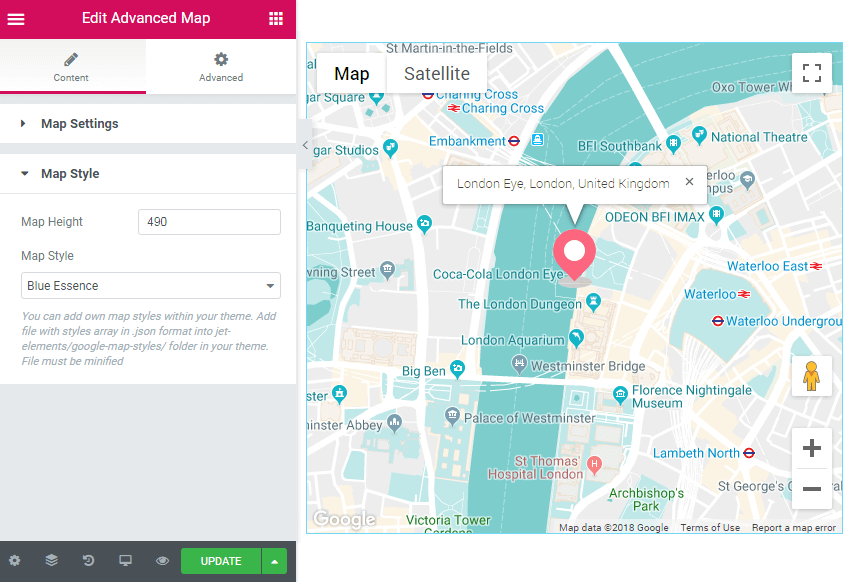
The extra option is to add the map styles from your theme. Just add a file with the needed styles array in .json format into jet-elements/google-map-styles folder.
Note that the added file must be minified. Moreover, here you can define the value of the map’s height.
Furthermore, there is a bundle of settings in Pins block, which allows one to add the needed amount of locations and mark addresses, describe them, and even label them using a pin icon.
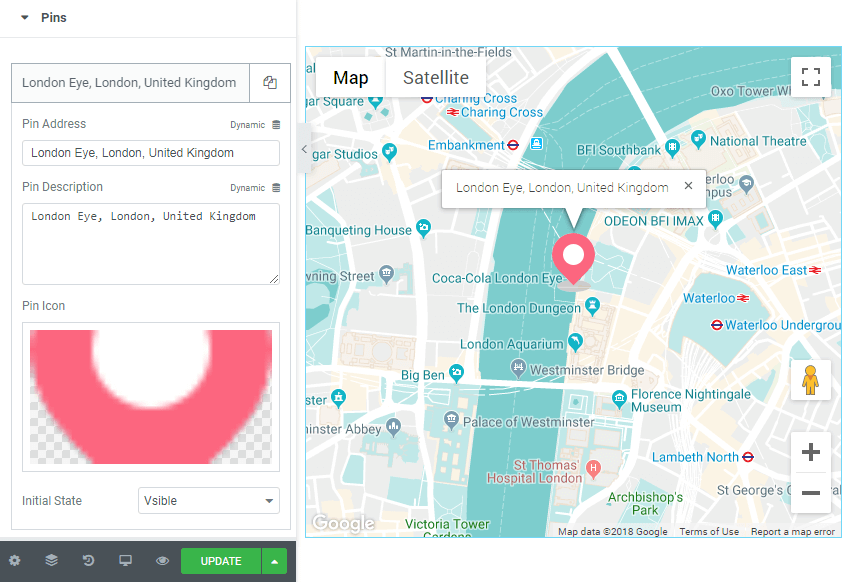
Finally, click the “Update” button in order to apply all the settings to your webpage.
Adding API Key to Advanced Map Widget
Google Maps option requires a special project key. Without this key, you cannot display Google Maps on your website. It is also called an API key (application programming interface key), and it provides access to Google maps.
You can add an API key for the Advanced Map widget by navigating to JetPlugins > JetElements Settings > Integrations tab in the WP Dashboard. Here there is the Google Map API Key field where you need to paste the correct API key to use for the map widget.
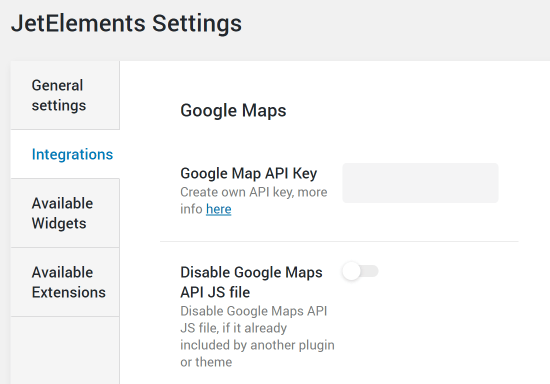
In order to create your own API key, click the link in the Create own API key. More info is here line below.
Now it’s the perfect time to use practical knowledge of adding maps to the pages with the JetElements Advanced Map widget!